

Portable washer setup tutorial: connect water, secure drain, plug power, level the unit, and test run.
I have set up dozens of compact laundry units for apartments and RVs. This portable washer setup tutorial walks you through each step with clear tools, safety tips, and troubleshooting. You will learn how to hook up water, route a drain, balance the washer, and maintain it. Read on for a practical, experience-based guide that makes setup fast and reliable.

What is a portable washer and why this setup matters
A portable washer is a compact laundry machine that fits in small spaces. This portable washer setup tutorial helps you use one without a full plumbing hookup. Portable washers save space and are great for rentals, tiny homes, and travelers. Proper setup cuts leaks, noise, and wear.

Tools and parts you need before starting
Gathering the right parts speeds the job. This section lists what to have before you begin the portable washer setup tutorial.
- Water inlet hose that matches the washer and faucet.
- Sink faucet adapter or Y-connector for single-handle sinks.
- Drain hose extension and clamp for secure routing.
- Power cord with grounded outlet or tested extension.
- Level, pliers, plumber tape, and a bucket.
- Optional: drip pan, anti-vibration pads, and hose supports.
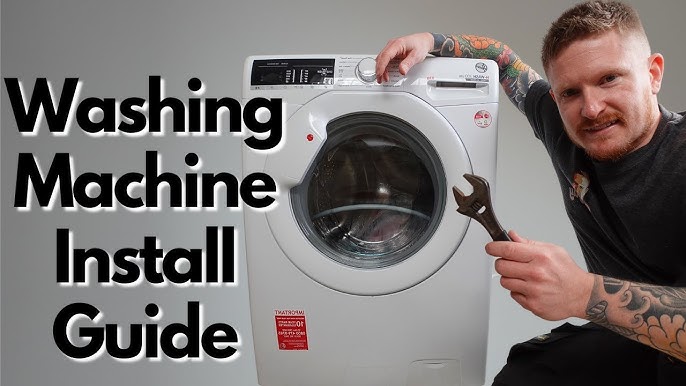
Step-by-step portable washer setup tutorial
Follow these steps in order for a smooth setup. Each step is short and clear to keep the process simple.
-
Choose the location
- Pick a flat floor near a sink and a grounded outlet. Leave 2–3 inches on sides for airflow. Avoid carpeted surfaces if possible.
-
Unpack and inspect
- Remove transit bolts if the manual shows them. Check hoses and cords for defects. Test the drum for free movement.
-
Connect the water supply
- Attach the inlet hose to the washer. Use plumber tape on threads. Install the faucet adapter or Y-connector on the sink and tighten hand-tight plus quarter turn.
-
Route and secure the drain
- Place the drain hose into the sink or set it into a standpipe. Use a hose clamp or zip-tie to prevent slips. Aim the hose so water drains smoothly.
-
Level the washer
- Adjust feet to remove wobble. Use a small level on top and tighten lock nuts once balanced. Anti-vibration pads help reduce noise.
-
Plug in and test
- Plug into a grounded outlet. Start a short wash cycle to check for leaks and proper drain flow. Stay nearby to monitor the first run.
This portable washer setup tutorial step list covers most models. If your unit has unique features, follow the maker’s manual too.
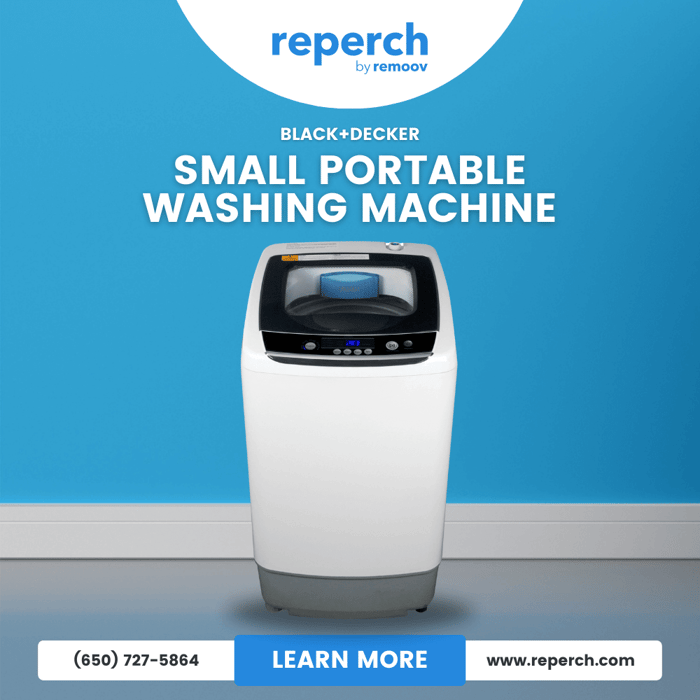
Water and drain options explained
You have choices depending on your space. This section helps you pick the best method for your portable washer setup tutorial.
-
Sink hookup
- Use a faucet adapter to share the sink. Best for apartments and short runs. Watch for splash and secure the hose.
-
Standpipe or laundry sink
- The drain hose rests in a standpipe or big laundry sink. This is more secure than a sink hookup.
-
Gray water routing
- Some users route gray water into a tank for gardening or disposal. Check local rules and avoid contaminating potable systems.

Safety, placement, and electrical tips
Safety prevents damage and hazards during setup. This portable washer setup tutorial stresses simple safety checks.
- Use a grounded outlet and avoid overloading circuits. Test outlets with another appliance if unsure.
- Keep the washer away from direct sunlight and heaters. Heat and moisture shorten appliance life.
- Install a drip pan if leaks are possible. This protects floors in rentals.
- Check hoses periodically for bulges, cracks, or loose clamps.
Maintenance and troubleshooting after setup
Good upkeep keeps your portable washer working well. This portable washer setup tutorial includes basic care and fixes.
- Clean the lint filter and drum after cycles. Run a monthly cleaning cycle with a washer cleaner.
- If the washer vibrates, re-level and add anti-vibration pads. Tighten loose connections.
- For drain backups, clean the sink trap and inspect the drain hose for kinks.
- If the washer won’t start, verify power, check the fuse or breaker, and test the outlet.
Energy, water use, and efficiency tips
Small changes save money and water. This portable washer setup tutorial highlights efficient habits.
- Wash full loads when possible to save water and power. Use shorter cycles for lightly soiled clothes.
- Choose cold-water detergent and cold cycles to cut energy use. Modern detergents clean well in cold water.
- Use high-efficiency detergents if the machine is labeled HE. This prevents excess suds and improves rinse cycles.
My hands-on experience: common mistakes and fixes
I have set up many units in small homes and RVs. These lessons come from real setups and help you avoid pain points when following this portable washer setup tutorial.
- Mistake: skipping transit bolt removal. This causes loud knocks and damage. Fix: always remove bolts per manual.
- Mistake: loose drain hose at sink. This leads to flooding. Fix: secure the hose with a clamp or hanger.
- Mistake: using an overloaded outlet. This trips breakers. Fix: plug washer into a dedicated circuit when possible.
- Tip: keep spare clamps and plumber tape in a small kit. They fix most emergency leaks fast.
Frequently Asked Questions of portable washer setup tutorial
What is the simplest water hookup for a portable washer?
The simplest hookup is a sink faucet adapter. It connects the washer inlet to the sink and allows quick setup and removal.
Can I use a portable washer in an RV?
Yes. A portable washer works in many RVs if you secure the unit, use proper drain routing, and confirm the electrical supply can handle the load.
How do I prevent the portable washer from moving during spin cycles?
Level the feet and use anti-vibration pads. Also, balance clothes evenly and avoid overloading the drum.
Do portable washers need special detergents?
Most portable washers work with standard detergents. If your washer is high-efficiency (HE), use HE detergent to reduce suds and improve rinsing.
What causes a portable washer to smell musty after several uses?
Musty smells come from trapped moisture and detergent residue. Run a cleaning cycle monthly and leave the lid or door slightly open to air the drum.
How long does setup usually take?
Setup often takes 20 to 60 minutes, depending on access to water and drain points. Allow more time if you need adapters or pipe work.
Conclusion
This portable washer setup tutorial gives clear steps, safety tips, and real-world fixes to make your setup fast and safe. Start by gathering parts, choose the right hookup, level the unit, and test the first run. Use regular maintenance to avoid leaks and odors. Try the steps today, and leave a note below with questions or your own setup tips.