

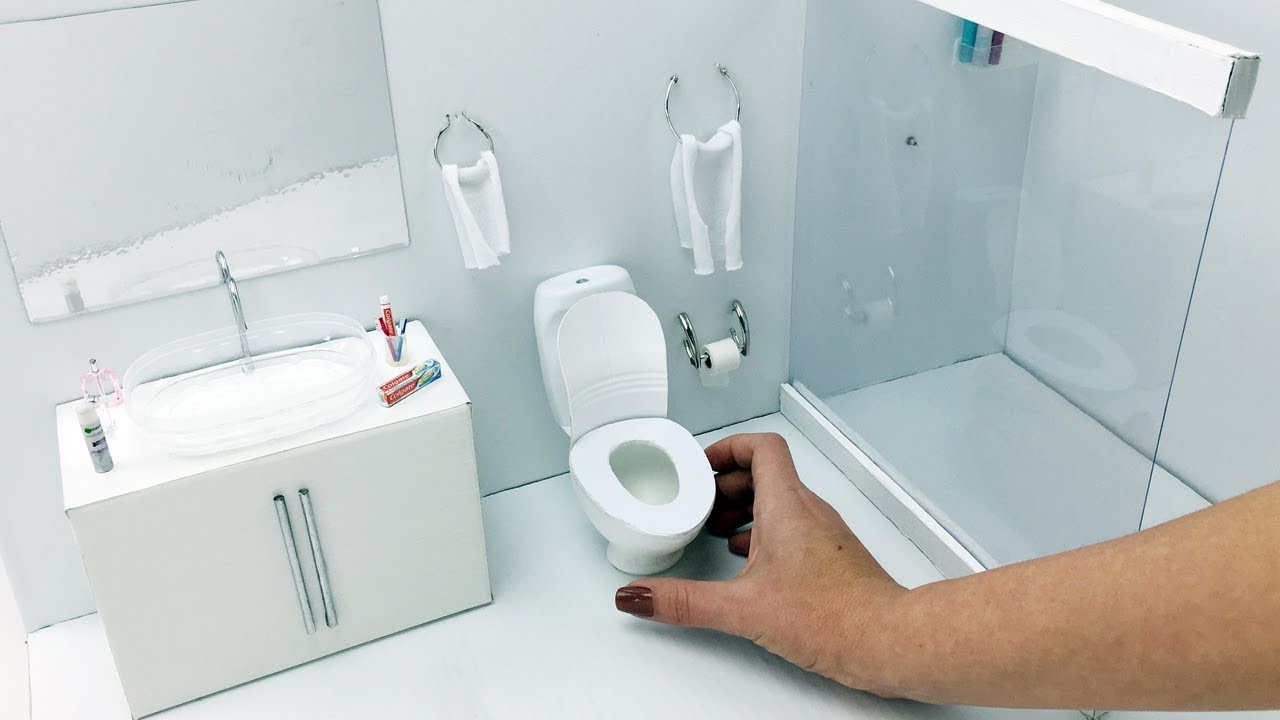
Make a Barbie bathroom set with cardboard, foam, reused containers, glue, and paint.
If you want to learn how to make a barbie bathroom set that looks store-bought yet costs next to nothing, you are in the right place. I have built many dollhouse rooms over the years, and I’ll walk you through smart sizing, sturdy builds, and cute finishes. Stick with me, and you’ll master how to make a barbie bathroom set that’s safe, durable, and gorgeous.
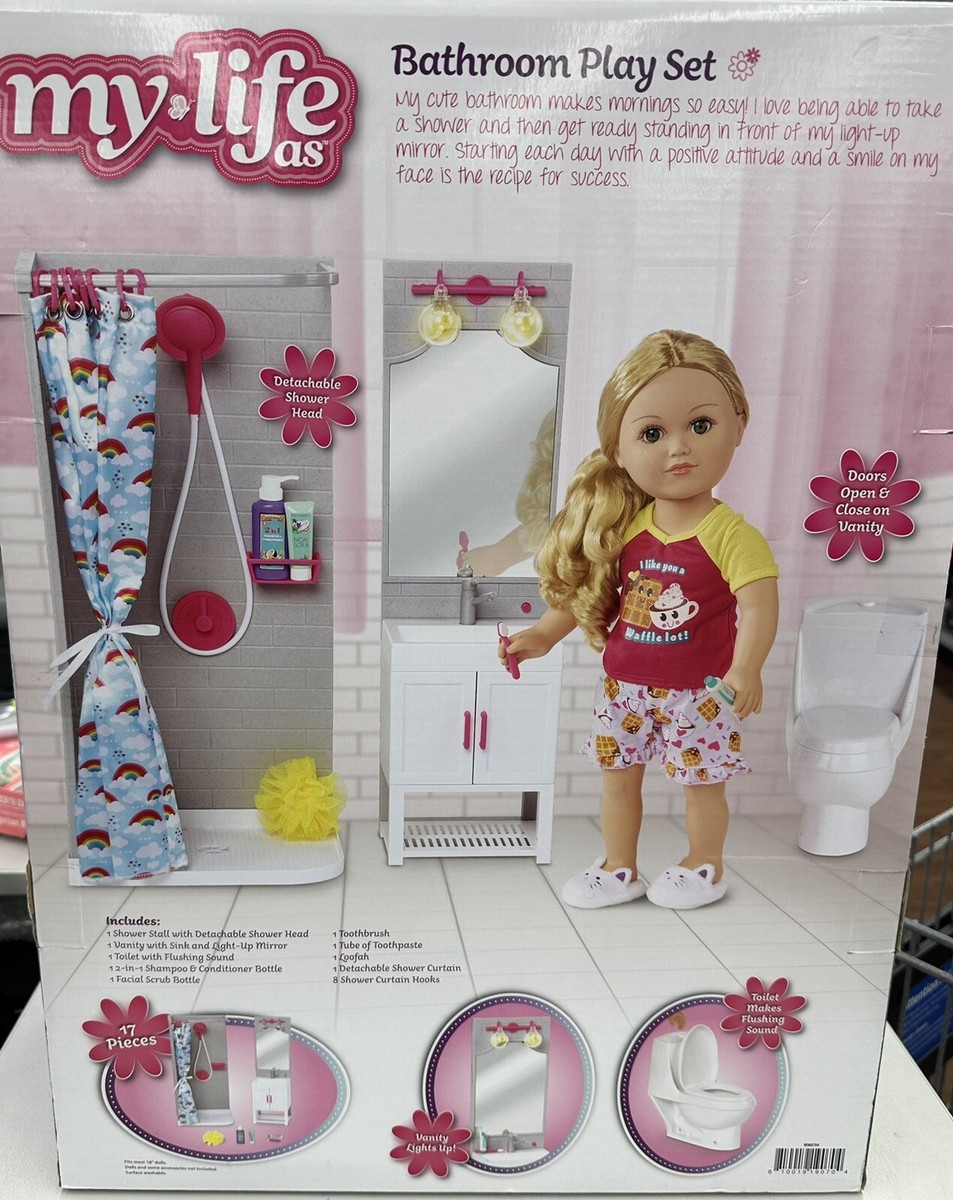
What you’ll need
Gather simple, safe supplies before you start. Most items are cheap or easy to find.
Materials
- Cardboard from cereal or shoe boxes
- Foam board or craft foam sheets
- Plastic bottles, caps, and yogurt cups
- Wooden craft sticks and coffee stirrers
- Paper rolls and small boxes
- Hot glue sticks or tacky glue
- White school glue for paper layers
- Acrylic paint, water-based and non-toxic
- Clear sealer like water-based Mod Podge
- Aluminum foil or mirror paper
- Felt or scrap fabric for rugs and towels
- Beads, straws, paper clips, and buttons
- Sandpaper, fine grit
- Optional: printed tiles on paper
Tools
- Craft knife with a fresh blade
- Scissors
- Steel ruler
- Cutting mat or thick cardboard
- Pencil, fine marker, and small brush
- Glue gun with low-temp setting
- Small clamps or binder clips
Tip from experience: keep a scrap bin for caps and boxes. You will use more than you think when learning how to make a barbie bathroom set.
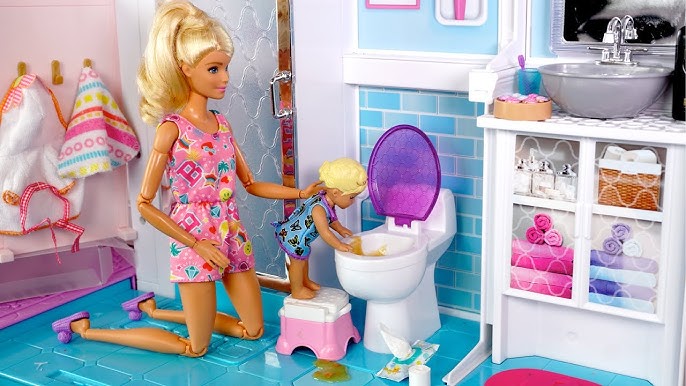
Plan and scale
Barbie is about 11.5 inches tall. That is close to 1:6 scale. It means 1 inch equals 6 inches in real life.
Use these handy sizes
- Bathtub length: 8 to 9 inches
- Vanity height: 4 to 4.5 inches
- Toilet seat height: about 2 inches
- Mirror height: 3.5 to 4 inches
- Shower head height: 8 to 9 inches from floor
Sketch a simple floor plan on paper. Mark where the tub, toilet, and sink go. This step saves time and glue. It also helps you plan how to make a barbie bathroom set that fits your dollhouse room.
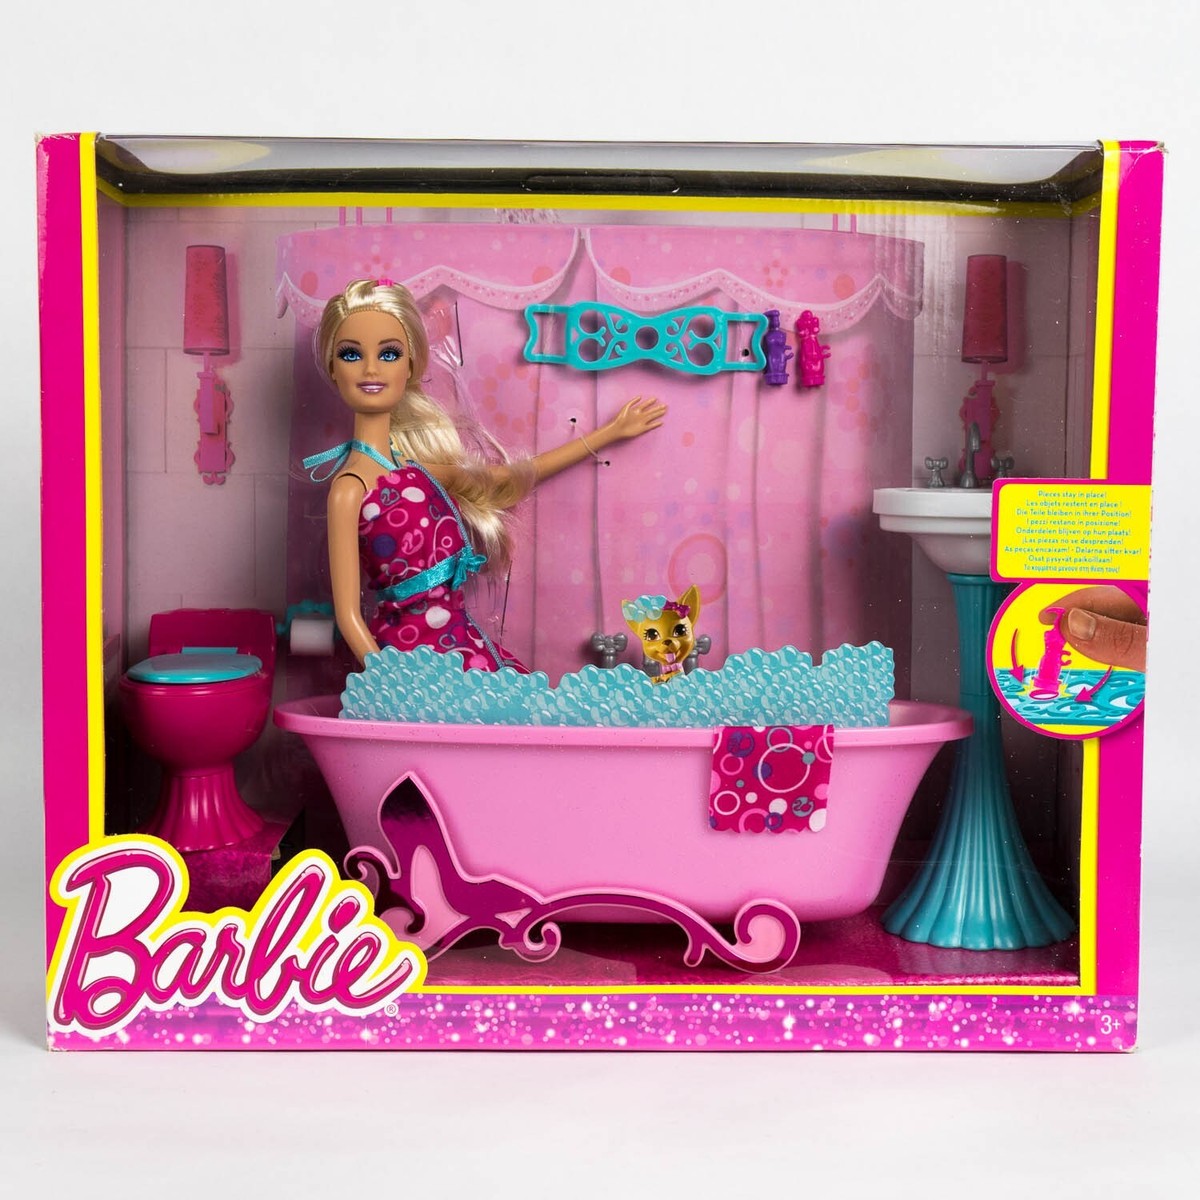
Step-by-step: how to make a barbie bathroom set
Create each piece one by one. Keep edges neat and test fit often.
Bathtub
- Cut a clean plastic bottle lengthwise. A 1-liter soda bottle makes a nice tub.
- Trim the top edge so it looks even. Sand sharp areas.
- Cut a cardboard base to match the shape. Glue the bottle to the base.
- Wrap the outside with craft foam for a smooth shell. Glue and press.
- Add legs with wooden beads or craft sticks if you like.
- Paint white. Seal with a clear, water-based sealer.
Sink and vanity
- Use a small box for the vanity base. Cereal box cardboard works well.
- Glue a foam top with a hole for the sink bowl.
- Use a large bottle cap or yogurt cup as the sink. Glue it in the hole.
- Add a faucet with a bent paper clip and two small beads as handles.
- Paint the vanity. Add a tiny toothpick as a drawer pull.
Toilet
- Use a travel-size shampoo bottle for the tank. Use a thick cap for the bowl.
- Cut a foam oval for the seat. Hinge it with tape so it can lift.
- Glue the pieces together on a foam base. Keep it stable.
- Paint in white or pastel. Add a tiny button as a flush button.
Shower
- Cut a tall foam wall or corner panel.
- Use a straw as the pipe and a large bead or small button for the head.
- Add a clear plastic curtain from packaging and thread as the rod.
- Glue all parts and seal edges.
Mirror and shelves
- Cut mirror paper or smooth foil. Mount on foam board.
- Add craft stick shelves beside the mirror. Paint and seal.
Accessories
- Towels: cut felt rectangles. Roll and tie with thread.
- Rug: glue fabric to a foam oval to stop slips.
- Toiletries: stack beads for bottles. Use tiny labels made from paper.
- Toilet paper: wrap a thin strip around a straw piece. Add a paper clip holder.
- Towel rack: bend a paper clip and glue to the wall.
As you practice how to make a barbie bathroom set, dry-fit each piece. Then glue. This order prevents messy seams and wobbly furniture.
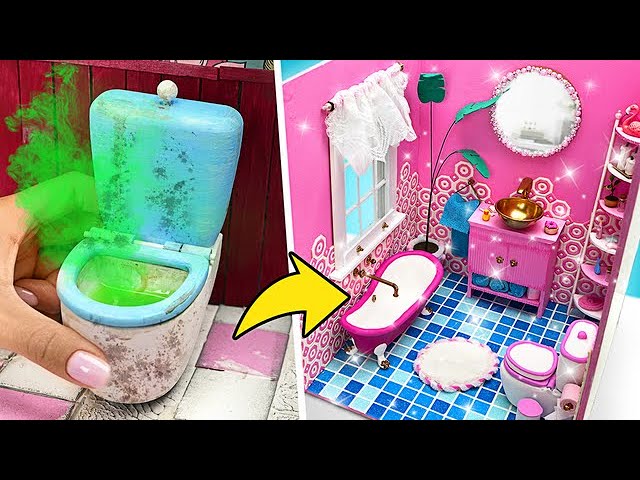
Finishing touches: paint, seal, and style
Use thin coats of paint. Two thin coats look better than one thick coat. Water-based acrylics are safe and cure fast.
- Classic spa: white tub, gray vanity, soft blue towels
- Retro glam: pink tub, black-and-white tiles, gold bead faucet
- Beach vibe: sandy tan, aqua accents, seashell stickers
Seal with a water-based topcoat. It helps with play wear and easy wipe-downs. This step is key when you learn how to make a barbie bathroom set that lasts.

Smart upcycling ideas
I love turning trash into treasure. It lowers cost and adds charm.
Great swaps
- Bottle caps for sinks and jars
- Beads for faucet knobs and perfume bottles
- Pen springs for shower hoses
- Binder clips for towel bars
- Clear blister packaging for shower doors
Mistakes to avoid
- Skipping sanding on cut plastic. It leaves sharp edges.
- Using thick paint coats. They chip and hide detail.
- Gluing before test fits. It leads to crooked builds.
Use these wins when deciding how to make a barbie bathroom set on a budget.
Safety, durability, and kid-friendly tips
Focus on safe, non-toxic supplies. Water-based glues and paints are best. Let items dry and cure before play.
Do this for safe play
- Sand all edges until smooth
- Keep small parts away from very young kids
- Use low-temp hot glue to avoid burns
- Seal paper surfaces to resist water and stains
A sturdy design means more play and fewer fixes. That is the heart of how to make a barbie bathroom set that holds up.

Budget and time planner
You can build a full set for very little. Upcycling cuts costs a lot.
Typical cost range
- Basic set with recycled parts: 5 to 10 dollars
- Mid-range with foam board and paint: 10 to 20 dollars
- Fancy extras like lights or tiles: 20 to 35 dollars
Time plan
- Planning and sketching: 20 minutes
- Cutting and assembly: 1 to 2 hours
- Paint and sealer: 1 to 2 hours with dry time
Plan a weekend craft. You will get the hang of how to make a barbie bathroom set fast.

Storage and play: keep it tidy
Make pieces modular so they fit in a shoebox. Label a small bin for tiny parts.
Helpful habits
- Use Velcro dots under heavy pieces to stop slipping
- Add felt pads to protect floors and tables
- Keep a small repair kit with glue, a brush, and sandpaper
Smart storage protects your work and makes how to make a barbie bathroom set even more fun.

Theme ideas and printable tiles
Printed tiles add instant style. You can design simple patterns in a doc and print them. Glue them to foam board and seal.
Fun themes
- Spa day with eucalyptus green accents
- Rainbow glam with pastel towels
- Monochrome chic with black fixtures
- Mermaid cove with teal tiles and shell decor
Try a mood board. It will guide colors and props as you learn how to make a barbie bathroom set with a pro look.
Maintenance and quick repairs
Play can loosen parts. Keep a small fix kit close.
Easy fixes
- Re-glue loose joints with tacky glue
- Touch up paint chips with a tiny brush
- Add a new seal coat every few months
These tiny tasks extend the life of your set. It is a smart habit for anyone focused on how to make a barbie bathroom set that lasts.
Frequently Asked Questions of how to make a barbie bathroom set
What is the best scale for Barbie bathroom furniture?
Barbie is close to 1:6 scale. Use that to size tubs, sinks, and toilets for a natural fit.
How can I waterproof the pieces for splash play?
Use a water-based sealer over paint and paper. Wipe pieces dry after use to keep them clean and strong.
What glue works best for plastic and foam?
Low-temp hot glue works fast on foam and plastic. Tacky glue is great for cardboard and paper seams.
Can I make a Barbie bathtub without a plastic bottle?
Yes. Layer curved cardboard ribs and cover with craft foam. Sand, paint, and seal for a smooth look.
How do I make a mirror that looks real?
Use mirror paper or smooth foil on foam board. Add a thin frame with craft sticks and seal the edges.
How do I keep small parts safe for kids?
Avoid tiny loose items for young children. Glue accessories in place or store them in a lidded box.
What paint is safe for kids’ crafts?
Use water-based acrylics labeled non-toxic. Let pieces cure fully before play.
Conclusion
You now know how to make a barbie bathroom set from start to finish. Plan the scale, pick sturdy materials, and build each piece step by step. Add paint, seal, and style to match your dream theme. Small choices, like sanding edges and thin paint coats, make a big difference.
Start today with one item, like the vanity or tub. Then grow your full set as your skills rise. Share your build, ask questions, or subscribe for more dollhouse guides and printable patterns.