

Use moisture-resistant drywall, cement board in wet zones, and seal seams well.
If you want a clean, dry, long-lasting bath, you need to know how to sheetrock a small bathroom set the right way. I’ve hung drywall in tight bathrooms for years. In this guide, I’ll show you how to sheetrock a small bathroom set with simple steps, pro tips, and smart checks so your finish looks great and holds up to steam and splashes.
Planning and materials for how to sheetrock a small bathroom set
A small bathroom is a moisture box. Plan it well before you lift a sheet. This section lays out smart choices that make your job faster and the result better.
Choose the right board
- Standard drywall for dry rooms only. Do not use in wet zones.
- Moisture-resistant drywall (often called green or purple board) for walls outside the tub or shower.
- Cement board or fiber-cement board for shower and tub surrounds.
- 5/8 inch Type X drywall for ceilings if joists are 24 inches on center. 1/2 inch is fine for 16 inches on center.
Smart fasteners and tape
- Coarse-thread drywall screws for wood studs, fine-thread for metal studs.
- Alkali-resistant mesh tape for cement board seams.
- Paper tape for drywall seams. It resists cracking better than mesh on drywall.
- Setting-type joint compound (hot mud) for the first coat in a bath. It sets fast and shrinks less.
Moisture control and air
- Use a proper exhaust fan. Target at least 1 CFM per square foot of floor. Add more if you have a long duct.
- Use a vapor retarder where code requires. Do not trap moisture behind cement board if using a surface membrane.
- Prime with a quality mold-resistant primer. Topcoat with bathroom-rated paint.
Tools you’ll need
- Utility knife, drywall saw, rasp, and T-square
- Drill/driver with dimpler bit
- Drywall lift or a second set of hands for the ceiling
- Mud pan, 6 inch, 10 inch, and 12 inch knives
- Corner bead, snips, and stapler
- Sander, vacuum with HEPA filter, and PPE
From my experience, the biggest cost saver in how to sheetrock a small bathroom set is choosing the right board once. Swapping green board into a shower later is a pricey fix. Plan now, save later.
Safety, prep, and code checks
Good prep prevents do-overs. It also keeps you safe and dry.
Code and framing checks
- Verify stud layout at 16 inches on center. Add blocking where towel bars, vanities, and grab bars will go.
- Check tub and shower flanges. Install shims so board hangs straight and laps over the flange as designed.
- Confirm moisture and vapor rules in your area. Many codes want a Class II vapor retarder on exterior walls in cold zones.
Moisture and air sealing
- Insulate exterior walls. Use unfaced batts if you will add a smart membrane. Avoid double vapor layers.
- Seal gaps around pipes with foam or sealant. Use fire-rated sealant where required.
- Test the exhaust fan. Make sure it vents outside, not into the attic.
Surface prep
- Snap clean layout lines. Mark stud centers on the ceiling and floor with a pencil.
- Check door and window jamb depths. Add drywall shims as needed for a flush finish.
- Clear the room. Cover the tub and floor with rosin paper and a drop cloth.
In my last remodel, I added 2×6 blocking behind a future grab bar. It took 10 minutes. The owner thanked me a year later when they added the bar without opening the wall.
Step-by-step: how to sheetrock a small bathroom set
This is the heart of how to sheetrock a small bathroom set. Work from the top down. Keep seams tight and screws set right.
- Hang the ceiling first
- Cut sheets to fit tight. Stagger seams.
- Use 5/8 inch on wide joist spacing. It sags less in steam.
- Screw every 8 inches along framing. Drive heads just below the surface without tearing paper.
- Hang shower and tub surrounds with cement board
- Keep cement board 1/4 inch above the tub lip. Do not drive screws through the tub flange.
- Tape seams with alkali-resistant mesh. Use thinset mortar, not joint compound, on cement board seams.
- Do not add plastic behind if you will use a surface waterproofing membrane on top.
- Hang moisture-resistant drywall on the rest of the walls
- Hold drywall 1/2 inch off the floor. This gap avoids wicking.
- Run sheets horizontally in small rooms. It reduces seam count.
- Use screws every 8 inches on edges and 12 inches in the field.
- Cut-outs and edges
- Score and snap with a sharp knife. Rasp edges smooth.
- Drill or saw for pipes and boxes. Add a bead of sealant around penetrations later.
- Cap outside corners with vinyl or metal corner bead. I prefer vinyl in baths since it will not rust.
- Check fasteners
- Add screws where the board flexes or pops.
- Replace any torn-paper spots. Coat with setting compound.
This exact order is my go-to for how to sheetrock a small bathroom set. Ceiling first makes tight wall-to-ceiling joints and hides your cuts with tape later.
Taping, mudding, and sanding for a bathroom
Strong seams resist cracks in a humid room. Use products that set hard and dry fast.
Best sequence
- First coat: Use setting-type compound (20 to 45 minutes is a sweet spot). Embed paper tape on drywall seams. Use mesh with thinset on cement board.
- Second coat: Use all-purpose or lightweight compound. Widen the seams to 8 to 10 inches.
- Third coat: Feather to 12 inches for a smooth blend. Skim nail heads as you go.
Inside corners
- Use pre-creased paper tape. A 6 inch knife on one side and a 4 inch on the other keeps it straight.
- Let one side dry before coating the other for crisp lines.
Outside corners
- Apply two to three coats over the corner bead. Keep coats thin. Sand lightly.
Sanding and dust control
- Use a vacuum sander or a sanding sponge. Do not over-sand and expose tape.
- Wipe with a damp cloth before primer.
Pro tip I’ve learned in many small baths: run a fan and a dehumidifier while mud cures. It speeds set and reduces blistering. It also helps when you’re working on how to sheetrock a small bathroom set in cool weather.
Waterproofing, priming, and finishing touches
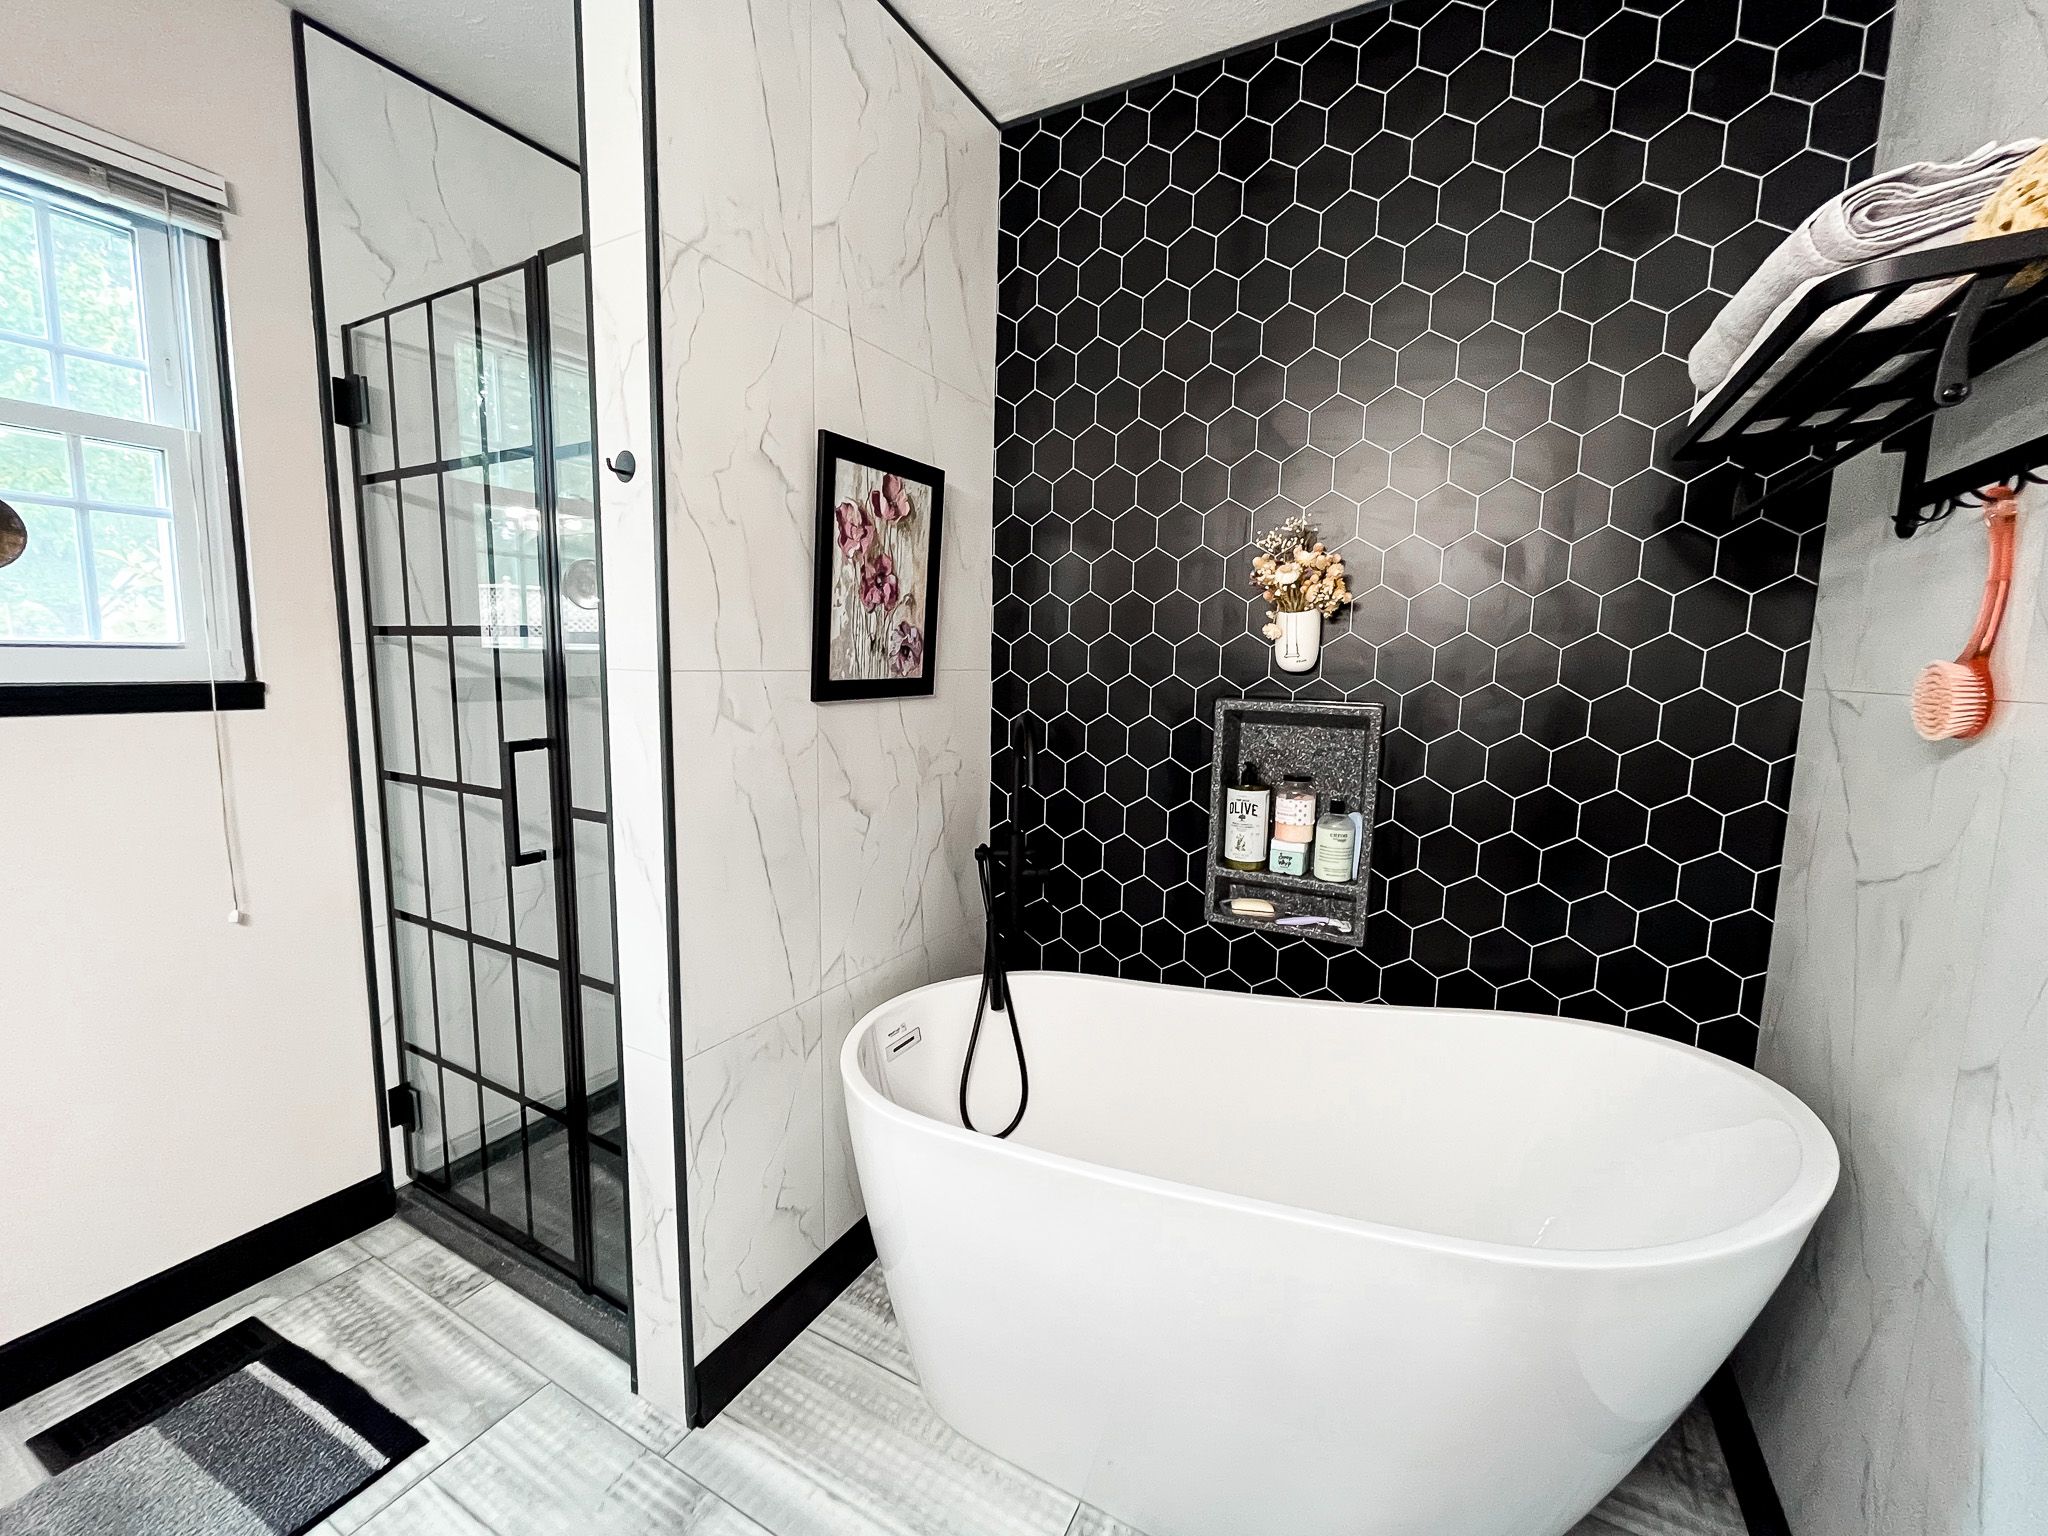
Waterproof where water hits. Seal where steam travels.
Wet zones
- On cement board, apply a liquid waterproofing membrane or install a sheet membrane. Cover all seams, niches, and fastener heads.
- Maintain the gap above the tub and fill it later with 100% silicone.
Dry zones
- Prime all drywall with a mold-resistant primer. Two thin coats beat one heavy coat.
- Use high-quality bathroom paint with a washable finish.
Sealing and trim
- Caulk around pipes and trim plates. Use silicone in wet areas and paintable caulk elsewhere.
- Install backer rod and silicone along the tub-to-wall joint. Do not grout this joint.
Ventilation and habits
- Wire the fan to run with the light. Ask users to run it 20 minutes after showers.
- Keep a small gap under the door to let air in.
I can’t overstate this in how to sheetrock a small bathroom set: the shower needs a true waterproof layer. Paint alone is not waterproof.
:max_bytes(150000):strip_icc()/best-bathroom-wall-surfaces-1821359-09-09ea8dcb40124743a9165099d906516b.jpg)
Common mistakes and pro tips
These are the pitfalls I see most when people ask how to sheetrock a small bathroom set. Avoid them and your job lasts.
Mistakes to avoid
- Using green board in a shower or tub surround. It will fail in time.
- Driving screws through a tub flange. It cracks and leaks.
- Skipping a vapor strategy. Double barriers trap moisture.
- Tight drywall to the floor. It wicks water and molds.
- Over-sanding and exposing tape. It telegraphs through paint.
Pro tips that help
- Pre-prime cut edges with a thin coat of setting compound. It seals the paper and reduces fuzz.
- Use a dimpler bit for perfect screw depth every time.
- Mark stud centers on the floor with painter’s tape to find them after you hang the sheet.
- Back-bevel drywall edges at tight corners for an easy fit.
These are simple, but they make a big difference in how to sheetrock a small bathroom set with a clean, pro finish.
Budget, timeline, and cleanup
A small bath does not need a big budget. It needs smart choices and a tidy job site.
Typical costs
- Moisture-resistant drywall: modest cost per sheet.
- Cement board: a bit more, but worth it in wet zones.
- Membranes, compound, screws, and bead: modest and predictable.
Estimated timeline
- Demo and prep: half to one day
- Hang board: half to one day
- Tape and mud: two to three days with dry time
- Waterproof and prime: one day
- Paint and touch-ups: one day
Cleanup and dust control
- Bag scraps as you cut. Keep the floor clear to avoid trips.
- Use a vacuum with a HEPA filter. Wipe walls before primer.
If you want to speed up how to sheetrock a small bathroom set, overlap tasks. Hang one day, then start first coats that afternoon with fast-setting mud.

Frequently Asked Questions of how to sheetrock a small bathroom set
What drywall goes around a shower?
Use cement board or fiber-cement board, not moisture-resistant drywall. Waterproof it with a liquid or sheet membrane before tile.
Can I use green board on all bathroom walls?
Yes, on walls outside the shower or tub. Do not use it in direct wet zones.
Do I need a vapor barrier behind cement board?
Use one strategy only. Either a plastic or smart membrane behind, or a surface-applied membrane on top, not both.
How far off the floor should drywall be?
Keep drywall 1/2 inch above the floor to prevent wicking. Cover the gap with base or tile.
What screw spacing should I use?
On walls, 8 inches on edges and 12 inches in the field. On ceilings, 8 inches is safest, especially with 1/2 inch board.
Should I prime before tile?
Prime drywall areas that will be painted. Do not prime cement board where tile will go; follow the thinset and membrane specs.
How long should mud dry in a bathroom?
Setting mud hardens by chemical set in 20 to 90 minutes. Drying mud needs several hours; speed it up with a fan and low humidity.
Conclusion
You now know how to sheetrock a small bathroom set from plan to paint. Choose the right board, control moisture, hang in the right order, and seal every seam. These small moves add up to a clean look and a dry, healthy room.
Take one step today. Measure the space, make your materials list, and set a two-day plan. If you want more guides like this on how to sheetrock a small bathroom set, subscribe, bookmark this page, or drop a question in the comments.