

Paint, seal, and fit pumps and lids on jars to craft a durable bathroom set.
If you want a budget, stylish, and practical upgrade, you’re in the right place. I’ve built many of these sets for rentals and gifts, and I’ll show you how to make mason jar bathroom set pieces that last. This guide is friendly, tested, and detailed, so you can feel confident from the first brush stroke to the final seal.
What You’ll Make and Why It Works
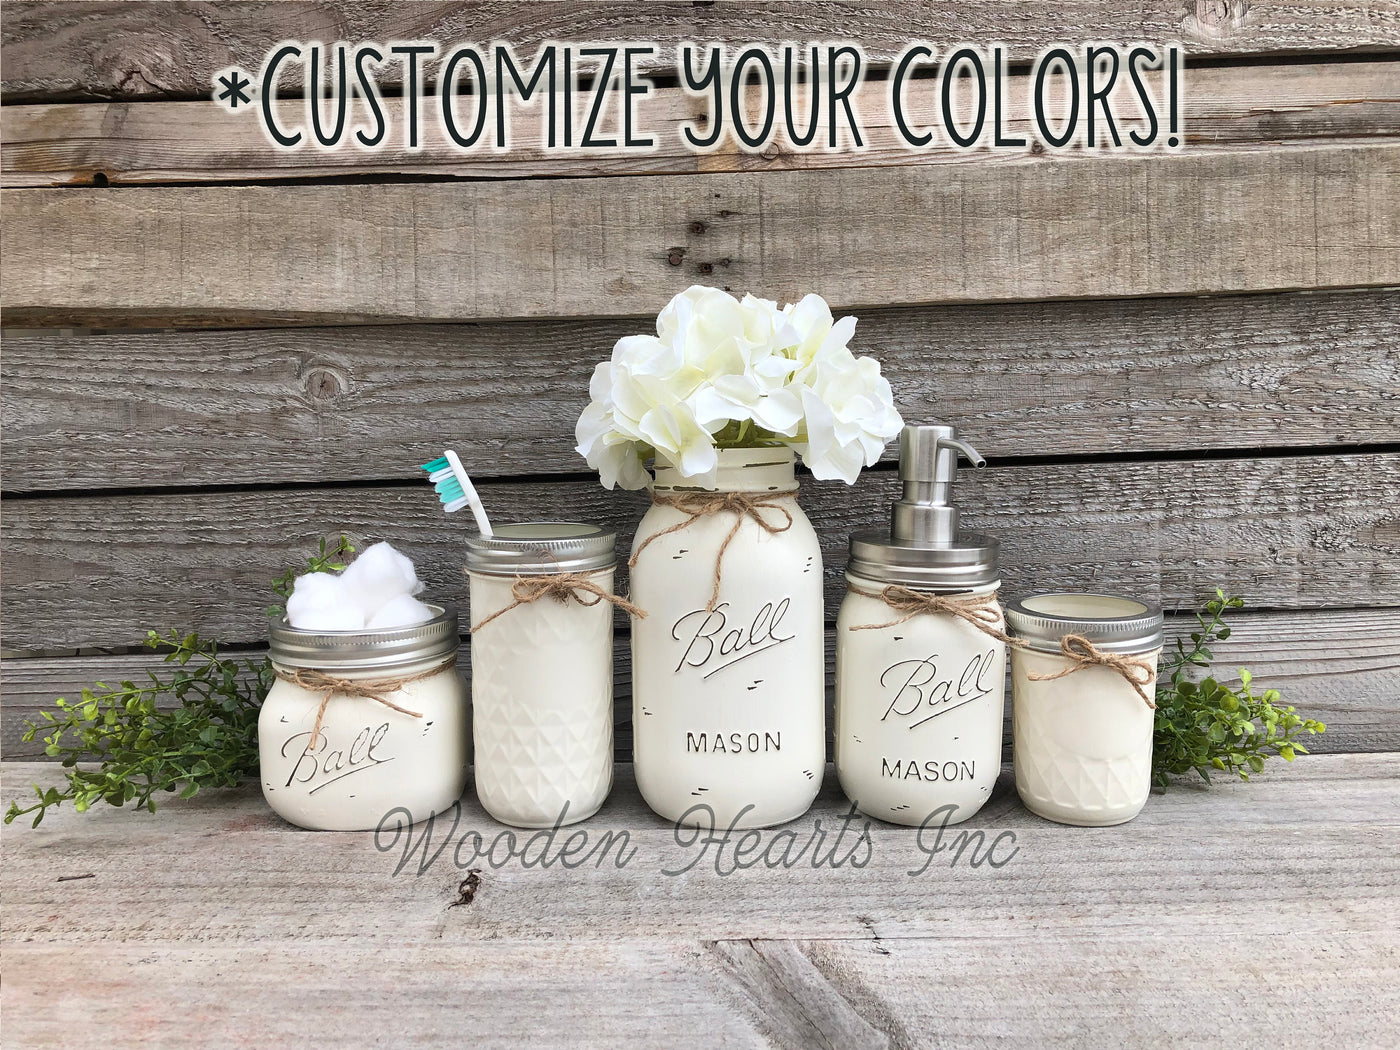
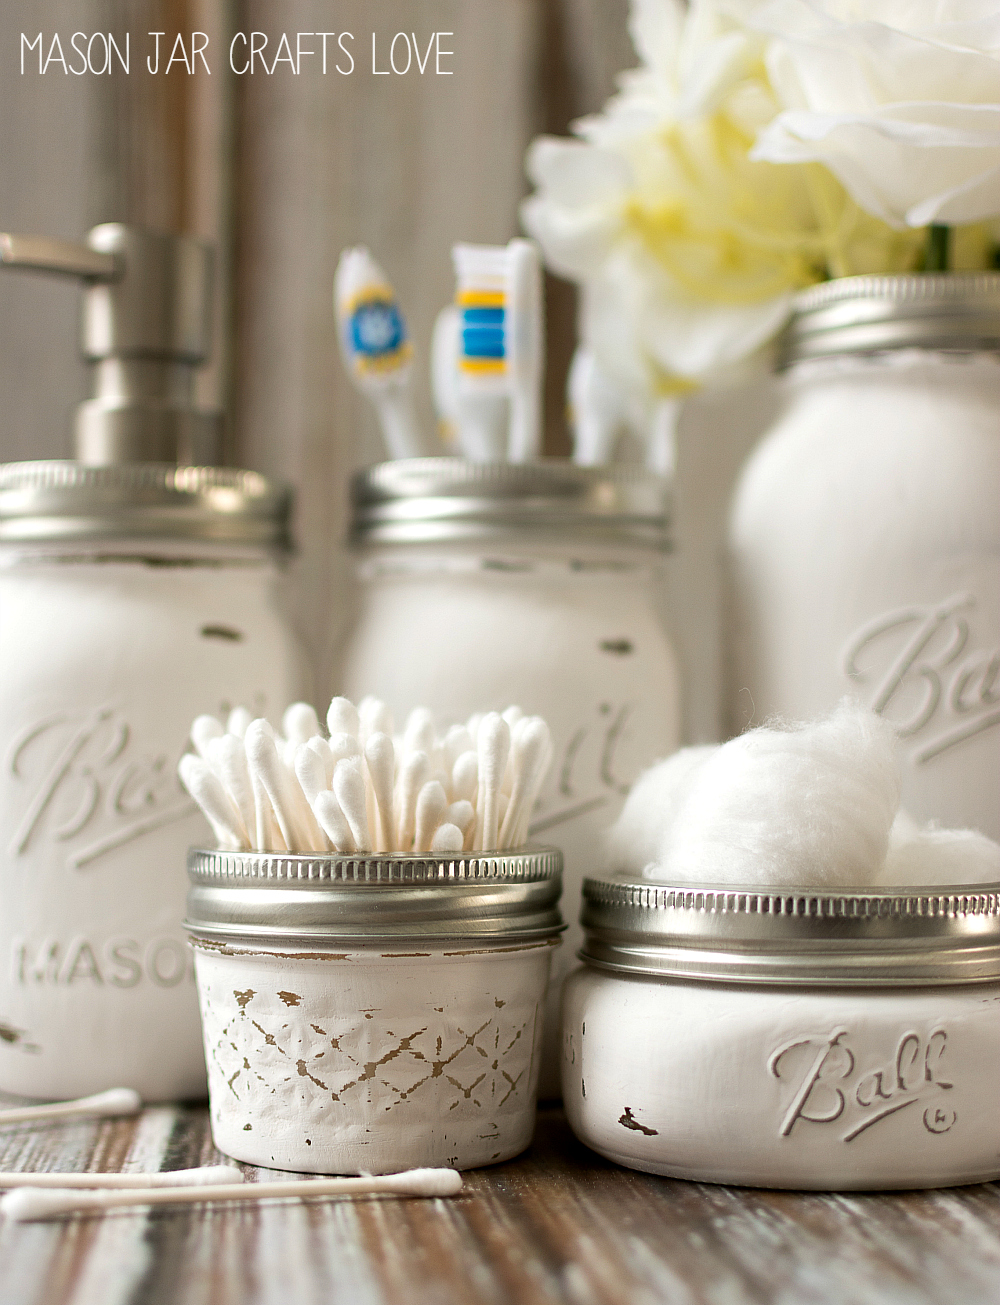
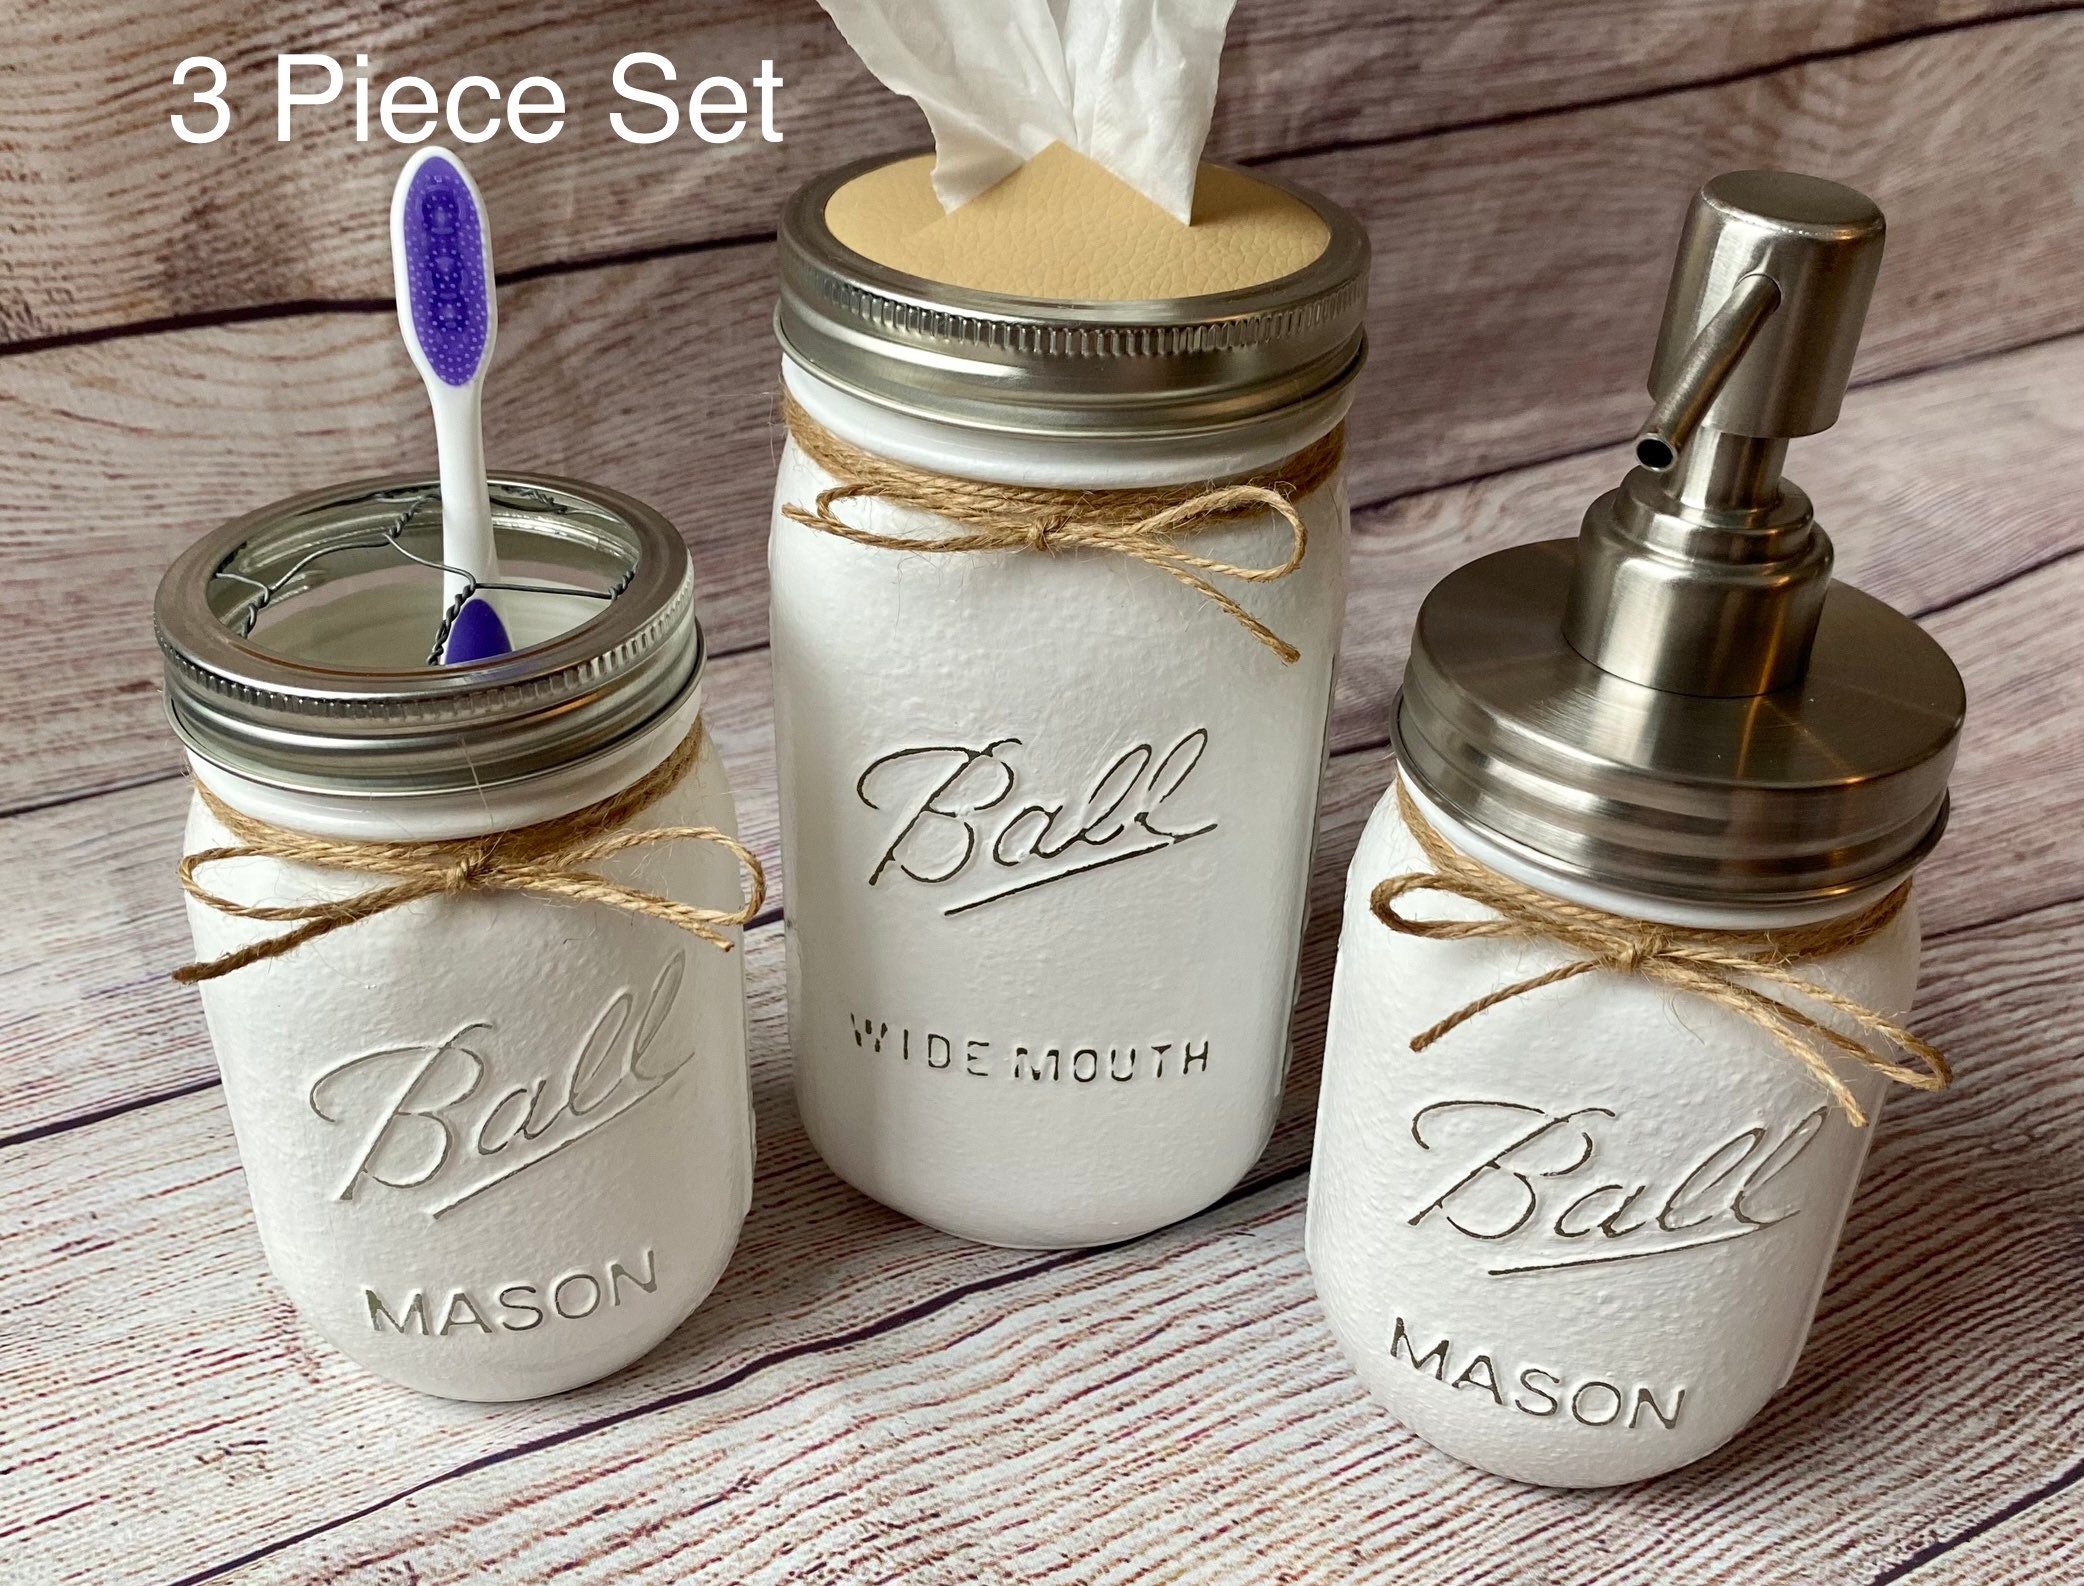
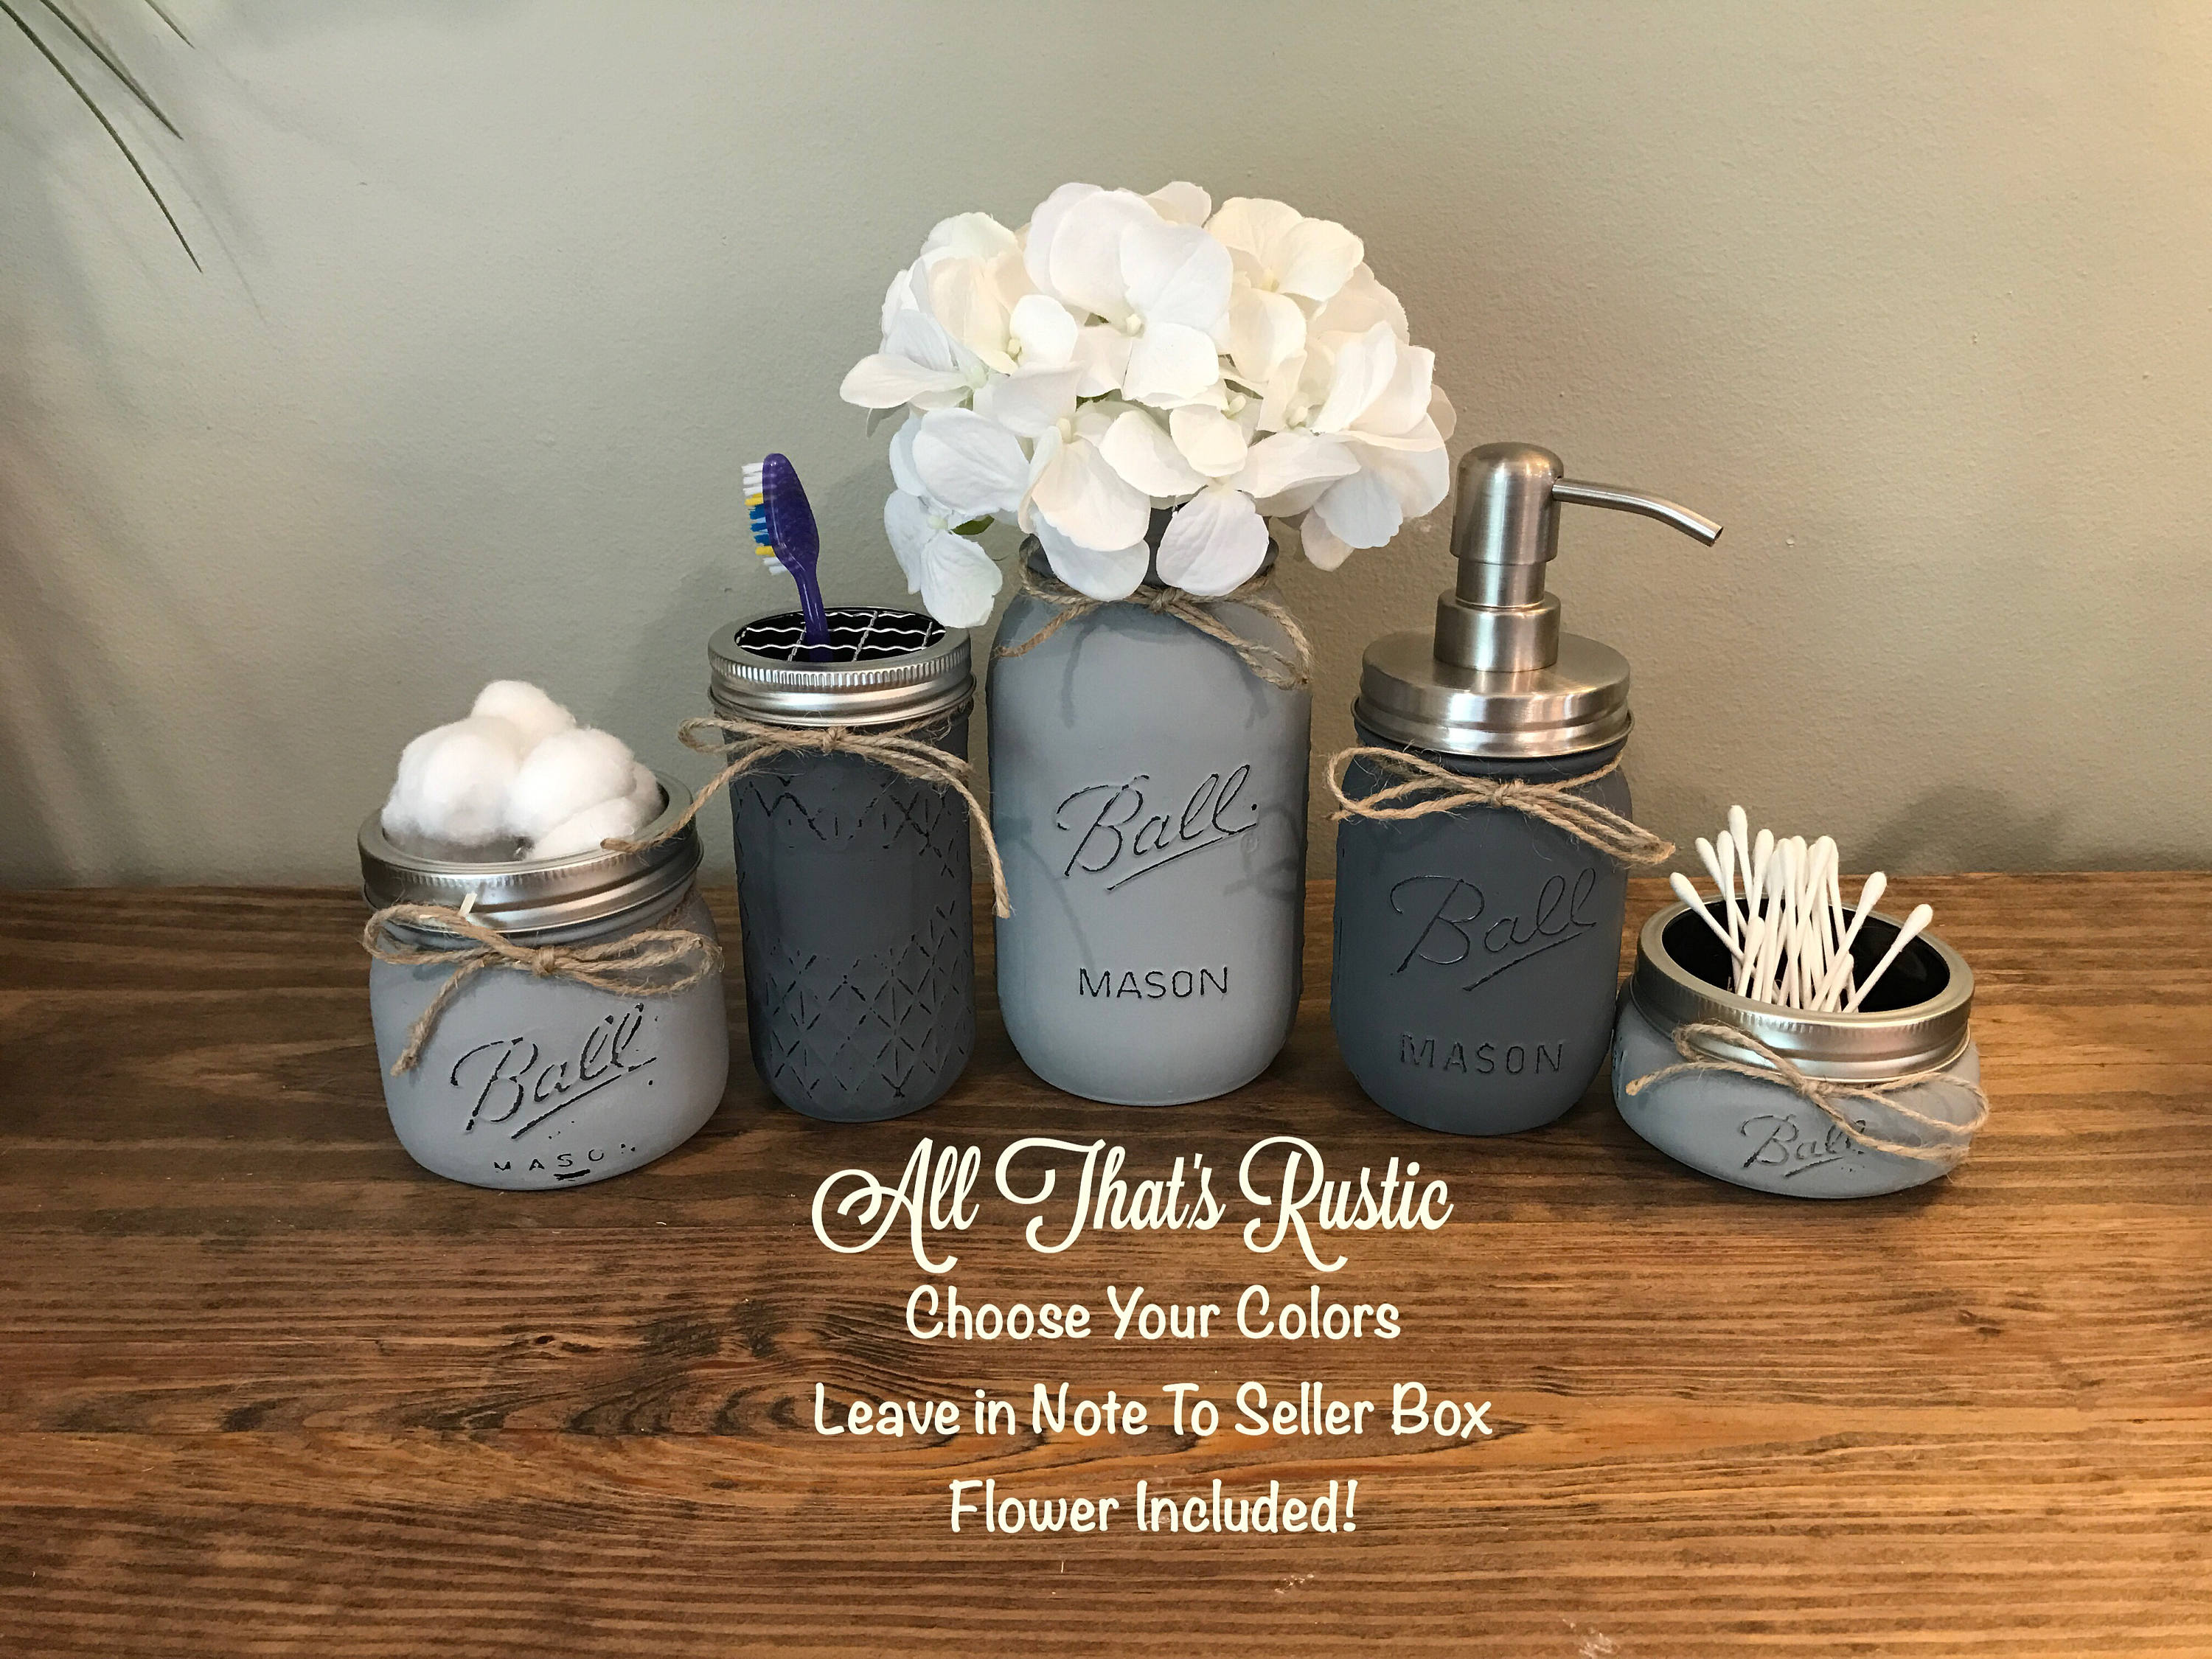
A mason jar bathroom set usually includes a soap dispenser, a toothbrush holder, and storage jars for cotton balls and swabs. You can add a tissue holder or a small jar for bath salts. The look is clean, simple, and cozy.
I’ll show you how to make mason jar bathroom set builds that handle steam and splashes. You will learn how to paint, seal, and fit lids and pumps so they do not rust. You will also see how to size each jar for daily use.
Tools and Materials
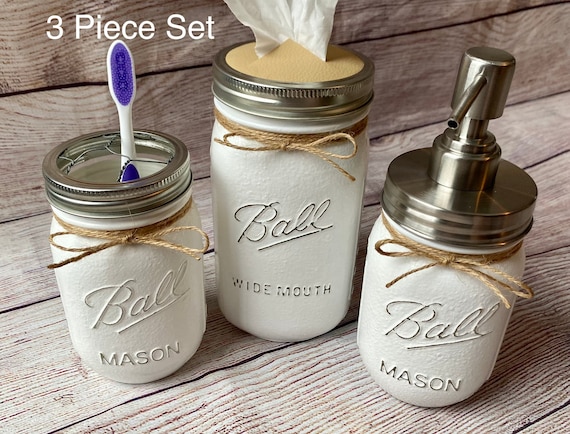
Gather your supplies first so the process flows fast and smooth. To start how to make mason jar bathroom set projects, I recommend:
- Jars: 1 pint jar for soap, 1 pint jar for toothbrushes, 1 half-pint for swabs, 1 pint for cotton balls
- Lids: regular or wide-mouth lids and rings, plus a pump lid kit for soap
- Drill with step bit or hole saw, plus small bits for vent holes
- Paint: chalk paint or spray paint for glass
- Sealer: water-based polycrylic or clear enamel; optional dishwasher-safe sealer for extra cure
- Sandpaper: 220 to 320 grit for light scuffing
- Degreaser or rubbing alcohol for cleaning jars
- Painter’s tape and drop cloth
- Silicone sealant and rubber grommet for the pump hole
- Labels, twine, or vinyl decals if you like
Step-by-Step: How to Make Mason Jar Bathroom Set
Here is the full, simple process. This is the core of how to make mason jar bathroom set pieces that hold up.
-
Prep the jars
- Wash jars with warm soapy water. Rinse and dry.
- Wipe with alcohol to remove oils.
- Lightly scuff with 220–320 grit if you plan to paint the outside.
-
Paint the jars
- For chalk paint: brush on thin coats. Let each coat dry 30–45 minutes. Do 2–3 coats.
- For spray paint: use light passes 8–12 inches away. Do 2–3 coats with 10 minutes between.
- Optional distress: lightly sand raised lettering for a rustic look.
-
Cure and seal the finish
- Let paint dry overnight.
- Seal with 2 light coats of water-based polycrylic or clear enamel. This protects from steam and splashes.
- If you use a dishwasher-safe sealer, follow the label and let it cure fully before use.
-
Convert the soap dispenser
- Mark the center of the lid. Drill a pilot hole, then widen with a step bit to the pump stem size.
- Deburr the hole. Fit a rubber grommet for a snug, drip-free seal.
- Insert the pump, then seal under the cap with a thin bead of silicone. Let it cure 24 hours.
-
Make the toothbrush holder
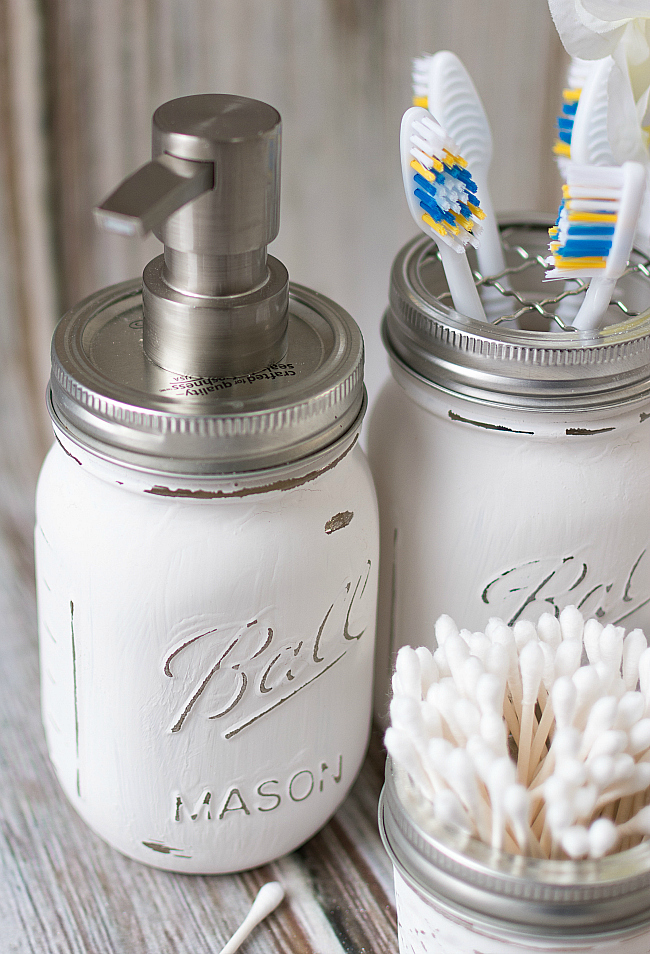
- Option A: Use a pre-made grid or flower-frog lid insert.
- Option B: Drill three to four small holes in the lid for toothbrushes and one tiny vent hole. Sand smooth.
- If you prefer a liner, add a food-safe silicone grommet to each hole.
-
Build the storage jars
- Cotton swabs fit best in a half-pint jar.
- Cotton balls fit in a pint jar.
- Leave these unpainted inside and only paint the outside for easy cleaning.
-
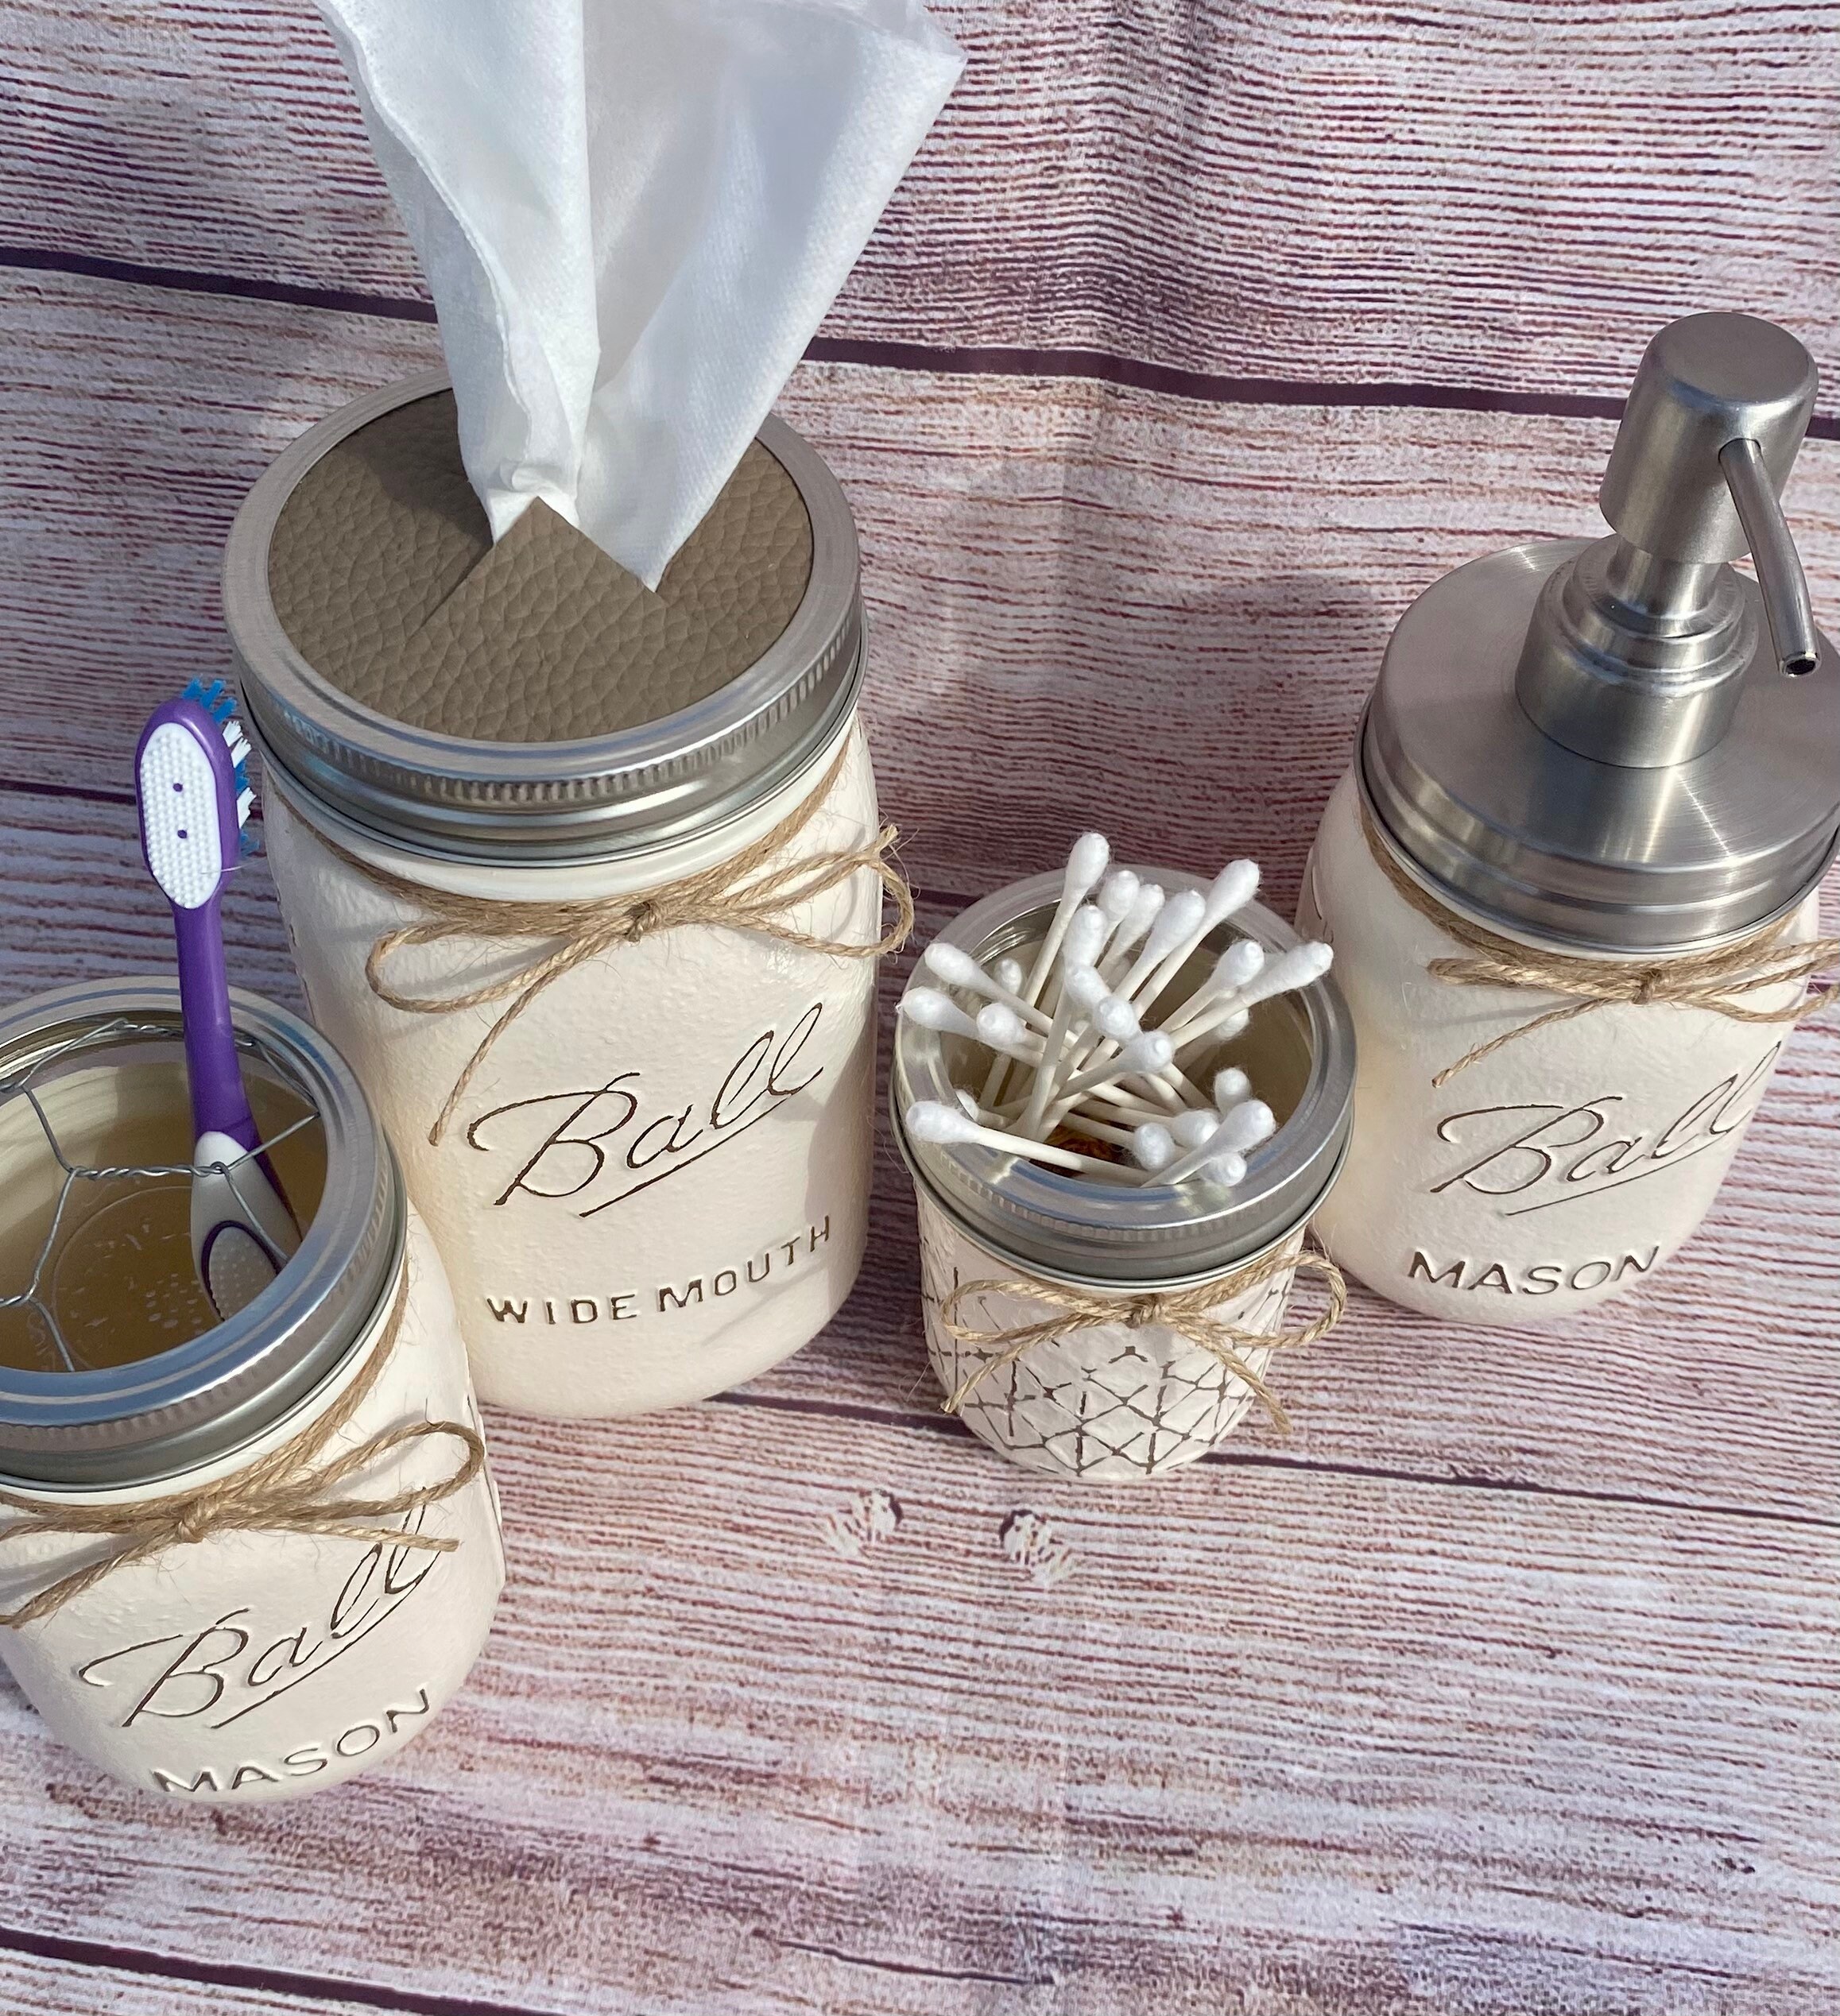
Optional tissue jar
- Use a wide-mouth quart jar. Cut an X in a plastic lid and sand edges.
- Fill with folded tissues or a travel pack and pull through the slit.
-
Label and style
- Add simple vinyl labels or hand-letter with a paint pen.
- Tie twine or ribbon under the rim for a soft finish.
-
Final check
- Test the pump with water first, then soap.
- Check for leaks and add silicone if needed.
- Set everything aside for 24 hours before use so seals cure.

Design Ideas and Finishes
You can keep a clean white look or go bold. These ideas work well in most bathrooms.
- Farmhouse matte white with light distress and twine
- Coastal soft blue, satin seal, and brushed nickel pump
- Modern matte black jars with a clear glass cotton jar for contrast
- Frosted glass spray for a spa vibe
- Two-tone dip: natural glass bottom, painted top, clear coat over both
When thinking about how to make mason jar bathroom set pieces look polished, match your metal finishes to faucets and hardware. Use brushed nickel, black, brass, or chrome to tie the set to the room.

Waterproofing, Rust Prevention, and Safety
Moisture is the real test in a bathroom. A few habits keep your set fresh.
- Always seal paint with a water-resistant topcoat.
- Use stainless or coated pump kits, and seal the underside with silicone.
- Spray a clear enamel on the lid’s inside edge to slow rust.
- Do not soak lids. Wipe them dry after cleaning.
- Place jars on a tray to catch drips and avoid standing water.
- Keep glass away from sharp drops. Add silicone bumpers to the base if needed.
These small steps are key in how to make mason jar bathroom set projects last a long time.
Cost, Time, and Sizing Guide
Plan your build with these simple numbers. This helps you decide how to make mason jar bathroom set choices that fit your space.
- Cost range per set: 20–45 USD depending on jars, pumps, and paint
- Time: 2–3 hours of hands-on work plus drying and curing
- Jar sizes:
- Soap: pint
- Toothbrushes: wide-mouth pint
- Swabs: half-pint
- Cotton balls: pint
- Tissues: quart
- Finish life: 1–3 years with good sealing and care, longer with stainless pumps
Troubleshooting and Pro Tips
These fixes come from sets I made for busy guest baths and rentals.
-
Paint scratches
- Use a light scuff and thin coats only. Seal in two passes.
- Let paint cure overnight before sealing or handling.
-
Rusty rings
- Use new lids and rings, spray inside with clear enamel, and dry well after cleaning.
-
Leaky pump
- Add a grommet, tighten the nut, and seal the underside with silicone. Test with water first.
-
Cloudy finish
- Avoid thick sealer coats. Use light passes and let each coat dry.
-
Soap clog
- Thin very thick soap with a splash of water. Pump hot water through to clear.
These notes are the “real world” part of how to make mason jar bathroom set builds that survive daily use.
Maintenance and Cleaning
A little care goes a long way.
- Wipe jars with a damp cloth. Avoid harsh scrubbers on paint.
- Clean pumps by running warm water through them once a month.
- If a ring shows rust, swap it out. They are cheap and easy to replace.
- Keep jars off pooled water. Use a tray or coaster.
These habits protect your paint, your pumps, and your time.
Sustainability and Upcycling Benefits
This project keeps glass in use and cuts plastic. You can reuse jars and swap parts as needed.
- Refill your soap and reduce single-use bottles.
- Use leftover paint and lids from your kitchen.
- Replace only the pump when it wears out.
- Gift sets in recycled boxes with paper fill.
Learning how to make mason jar bathroom set accessories is a simple way to decorate and reduce waste.
Frequently Asked Questions of how to make mason jar bathroom set
How many jars do I need for a full set?
Four jars cover most needs: soap, toothbrushes, cotton balls, and swabs. Add a tissue jar if you have space.
What paint sticks best to glass?
Chalk paint and glass-friendly spray paint both work well. Light scuffing and a clear sealer help the finish last.
How big should the hole be for the soap pump?
Most pumps need a 5/8 to 3/4 inch hole. Use a step bit and test the fit before sealing.
Will the lids rust in a bathroom?
They can if left wet. Seal the underside, dry after cleaning, and replace rings when needed.
Can I wash painted jars in the dishwasher?
I do not recommend it. Hand wash the outside and clean the inside with a damp cloth.
How do I stop the pump from loosening over time?
Use a rubber grommet and a lock nut under the lid. A bead of silicone also helps keep it snug.
What if I want a no-paint look?
Leave the glass clear and only paint and seal the lids. It looks clean and is easy to maintain.
Conclusion
You now know how to make mason jar bathroom set pieces that look great and stand up to daily life. Choose the right jars, seal your paint, protect your lids, and test your pump before filling.
Start with one jar today and build your set over a weekend. Share your favorite color combo or questions in the comments, and subscribe for more easy DIY guides.