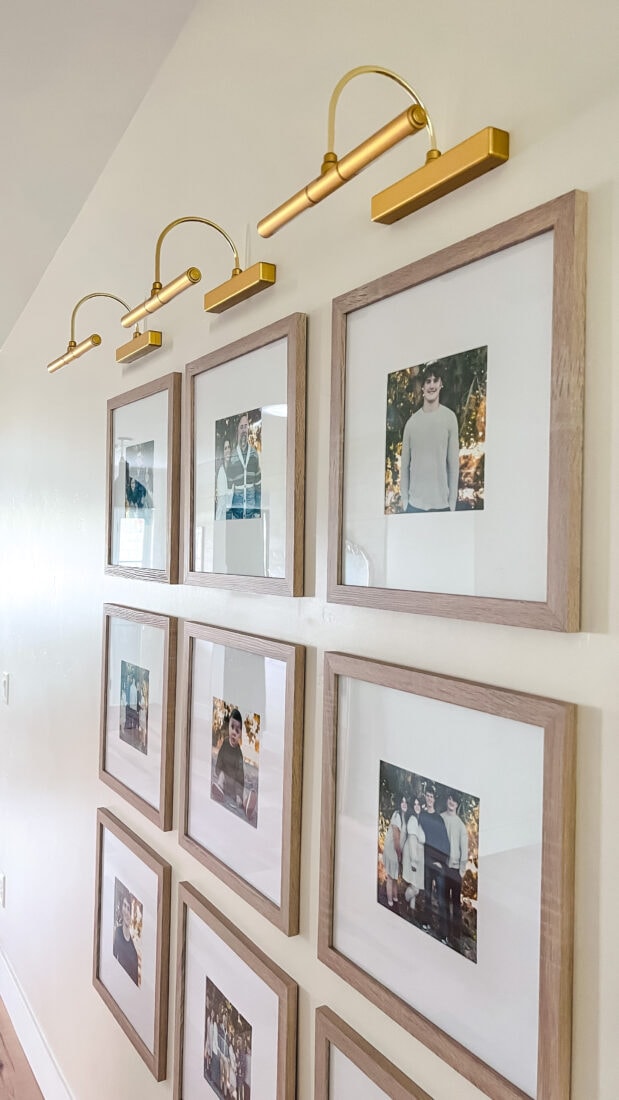
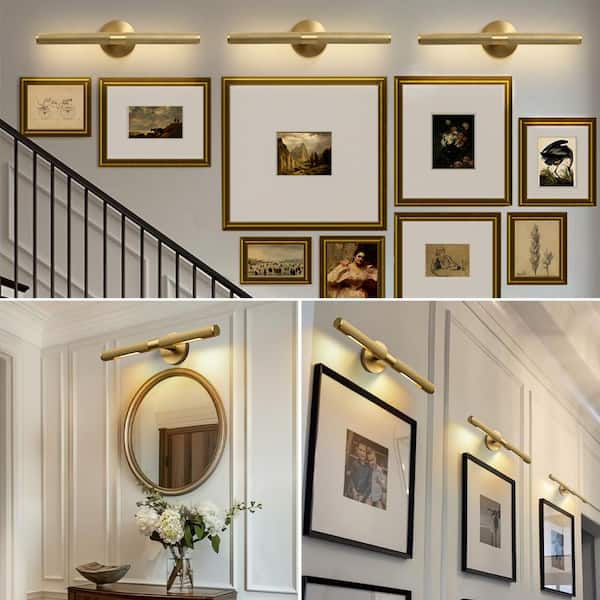
Aim spotlights or picture lights 30° above each piece for even, glare-free illumination.
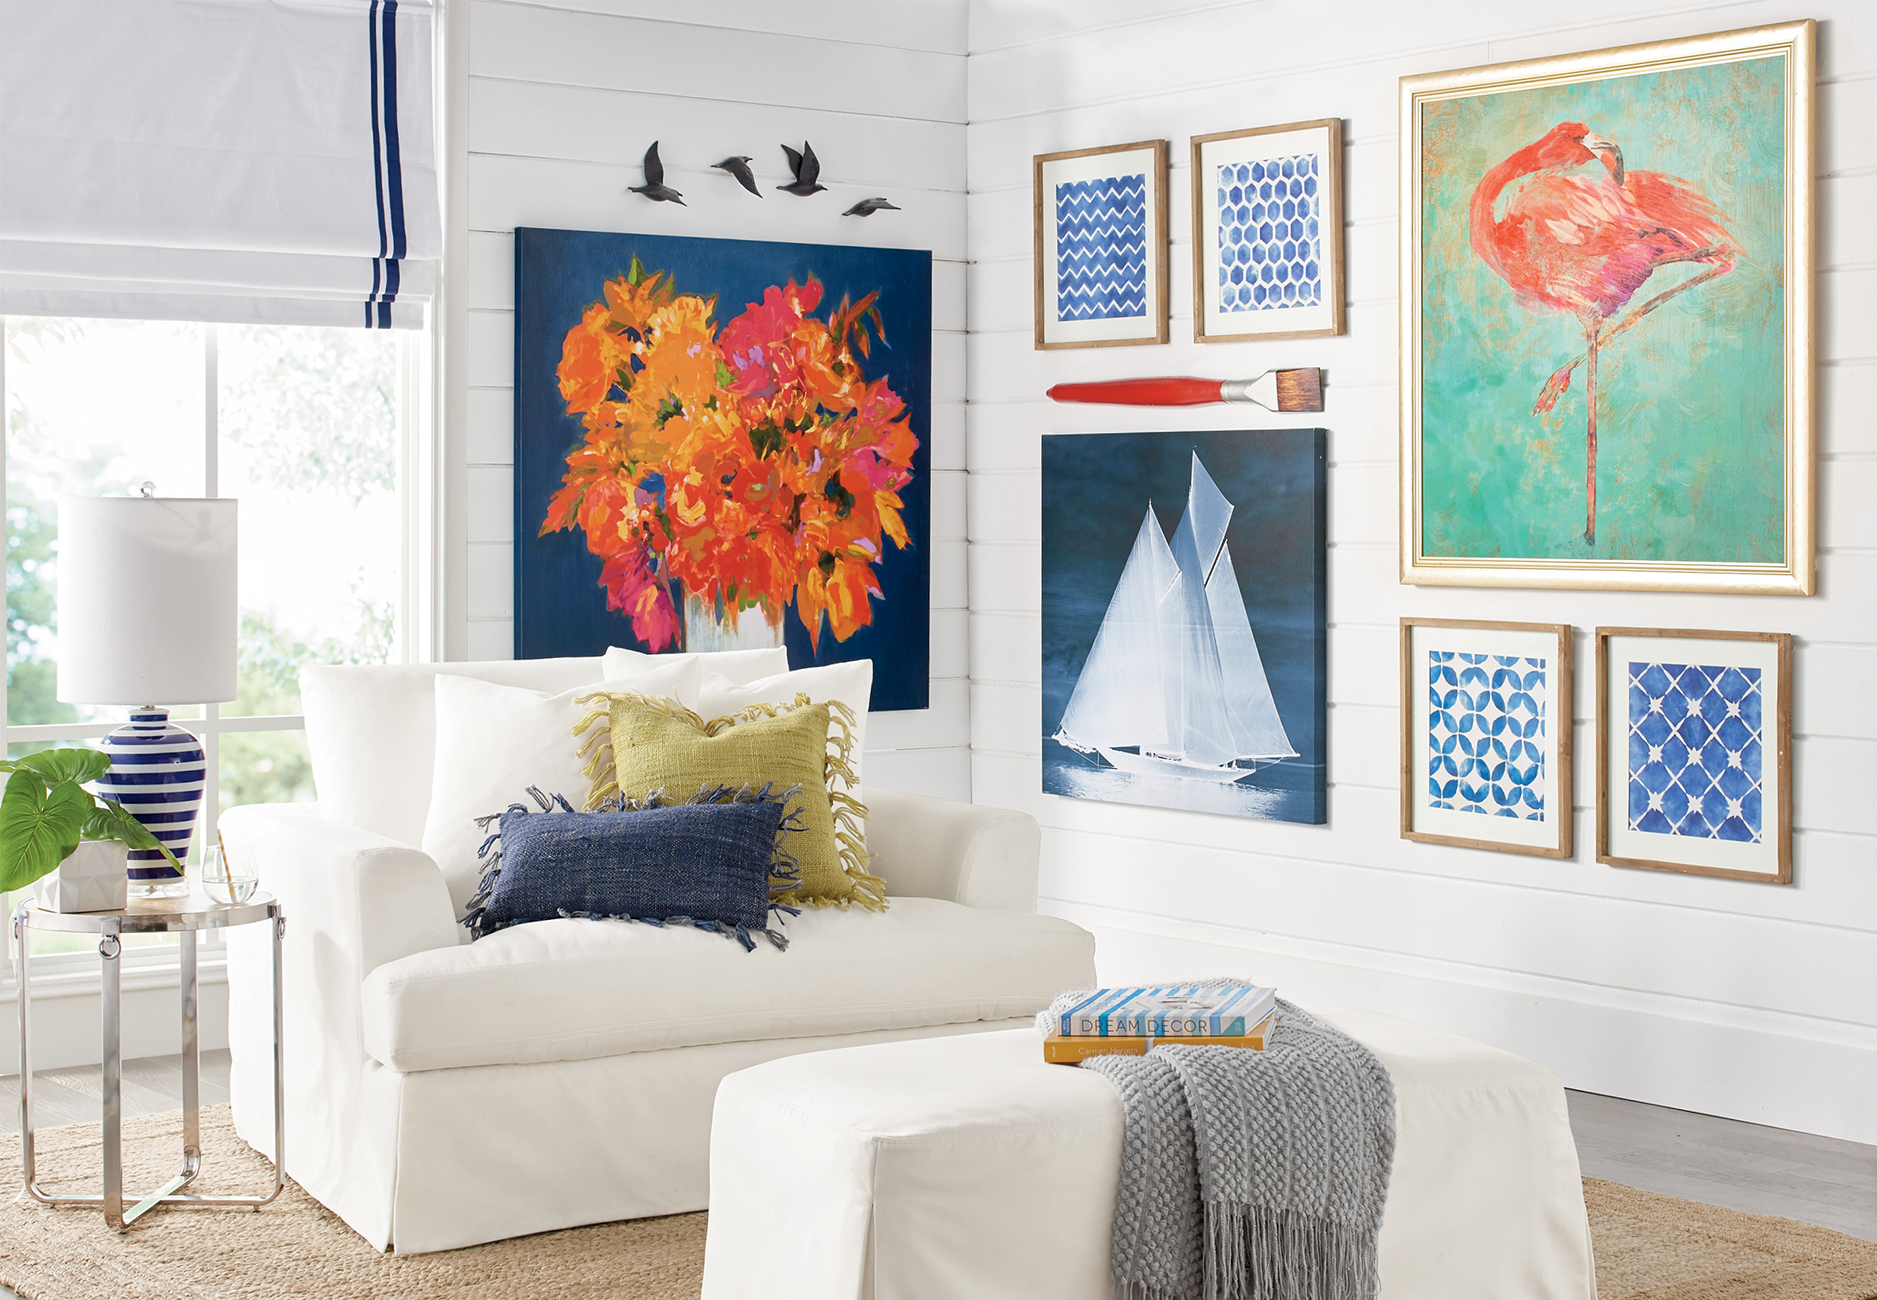
Lighting a gallery wall can transform a room from flat to focused, and knowing how to light a gallery wall makes your art pop and your space feel intentional. I’ve designed and lit dozens of gallery walls in homes and small galleries, and in this guide I’ll share simple rules, real-world tips, and mistakes I learned the hard way. Read on to learn how to light a gallery wall with confidence, whether you choose track lighting, picture lights, recessed cans, or LED strips.
Plan the layout and lighting goals
Start by deciding what you want the light to do. Do you want drama, soft ambience, or museum-style accuracy? Knowing the goal shapes fixture type, brightness, and color.
Measure your wall height and art dimensions. Aim for a consistent visual line across the display. Mapping the layout first prevents re-drilling and uneven light.
In my experience, sketching the wall on paper and marking each art piece helped me avoid common spacing mistakes. When I first started, I underestimated how much light a large print needs. Planning saved time and money.

Choose the right fixtures for how to light a gallery wall
Fixture choice is the backbone of how to light a gallery wall. Each option has pros and cons.
- Picture lights: Classic and direct. They attach above or on the frame and highlight single pieces well.
- Track lighting: Flexible and adjustable. Good for mixed sizes and for changing displays.
- Recessed adjustable cans: Clean look when your ceiling height allows. They can create focused pools of light.
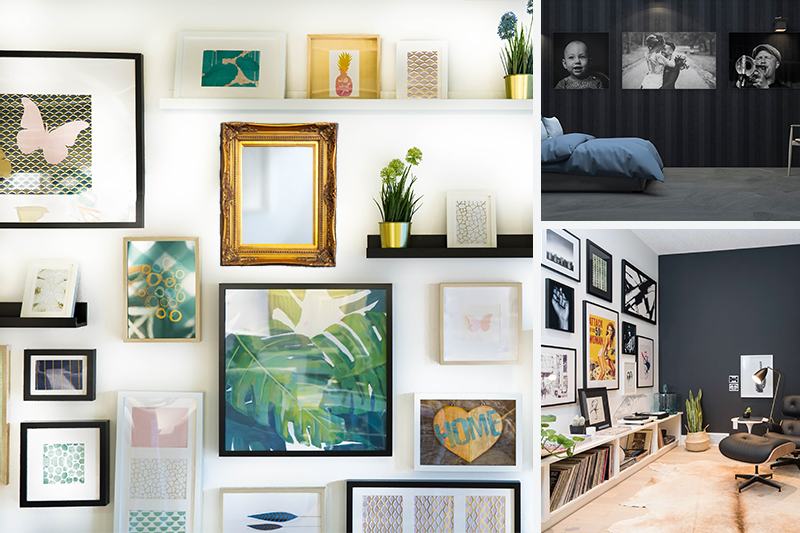
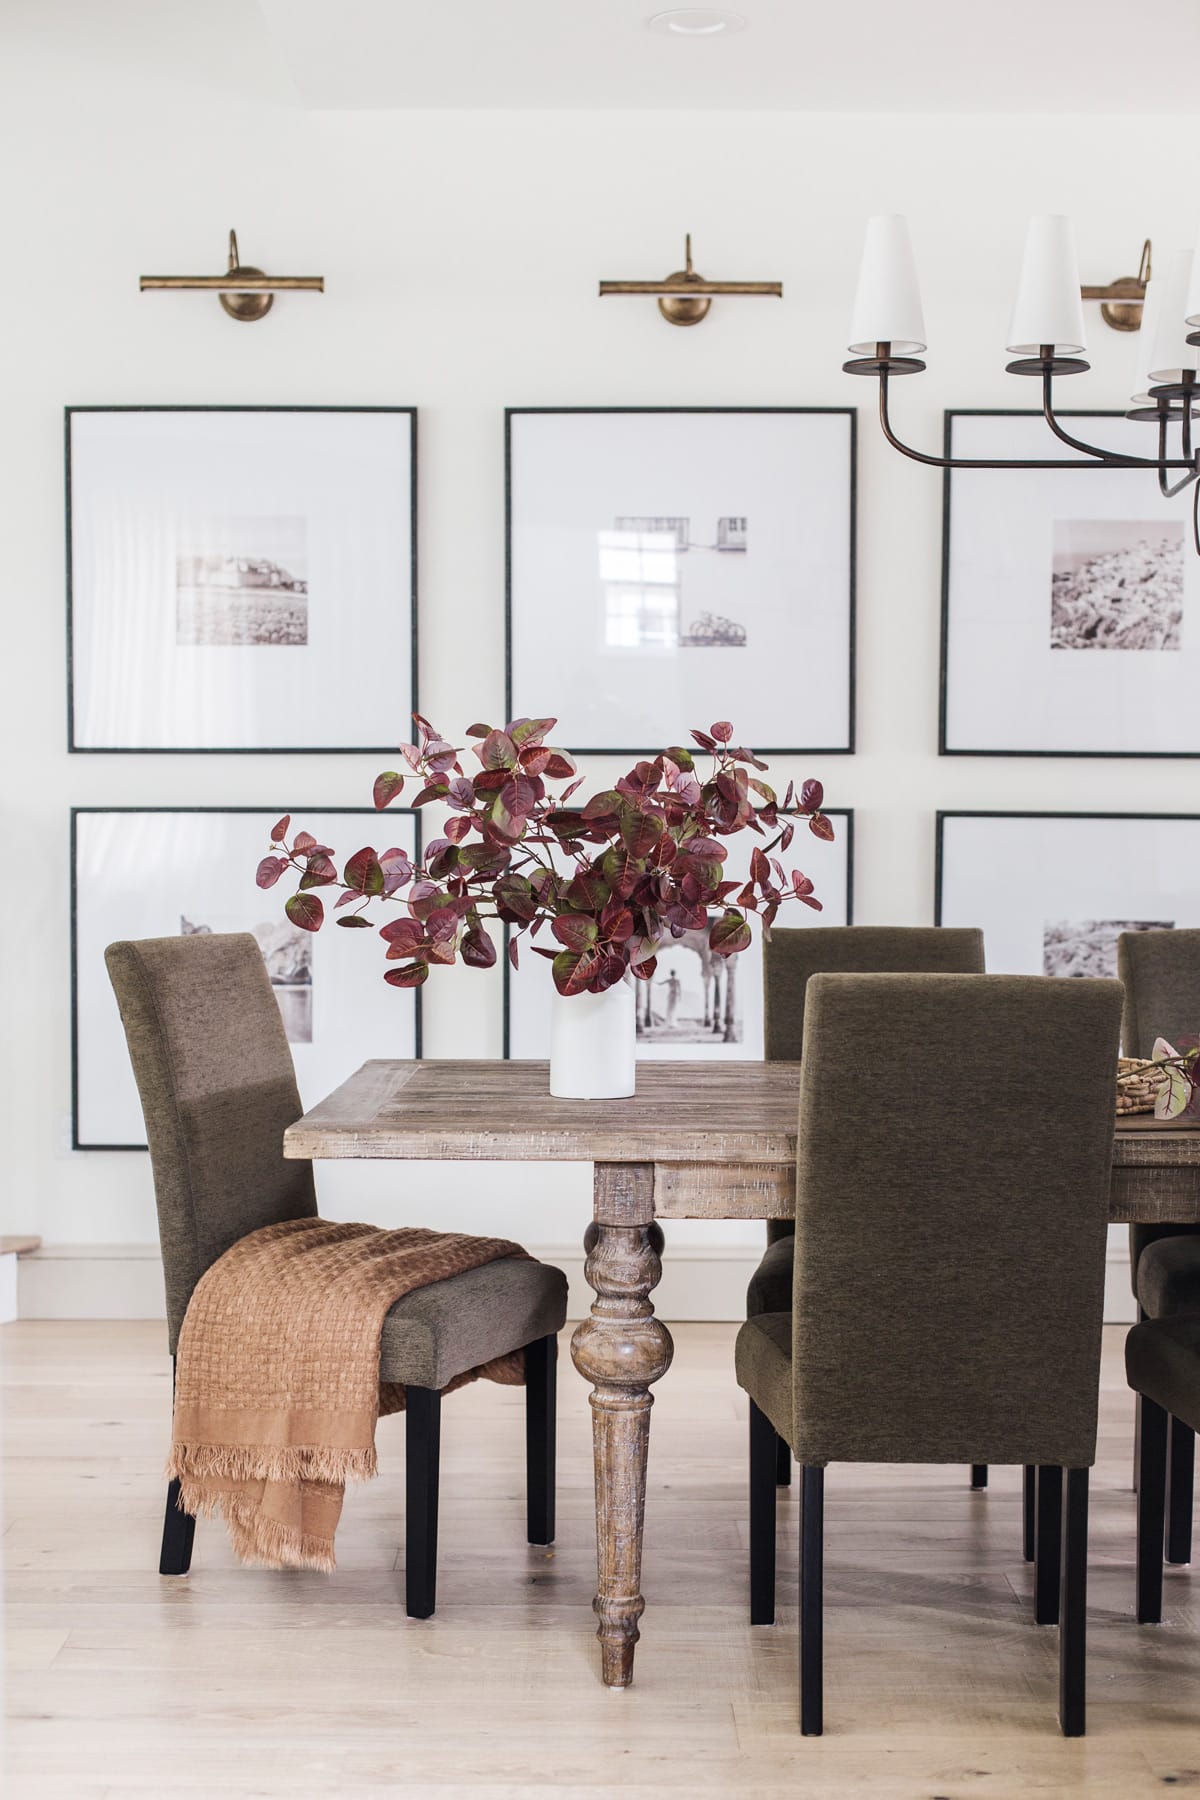
- Wall washers: Even illumination across the wall. Great for many small pieces grouped tightly.
- LED strips: Subtle, low-heat option for backlighting or shelves. Works well for modern displays.
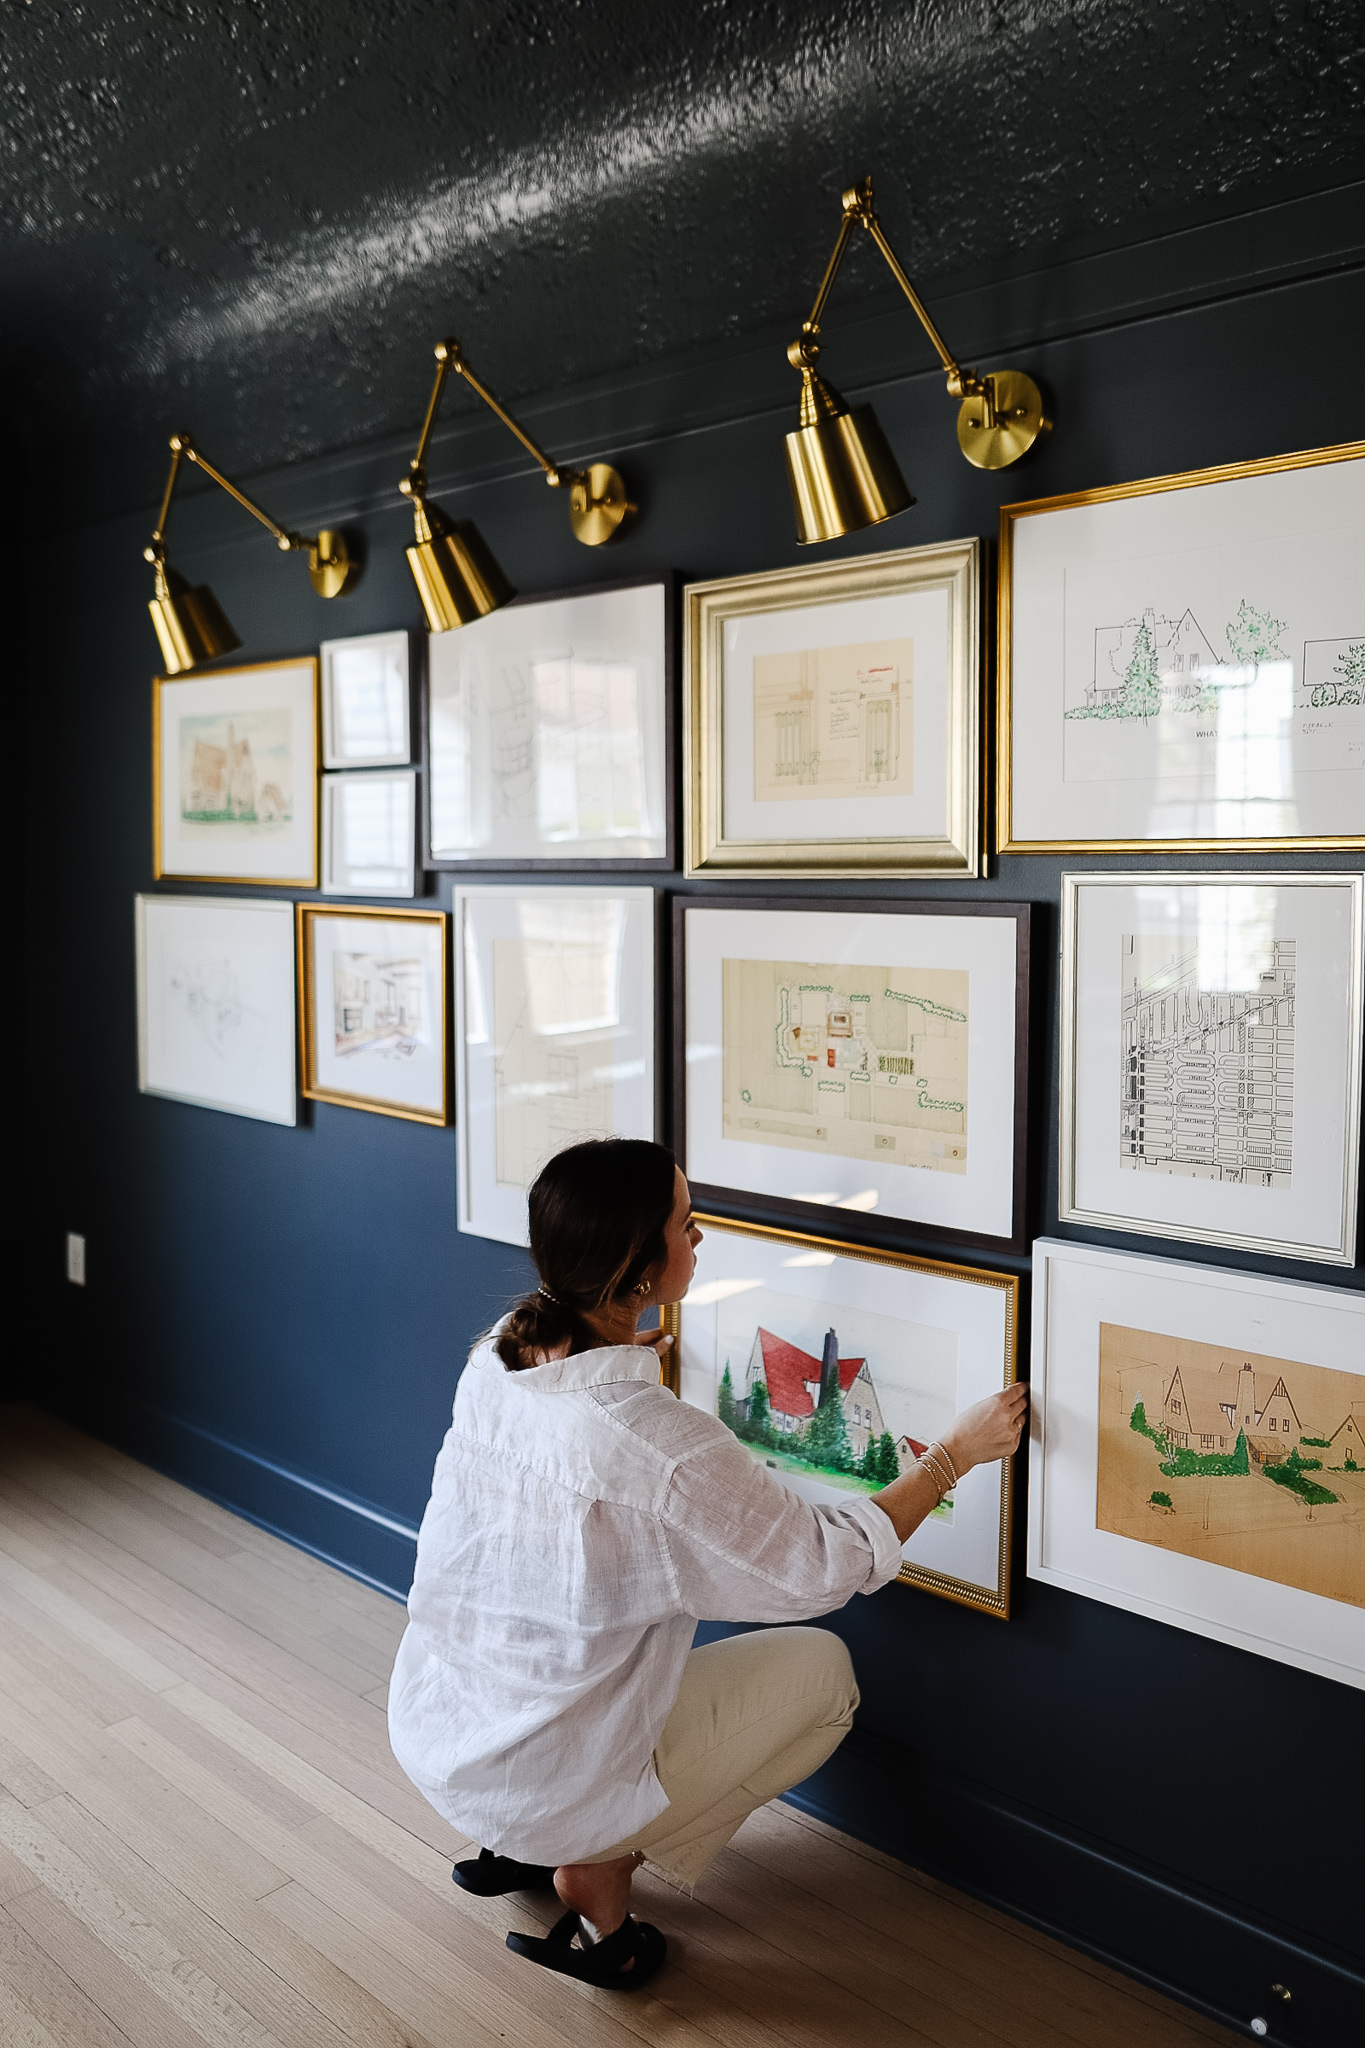
I often use track lighting for living rooms because it adapts when homeowners swap art. Picture lights are my go-to for prized prints and delicate frames.
Placement, aiming, and mounting rules
Correct aiming defines success when learning how to light a gallery wall. Small angle changes change the look entirely.
- Aim fixtures about 30 degrees down from the ceiling plane to reduce glare and even out light.
- Keep the light centered on each piece vertically or aim slightly above center for depth.
- Maintain at least 6 to 12 inches between the frame and the light source to avoid hot spots.
- For grouped pieces, aim for a balance where no single frame looks far brighter than others.
I learned to test lamp positions with a step ladder and a helper. Adjusting the angle by 5 degrees often fixed a distracting highlight or shadow.

Bulb selection: brightness, color temperature, and CRI
Choosing bulbs is essential when you decide how to light a gallery wall. Bulb choice affects mood and color accuracy.
- Brightness: Use lumens over watts. Small framed works may need 200–400 lumens; large canvases may need 800+ lumens.
- Color temperature: 2700K–3000K gives warm, cozy tones. 3500K–4000K is neutral and shows detail well. Match temperature to room lighting.
- CRI (Color Rendering Index): Aim for CRI 90+ for accurate colors. Lower CRI can make paint look muddy.
I always test bulbs on a print before installing. A painting that looked vivid under a warm bulb looked flat under a cooler one. Testing avoids surprises.
Layering light for depth and flexibility
Layered lighting is a pro tip for how to light a gallery wall with sophistication. Combine multiple sources for best results.
- Ambient lighting: General room lights keep the space comfortable.
- Accent lighting: Picture lights, track heads, or recessed fixtures to highlight art.
- Task or decorative lighting: Lamps or floor lights add mood and reduce contrast.
Layering helps when the sun moves or when you host different events. I use a dimmer on accent lights so the art looks good day and night.

Dimming, controls, and smart options
Dimmers and controls let you fine-tune how to light a gallery wall for different times and moods.
- Use LED-compatible dimmers to avoid flicker.
- Scene controls or smart bulbs let you program settings for reading, dinner, and parties.
- Consider timers or motion sensors in hallways to save energy.
I installed a two-scene setup: “day” with softer accent light and “evening” with stronger art focus. Guests always comment on the cozy yet dramatic feel.
Safety, heat, and conservation
Safety matters when you learn how to light a gallery wall. Choose low-heat, stable fixtures and follow basic rules.
- Avoid direct hot light on delicate works. Use LEDs that emit little heat.
- Ensure fixtures are rated for the mounts and are securely fastened.
- Check that wiring meets local codes or hire an electrician for hardwired systems.
Early in my career I used halogen fixtures and worried about heat. Switching to LEDs improved safety and preserved the artwork.
Installation tips and common mistakes to avoid
Good installation prevents damage and wasted effort. These tips make the process smoother.
- Mark and level each mount. Use a laser level and painter’s tape to map positions.
- Use the correct anchors for your wall type. Drywall anchors are different from masonry anchors.
- Test light angles before final mounting. Small moves matter.
- Avoid crowding lights too close together; this can create glare and uneven bands.
I once mounted lights too close to ornate frames. The glare ruined the visual. After repositioning, the collection looked cohesive and professional.
Styling and finishing touches
How to light a gallery wall includes how you style it after lights go up. Small details make the display sing.
- Keep glass glare low by angling lights and using non-reflective glass.
- Add subtle wall color or a painted accent to boost contrast if art looks washed out.
- Rotate or rearrange pieces seasonally to refresh the look without rewiring.
I like to swap a centerpiece seasonally. It keeps the wall feeling alive and gives a reason to tweak the lighting slightly.
How to test and fine-tune your lighting
Testing is the final step in how to light a gallery wall. Don’t leave it to chance.
- Observe art at different times of day to check natural light interaction.
- Take photos with your phone to spot hotspots and reflections you might miss in person.
- Ask a friend to view from several angles to catch glare or unevenness.
I always live with a setup for a week before calling it done. Small tweaks during that time make the wall look intentionally curated.
Frequently Asked Questions of how to light a gallery wall
How high should picture lights be mounted?
Mount picture lights so the beam strikes about one-third down from the top of the frame, roughly 6 to 12 inches above the frame, depending on fixture size.
What color temperature is best for art?
A neutral 3000K to 3500K works well for most art, balancing warmth and accurate color without feeling too cool or yellow.
Can I use track lighting with mixed-size frames?
Yes. Track lighting is ideal for mixed sizes because each head is adjustable and can be aimed to suit individual pieces.
How do I prevent glare on framed glass?
Angle lights at about 30 degrees and use non-reflective glass or anti-glare acrylic when possible.
Do LEDs damage artwork over time?
LEDs emit very little UV and heat compared to older bulbs, so they are much safer for artwork. Choose high-quality LEDs and keep brightness appropriate.
Conclusion
Lighting a gallery wall is both technical and creative. Getting it right involves planning the layout, choosing suitable fixtures, selecting correct bulbs, and testing angles. Start with a clear goal, layer your lights, and use dimmers to control mood. Try different setups, test over several days, and don’t fear small adjustments.
Take action this weekend: map your wall, borrow a light to test angles, and make one small change that improves how your art looks. If this guide helped, leave a comment or share your gallery wall photos—I'd love to see what you create.