

Tighten or replace the washer, clean the threads, and use plumber’s tape to stop leaks.
I’ve repaired dozens of shower hoses and dealt with the usual culprits: loose fittings, worn washers, kinks, and mineral build-up. This guide shows how to fix hose on handheld shower head with simple tools, clear steps, and real-world tips so you can stop leaks, restore water flow, and decide when replacement is the smarter choice. Read on for step-by-step instructions, troubleshooting, and maintenance advice that I use in my own home plumbing projects.

Tools and materials you’ll need
Common tools and parts make most fixes quick and affordable. Gather these before you start.
- Adjustable wrench or two small wrenches to hold fittings.
- Needle-nose pliers for stubborn washers or clips.
- Replacement rubber washers and an extra hose (universal size).
- Plumber’s tape (PTFE tape) for threaded connections.
- Soft brush and white vinegar to clean mineral build-up.
- Rag or towel to protect finishes and catch water.
- Bucket to catch drips.

Step-by-step guide to fix hose on handheld shower head
Follow these steps in order. Work calmly and test as you go.
- Turn off water and relieve pressure
- Shut off the shower and, if possible, the bathroom shutoff valve.
- Open the shower briefly to drain remaining water.
- Inspect connections
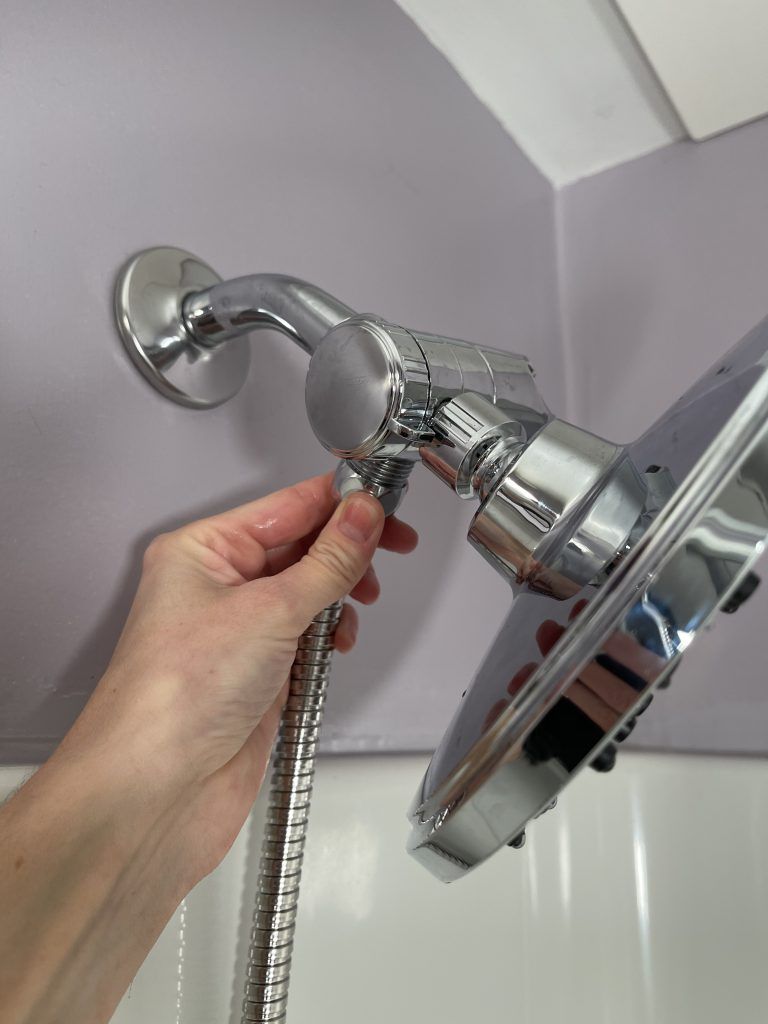
- Unscrew the hose at the handheld head and at the shower arm or bracket.
- Look for loose threads, cracked fittings, or a missing washer.
- Replace or inspect the washer
- Most leaks come from a worn rubber washer inside the hose fitting.
- Remove the old washer and replace it with a snug new one.
- Clean threads and seat surfaces
- Use a soft brush and vinegar to remove mineral deposits on both male and female threads.
- Wipe dry with a rag before reassembling.
- Add plumber’s tape to threaded shower arm
- Wrap 2–3 layers of plumber’s tape clockwise around the male threads.
- This helps create a tight seal without overtightening.
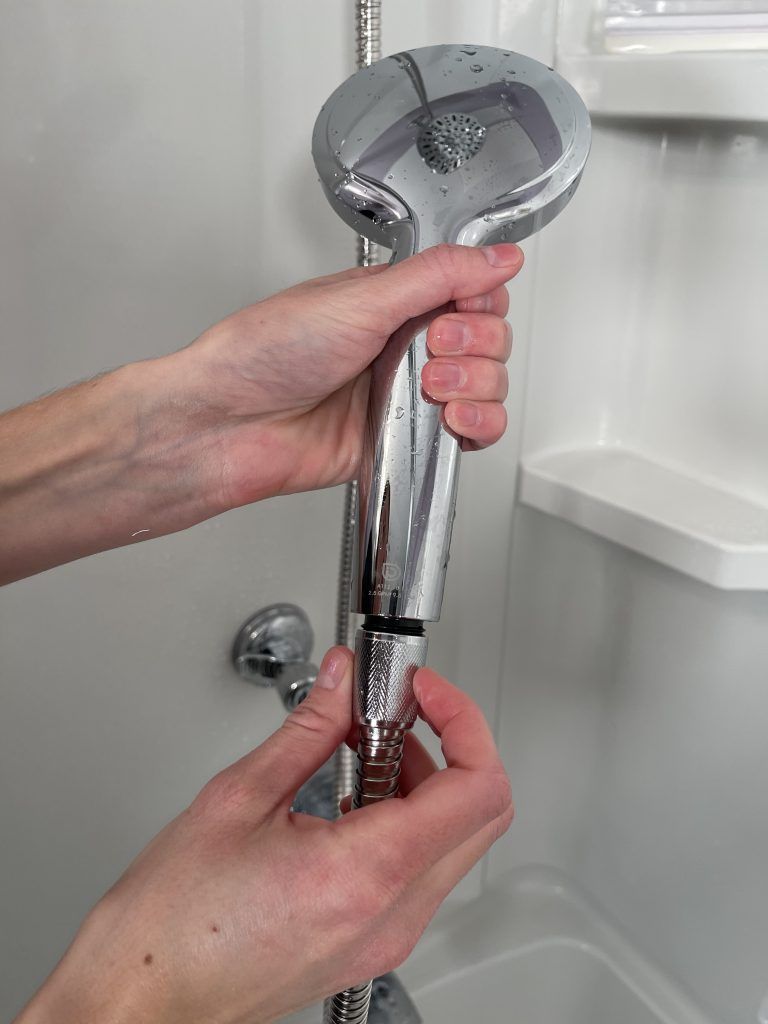
- Reattach hose and hand-tighten, then wrench snug
- Thread the hose on by hand until snug.
- Use a wrench to give a quarter to a half turn—do not overtighten to avoid stripping threads.
- Test for leaks
- Turn the water back on and watch both ends.
- If you still see drips, slightly tighten or repeat washer replacement.
- Check water flow and angle
- Ensure the hose is not kinked and that the handheld head sprays evenly.
- Adjust the bracket or holder so the hose hangs freely to avoid stress.
Personal tip: I always keep a spare washer and a small roll of PTFE tape in my bathroom cabinet. Replacing the washer fixed 80% of my hose leaks within five minutes.
Common fixes for specific problems
Leak at the handheld head
- Likely cause: worn washer or loose fitting.
- Fix: replace washer, clean threads, and tighten.
Leak at the shower arm connection
- Likely cause: missing/old plumber’s tape or damaged threads.
- Fix: remove hose, add PTFE tape, and reattach.
Kinked hose or low flow
- Likely cause: interior blockage or twisted hose.
- Fix: straighten hose, remove head and flush; replace if inner liner is damaged.
Cracked hose or split outer layer
- Likely cause: age or brittle material.
- Fix: replace hose—repair is unreliable for cracks.

How to replace a handheld shower hose
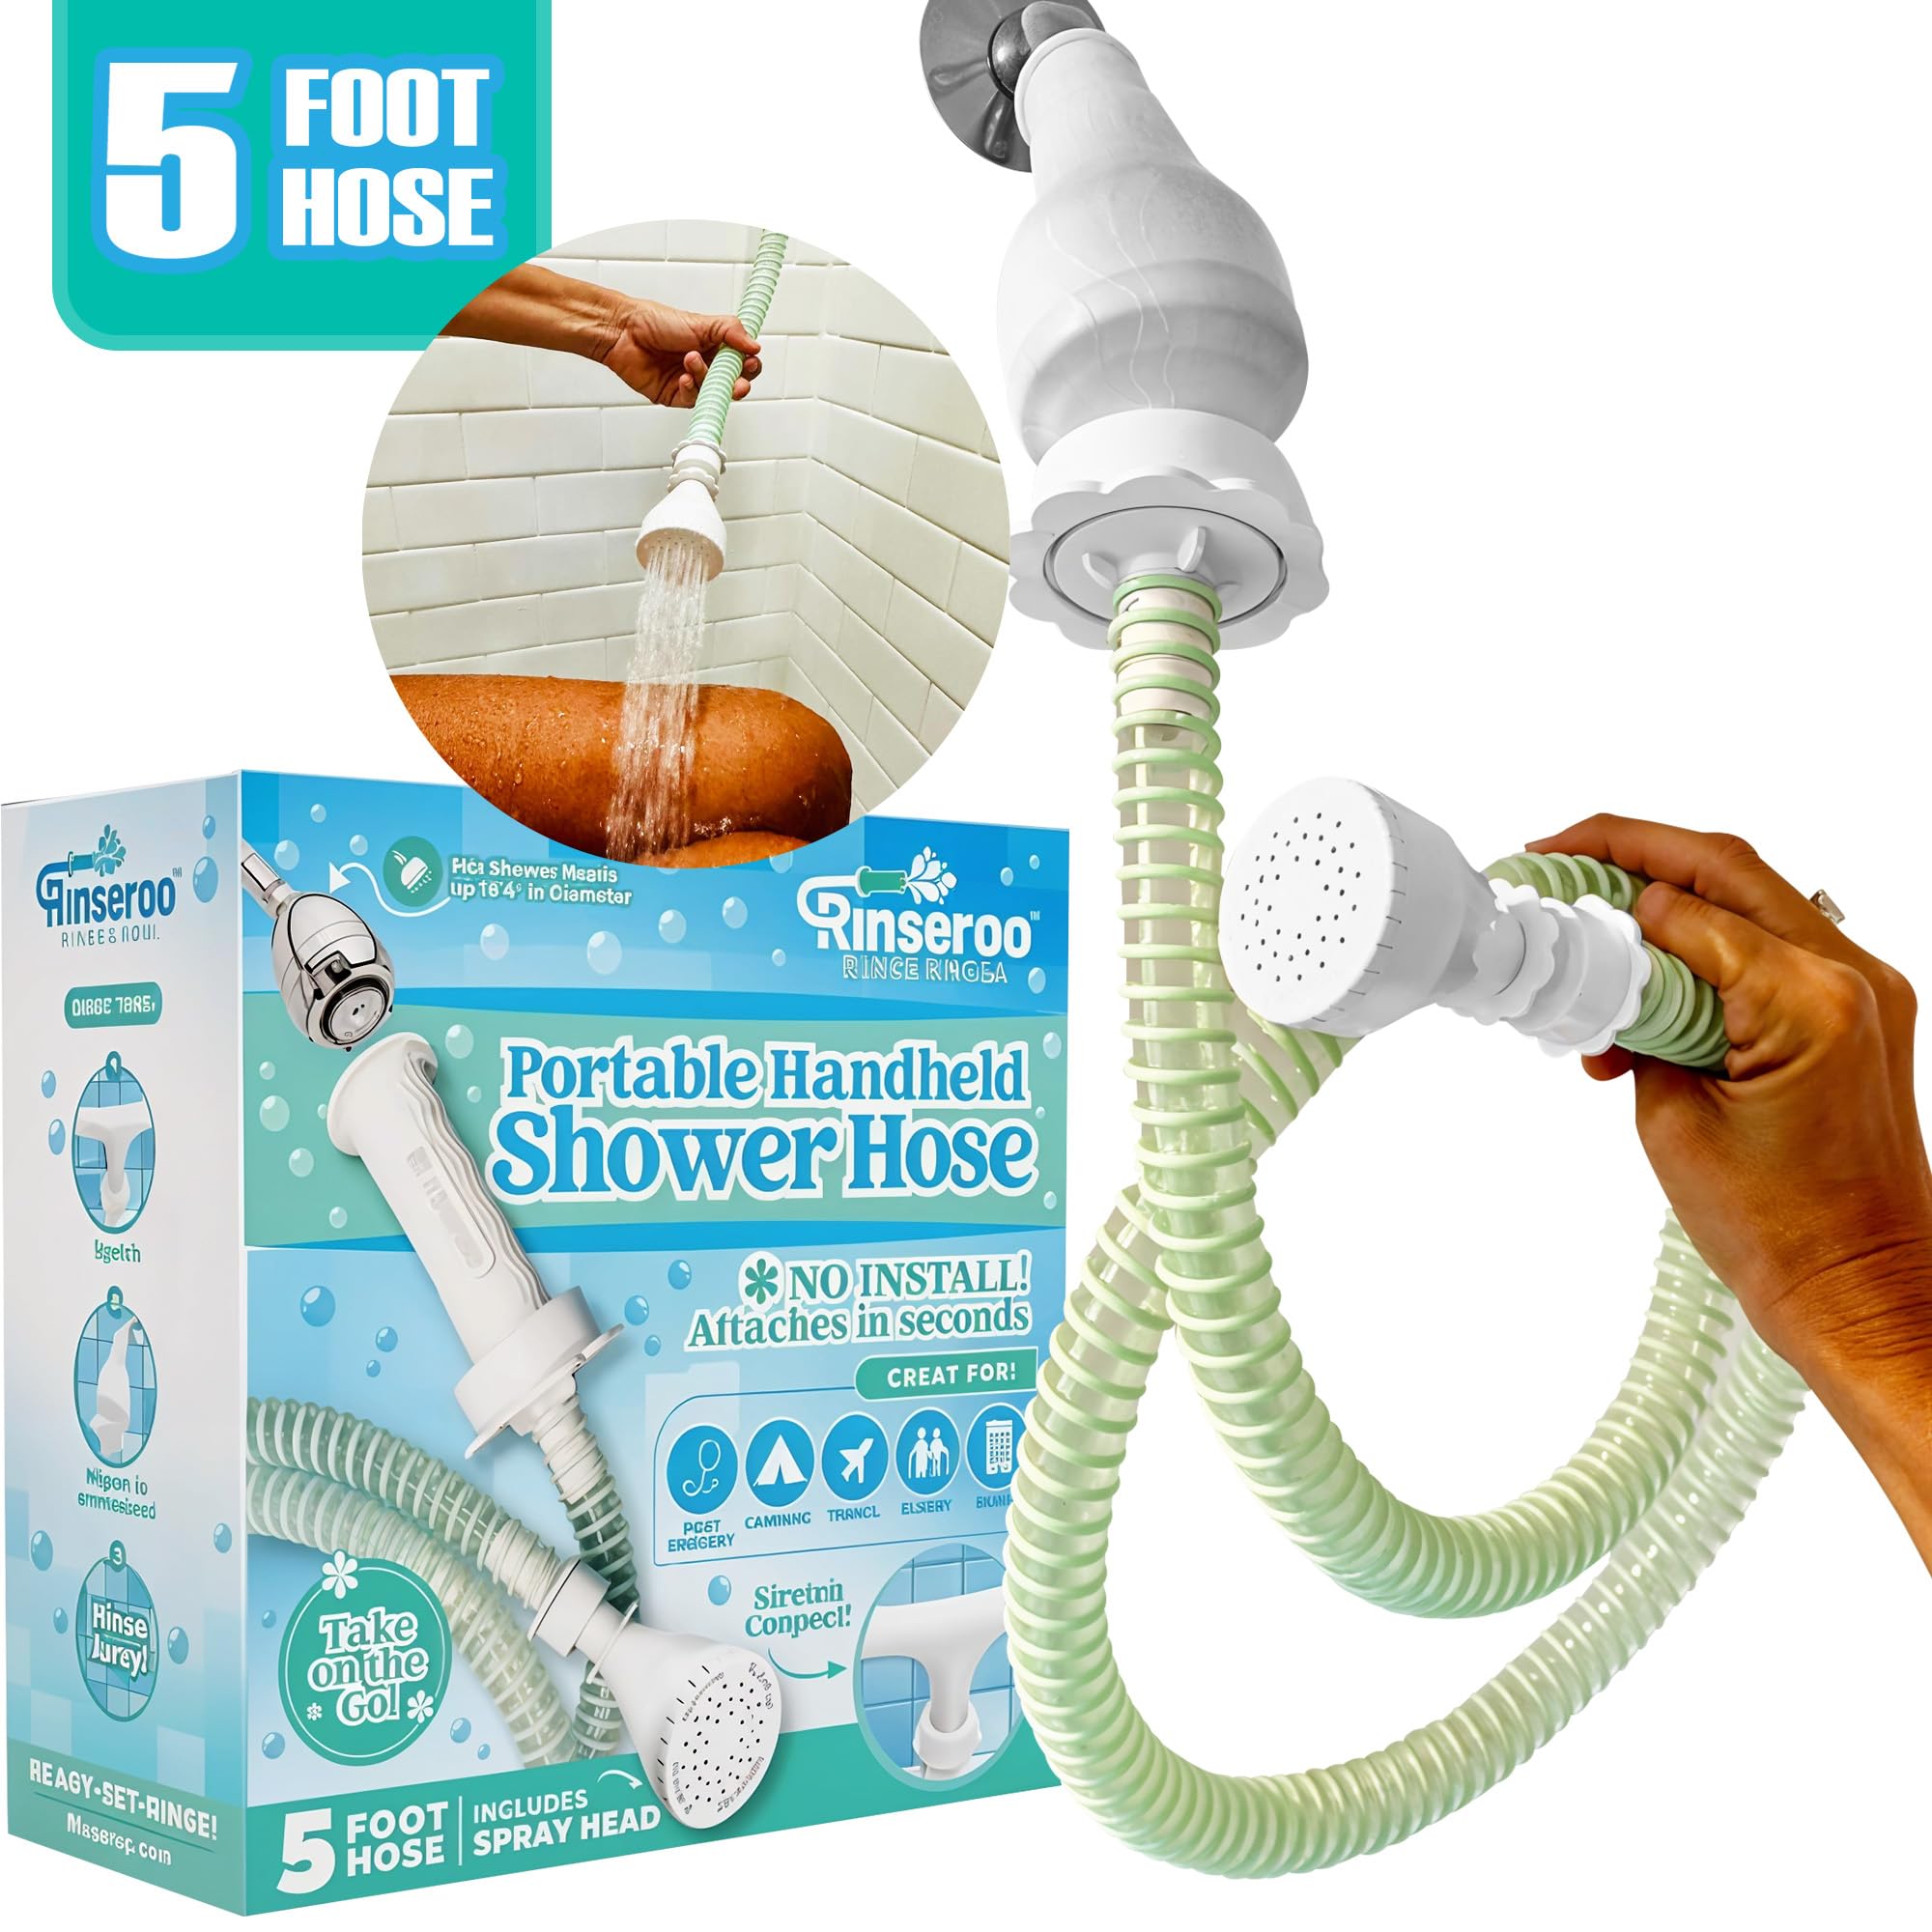
When repairs fail, replacement is fast and inexpensive.
- Choose the right replacement hose
- Measure the length you need (common lengths: 60, 72, 80 inches).
- Pick chrome-plated stainless steel or reinforced PVC for durability.
- Remove the old hose
- Hold the fixed fitting with one wrench and turn the hose fitting with the other.
- If metal is stuck, protect finishes with a rag and apply steady pressure.
- Install the new hose
- Ensure the new hose has the correct washers included. If not, add one.
- Hand-tighten both ends. Add a wrench snug turn if necessary.
- Add PTFE tape where appropriate
- Wrap tape on the shower arm’s male threads before connecting.
- Avoid taping under hose washers—only tape bare threads.
- Test and adjust
- Run the shower and check both connections.
- Adjust the bracket or slide bar so the hose hangs without stress.
From my experience, replacing a worn hose takes 10–20 minutes and solves most persistent problems. A quality hose makes a big difference in feel and reliability.
Maintenance tips to prevent future hose issues
A few habits stop most hose problems before they start.
- Inspect washers every few months and swap them if flattened.
- Keep the hose free from tight loops and kinks when not in use.
- Clean the handheld head aerator and hose ends with vinegar quarterly.
- Avoid heavy soaps or oils that can degrade rubber washers.
- Replace the hose every 3–7 years depending on usage and water quality.
Small checks save time and money. I learned that a yearly quick inspection prevented two emergency replacements.

Troubleshooting checklist
Use this quick checklist when you have a problem.
- No water or low pressure
- Check for kinks, clogged head, or diverter issues.
- Leak at handheld head
- Replace washer and check threads.
- Leak at shower arm
- Reapply PTFE tape and tighten fittings.
- Water sprays unevenly
- Remove head and soak in vinegar to clear mineral deposits.
- Hose detaches easily
- Inspect threads and replace stripped fittings or hose.
This checklist is a fast way to triage common issues and decide if you can fix it yourself or call a pro.
Frequently Asked Questions of how to fix hose on handheld shower head
What causes a handheld shower hose to leak?
Worn rubber washers, loose fittings, or mineral build-up on threads cause most leaks. Replace the washer and clean threads to often stop the leak.
How do I know if I should replace the hose instead of repair it?
Replace when the hose has visible cracks, inner liner damage, persistent low flow, or multiple failed fixes. A new hose is inexpensive and reliable.
Can I use plumber’s tape on the hose washer?
No. PTFE tape goes on the metal threads, not under the hose washer. Taping under the washer can prevent a proper seal.
How tight should I make the hose fittings?
Hand-tighten first, then give a quarter to half turn with a wrench. Overtightening can strip threads or crush washers.
Will hard water cause hose problems?
Yes. Hard water leaves mineral deposits that clog spray holes and corrode threads. Regular vinegar cleaning helps prevent these issues.
Conclusion
You can fix most problems if you know how to fix hose on handheld shower head: inspect fittings, replace washers, clean threads, and add PTFE tape when needed. Small repairs are cheap, quick, and often prevent bigger issues later. Try the step-by-step fixes above, keep a spare washer and tape handy, and replace the hose if damage is visible.
Take action today—check your hose, do a quick repair, or swap in a new hose for better performance. Leave a comment with your issue or share what worked for you.