

Build a sturdy chest of drawers with simple plans, basic tools, and clear step-by-step instructions.
I specialize in woodworking and have designed and built many pieces, so I’ll guide you through how to build chest of drawers plans that are accurate, easy to follow, and tailored to your skill level. This guide covers materials, measurements, step-by-step build instructions, drawer details, finishing, and real-world tips from my shop to help you complete a durable, attractive chest of drawers.
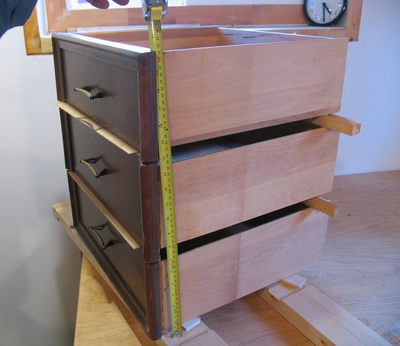
How to build chest of drawers plans: Materials and Tools
Choosing the right materials and tools is the first step when learning how to build chest of drawers plans. Use stable, straight lumber or quality plywood for carcasses, and pick solid wood for faces and drawer fronts for a nicer look and long-term repairability.
Essential materials
- Sheet goods: 3/4-inch plywood for carcass and top
- Solid wood: 3/4-inch hardwood for drawer fronts and trim
- Drawer bottoms: 1/4-inch plywood or rabbeted plywood panels
- Fasteners: 1 1/4-inch and 3/4-inch screws, wood glue, brad nails
- Drawer hardware: ball-bearing slides or full-extension slides
- Finishing supplies: sandpaper, wood filler, stain or paint, topcoat
Essential tools
- Circular saw or table saw for panels
- Miter saw for trim and rails
- Drill and countersink bit
- Router with straight bit for dadoes and grooves
- Clamps and square for assembly
- Tape measure and marking tools
I learned early to invest in good drawer slides. Cheap hardware will ruin a great build. Pick the right tools and you’ll cut and assemble more confidently.

How to build chest of drawers plans: Planning and measurements
Good plans start with clear dimensions and functions. Decide height, width, depth, and drawer layout before cutting wood. Typical chest dimensions are 30–48 inches wide, 30–54 inches tall, and 16–20 inches deep, but personalize to suit space and needs.
Steps to plan
- Sketch a front elevation showing drawer sizes and spacing.
- Decide internal carcass width by subtracting side thickness from outer width.
- Plan drawer box sizes so drawer bottoms sit in a 1/4-inch groove and slide hardware fits.
- Lay out parts on sheet goods to reduce waste and save money.
I always mock up a paper template to check proportions. It saves time and keeps the final piece balanced. Keep notes on material cuts so the build is predictable.
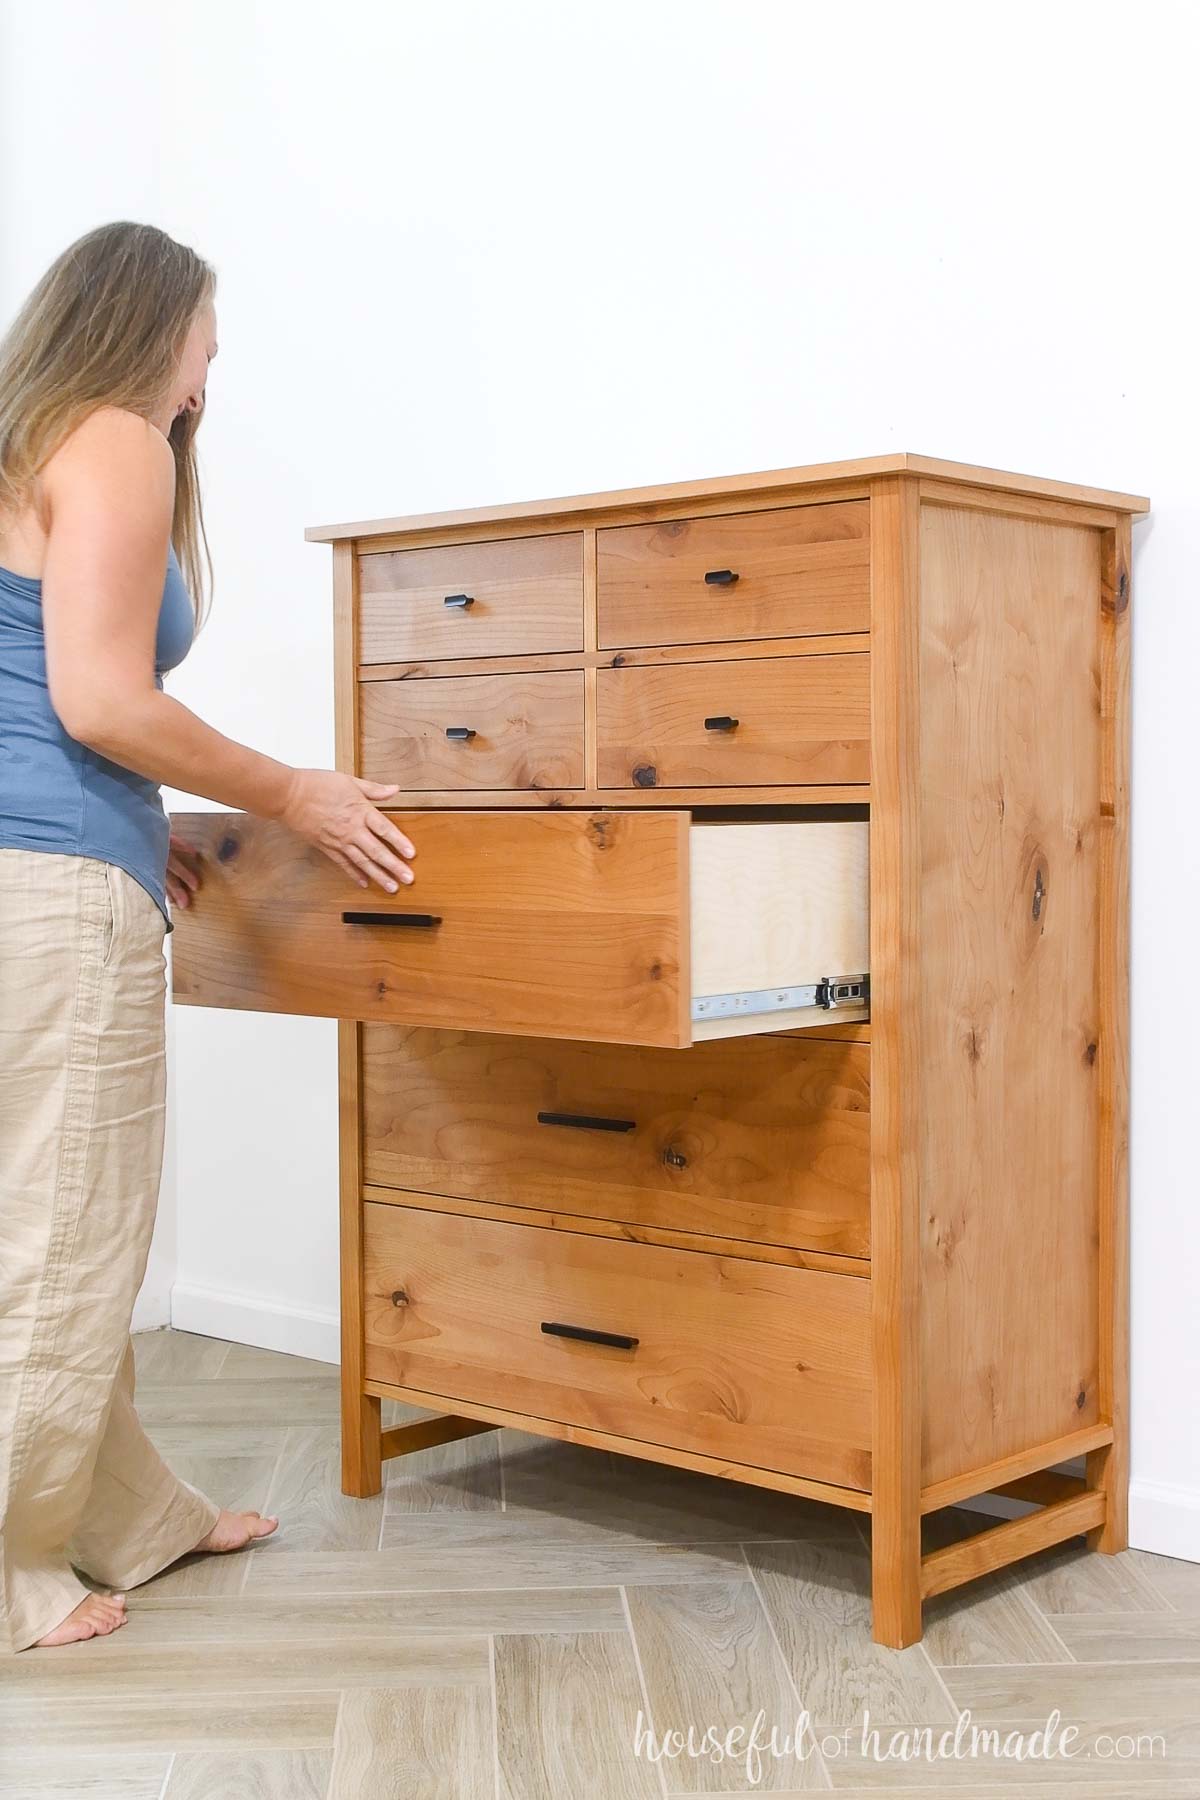
How to build chest of drawers plans: Step-by-step build guide
Follow these steps to construct a basic chest of drawers. I’ve built many variations of this plan; this one is reliable for beginners and intermediate woodworkers.
- Cut and prep panels
- Cut top, bottom, two sides, and back panels from 3/4-inch plywood.
- Test-fit panels and sand edges smooth.
- Join the carcass
- Cut dados or rabbets for the bottom and top to sit in the sides.
- Dry-fit the carcass, then glue and clamp. Reinforce with screws or pocket holes.
- Attach the back panel with glue and screws.
- Fit internal supports
- Add fixed shelves or a center cleat for drawer slides.
- Mark and cut grooves for drawer bottoms and install cleats for slide mounting.
- Build drawer boxes
- Cut side, front, back, and bottom for each drawer.
- Join with dovetails, box joints, or butt joints reinforced with glue and screws.
- Install drawer bottoms into grooves.
- Install slides and stops
- Mount drawer slides inside the carcass and on the drawer boxes.
- Add stops to prevent drawers from being pulled through.
- Attach drawer fronts
- Line up drawer fronts and attach with screws from inside.
- Check spacing and adjust until consistent gaps are maintained.
- Final sanding and finish
- Fill joints and holes, sand progressively up to 220 grit.
- Apply stain or paint and a durable topcoat.
When I first built a chest, I skipped the center cleat and the drawers sagged. The cleat makes drawer alignment easy and prevents racking. Measure twice and cut once—this old rule matters most here.

How to build chest of drawers plans: Drawer construction and hardware choices
Drawer quality determines the user experience. Spend time on fit and hardware so drawers glide smoothly and last for years. How to build chest of drawers plans must include reliable hardware guidance.
Drawer box options
- Simple butt-joint boxes are fastest when reinforced with glue and screws.
- Dovetail or box joints add strength and look professional.
- Rabbets with glued bottoms offer plenty of strength for most uses.
Hardware choices
- Side-mount ball-bearing slides for easy fit and full extension.
- Undermount soft-close slides for a clean look and smooth operation.
- Traditional wooden runners for a vintage feel; these require tighter tolerances.
Tips from the shop
- Use 1/4-inch bottom with a groove, not glued, so wood can move seasonally.
- Make drawer faces slightly larger than the box to allow gap tuning.
- Test each drawer before finishing; adjust shims and screws for perfect gaps.
Choosing the right slide can save you frustration. I now specify ball-bearing full extension slides for most chests because they hold weight and feel solid.

How to build chest of drawers plans: Finishing and painting
A good finish protects the wood and lifts the design. Consider stain for a natural look or paint for color and uniformity. How to build chest of drawers plans must include finishing steps to ensure durability.
Finishing steps
- Sand all surfaces progressively: 120, 150, 180, 220 grit.
- Fill gaps and nail holes with wood filler; sand again.
- Apply pore filler if using a clear finish on open-grain woods.
- Stain or prime, then apply at least two coats of topcoat (polyurethane or lacquer).
Paint tips
- Use a shellac-based primer for knotty woods.
- Sand between topcoat layers with fine grit for a smooth finish.
- Mask hardware and drawers while spraying or brushing.
I prefer using a wipe-on poly for a quick, even finish on daily-use furniture. It dries fast and is repairable.
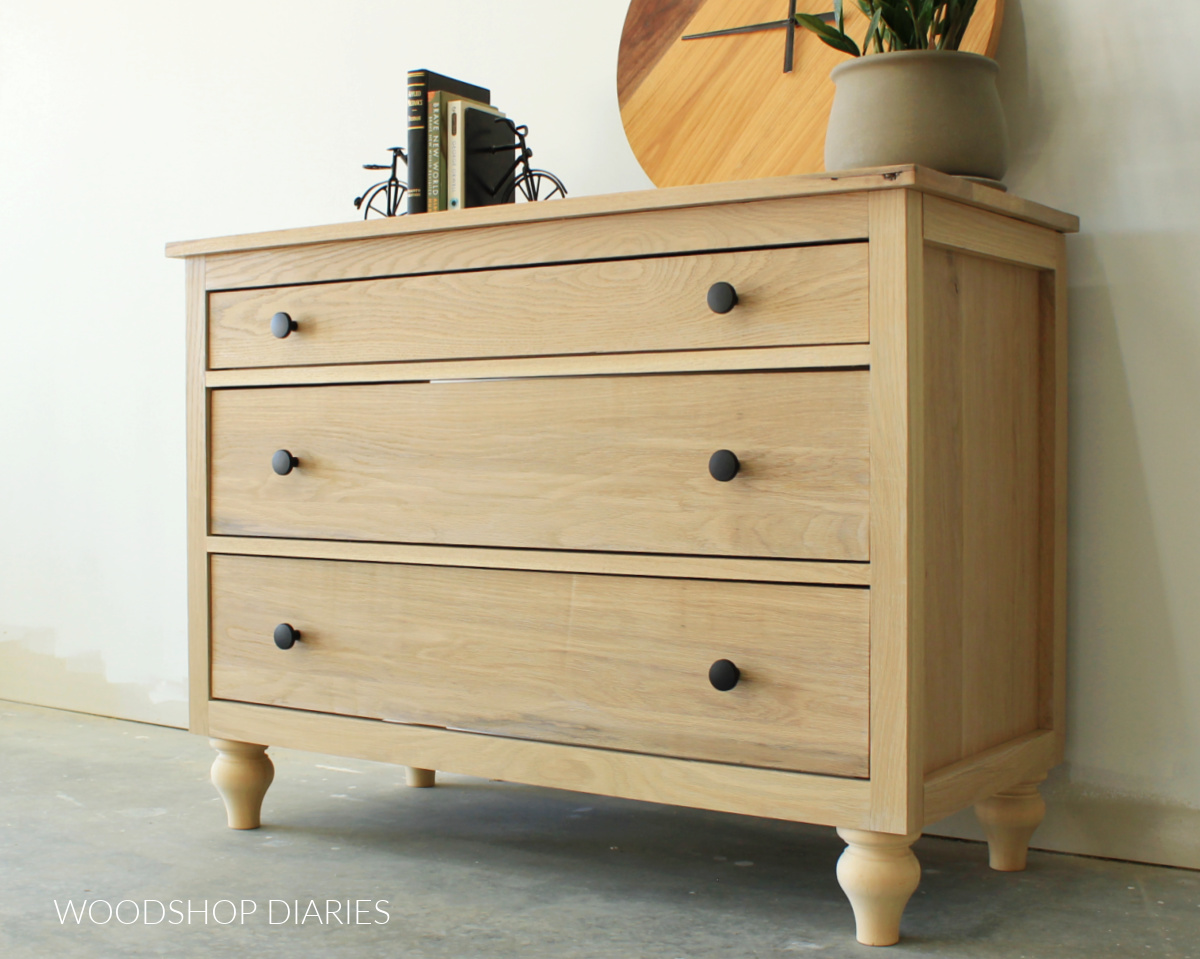
How to build chest of drawers plans: Tips, common mistakes, and troubleshooting
A few common mistakes can derail a build. Knowing them ahead of time will keep your project on track. This section highlights practical fixes and lessons I learned over years of building.
Common mistakes
- Skipping a dry-fit. This leads to misaligned parts and wasted time.
- Using weak slides for heavy drawers. Cheap slides bind and wear out.
- Ignoring wood movement. Tight bottoms and painted faces can crack or warp.
Troubleshooting tips
- Drawer sticks: sand the contact area lightly and add wax or paste wax to runners.
- Misaligned fronts: loosen screws, reposition, and re-tighten with shims.
- Sagging top: add a stretcher below the top to prevent bowing.
Personal lesson
- Once I built a chest too tall without a back cleat; it twisted in transport. Now I always add a heavy back panel and internal bracing for stability.
Follow these tips and your chest will be sturdy and long-lasting. How to build chest of drawers plans becomes simpler when you plan for these issues.

Frequently Asked Questions of how to build chest of drawers plans
What lumber is best for how to build chest of drawers plans?
Use 3/4-inch plywood for the carcass and solid hardwood for drawer fronts. This mix keeps costs down and gives a nice finish on visible parts.
How deep should a chest of drawers be when following how to build chest of drawers plans?
A depth of 16 to 20 inches is common and fits most bedrooms. Match drawer depth to what you plan to store.
Can a beginner follow how to build chest of drawers plans?
Yes, beginners can build a simple chest with basic tools if they follow clear plans and measure carefully. Start with simple joints and reliable slides.
How long does it take to complete how to build chest of drawers plans?
A focused weekend can produce the carcass and rough drawers; finishing takes extra days for sanding and coats to dry. Total time depends on skill and finish choice.
Do I need specialized joinery for how to build chest of drawers plans?
No, butt joints reinforced with glue, screws, or pocket screws work fine; dovetails add strength and appearance but are optional. Choose joinery based on skill and tools.
Conclusion
You now have a clear path for how to build chest of drawers plans—from materials and measuring to build steps, drawer work, hardware, and finishing. Start with a solid plan, steady measurements, and good hardware to avoid common pitfalls and get a long-lasting piece. Try a simple plan first, learn from the build, and then scale up to more detailed designs; share your results or ask questions below to keep improving.