

Is your shower head too high, making it hard to enjoy a comfortable shower? You’re not alone.
Many people struggle with shower heads that don’t fit their height or preferences. The good news is, lowering your shower head is easier than you think. In this guide, you’ll discover simple steps to adjust your shower head to the perfect height, so every shower feels just right.
Keep reading, and you’ll be enjoying a better shower experience in no time!

Credit: www.youtube.com
Choose The Right Tools
Choosing the right tools makes lowering a shower head easier and safer. Proper tools help avoid damage and save time. Preparing before starting ensures a smooth process. Below are the key tools and safety tips you need.
List Essential Tools
- Adjustable wrench – for loosening and tightening nuts
- Plumber’s tape (Teflon tape) – to prevent leaks
- Pipe wrench – useful for stuck or tight fittings
- Soft cloth or rag – protects the shower head finish
- Bucket or container – to catch water drips
- Step stool or ladder – if the shower head is high
Safety Precautions
Turn off the water supply before starting work. This stops water flow and prevents spills.
Wear gloves to protect your hands from sharp edges. Use eye protection if you expect splashes.
Check the ladder or stool for stability before climbing. Avoid overreaching to keep balance.
Work slowly and carefully to avoid breaking pipes or fittings. If unsure, ask for help.
Credit: www.etsy.com
Prepare The Shower Area
Preparing the shower area is the first step to safely lower a shower head. A clean and dry space helps avoid accidents and makes the task easier. Take time to get everything ready before starting.
Turn Off Water Supply
Locate the main water valve or the shower’s water control. Turn it off fully to stop water flow. This prevents leaks and water damage during the process. Double-check by turning on the shower handle. No water should come out.
Clear The Workspace
Remove all items near the shower, like shampoo bottles and soap dishes. Clear towels and mats from the floor to avoid slipping. Keep tools and replacement parts nearby for easy access. A tidy workspace makes the job faster and safer.
Remove The Existing Shower Head
Removing the existing shower head is the first step to lower it. This task is simple and does not need special tools. You only need to be careful and patient. Follow these steps to remove your shower head safely.
Loosen The Shower Head
Start by turning off the water supply. Use a cloth to protect the shower arm. Grip the shower head with an adjustable wrench. Turn the wrench counterclockwise to loosen the shower head. If it moves easily, continue until it comes off. Keep the shower arm clean and ready for the new head.
Handle Stuck Fixtures
Some shower heads may be hard to remove. Apply a lubricant like WD-40 around the joint. Let it sit for 10 minutes. Use the wrench again to turn the shower head. If it still won’t budge, try tapping gently with a rubber mallet. Avoid using too much force to prevent damage.
Credit: bostingner.com
Adjust The Shower Arm
Adjusting the shower arm is a simple way to lower your shower head. This change can make your shower more comfortable. It also helps if the current height feels too high or awkward.
The shower arm is the pipe that connects the shower head to the wall. By moving this arm, you control the shower head’s position. Follow these easy steps to adjust it correctly.
Loosen And Lower The Arm
Start by turning off the water supply. Use a wrench or pliers to loosen the shower arm from the wall pipe. Turn it slowly to avoid damage. Once loose, gently lower the arm to the desired height. Do not force it down too much to prevent leaks.
Check Alignment And Position
After lowering, check the shower arm’s alignment. Make sure it points in the right direction. The shower head should spray water where you want. Tighten the arm securely to avoid movement. Test the water flow to confirm the new position feels right.
Install The Shower Head At New Height
Installing the shower head at a new height is the next step after adjusting the pipe. This step ensures the shower head is secure and leak-free. Proper installation helps you enjoy a comfortable shower experience.
Apply Plumber’s Tape
Wrap plumber’s tape around the threads of the shower arm. This tape stops leaks by creating a tight seal. Wrap the tape clockwise, covering the threads well. Two or three layers are usually enough. Press the tape down so it sticks firmly.
Attach And Tighten Shower Head
Screw the shower head onto the taped threads. Turn it clockwise by hand until snug. Use a wrench to tighten, but not too much. Over-tightening can damage the shower head or pipe. Check that the shower head points in the right direction. Hand-tighten first, then add a slight turn with the wrench.
Test The Water Flow
Testing the water flow is a key step after lowering a shower head. It ensures the water flows well and the shower works properly. This step helps catch any issues before finishing the job. Follow these steps to test the water flow effectively.
Turn On Water Supply
First, turn on the water supply to the shower. Use the main valve or the shower control. Watch the water flow from the shower head carefully. Check if the water comes out smoothly and at the right pressure. Low water pressure can mean a blockage or loose connection.
Check For Leaks
Look around the shower head and pipe joints for leaks. Water drops or wet spots show a leak. Tighten connections if you see leaks. A leak wastes water and can cause damage. Fix leaks before using the shower regularly.
Alternative Methods For Height Adjustment
Lowering a shower head does not always mean replacing the entire fixture. There are simpler ways to adjust its height. These alternative methods can fit different budgets and skill levels. They provide flexibility and comfort during showers. Here are two practical options to consider.
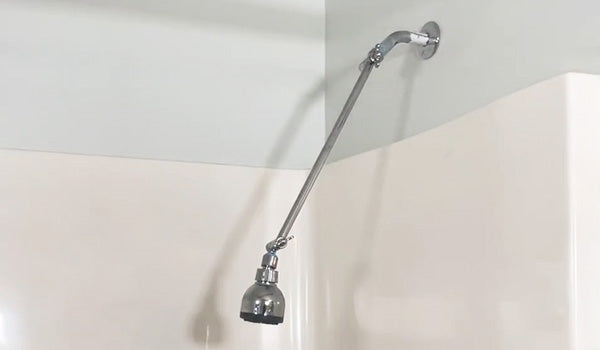
Use An Adjustable Shower Arm
An adjustable shower arm lets you change the shower head height easily. It attaches to the water pipe and holds the shower head. You can twist or slide it up and down. Installation usually requires basic tools like a wrench. This option works well without needing a plumber. It suits renters or people who want quick changes. The adjustable arm keeps the shower head steady during use. It also helps direct water flow to the desired spot.
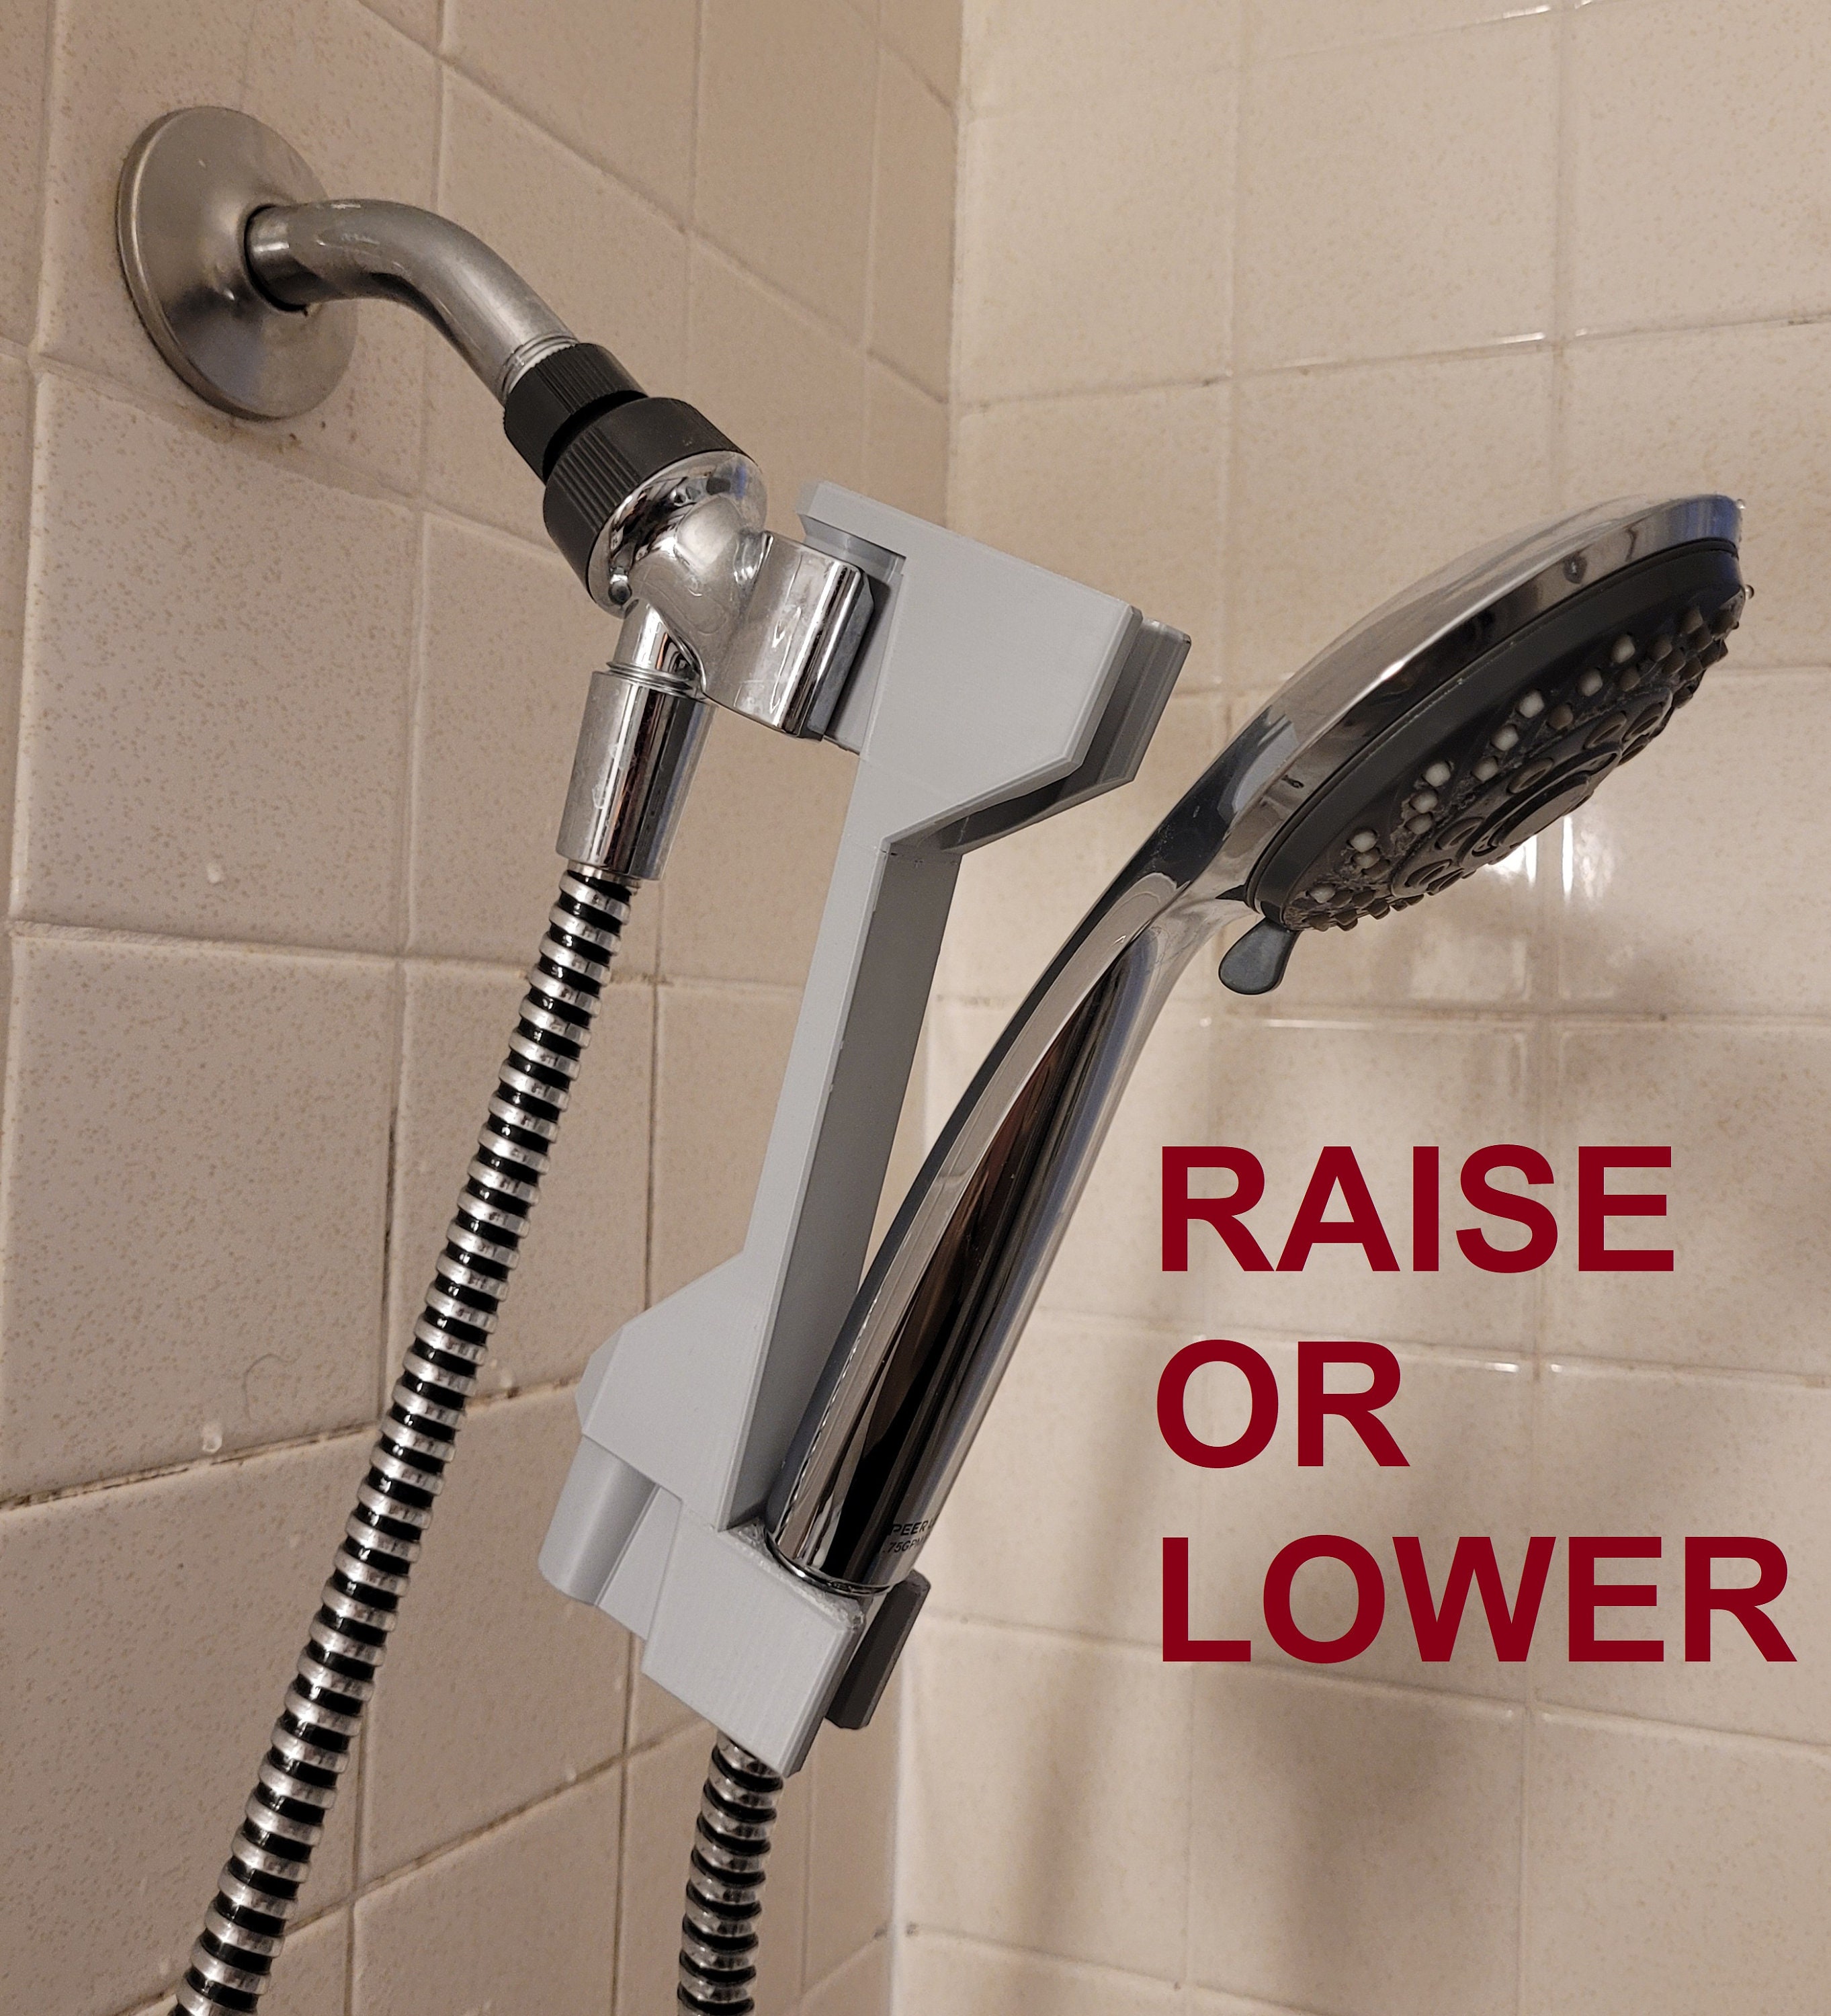
Install A Handheld Shower
A handheld shower adds great flexibility to your bathroom. It connects to a hose and can be held or placed back on a mount. You can lower or raise the shower head by moving the mount. This method suits families with children or those with limited mobility. Handheld showers are easy to install. The hose length allows reaching all body parts comfortably. This option combines convenience and easy height adjustment in one.
Common Issues And Fixes
Lowering a shower head can sometimes cause small problems. These problems often stop the shower from working well. Fixing these issues usually takes only a few steps. Understanding the common problems helps you fix them fast. This saves water, money, and stress.
Leaks And Drips
Leaks happen when water escapes from the shower head or pipe joints. Drips waste water and can cause stains on walls. Usually, a loose connection causes leaks. Tightening the shower head with a wrench often stops drips. Using plumber’s tape on the threads creates a better seal. Check the rubber washer inside the shower head. A worn-out washer needs replacing to stop leaks.
Poor Water Pressure
Low water pressure makes showers weak and less enjoyable. Dirt and mineral buildup inside the shower head block water flow. Removing the shower head and soaking it in vinegar clears the blockage. Cleaning the small nozzles with a brush also helps. Check the water valve and make sure it is fully open. Sometimes, the problem is in the home’s main water supply. If so, contact a plumber to fix it.
Frequently Asked Questions
How Can I Lower A Fixed Shower Head Easily?
To lower a fixed shower head, use an adjustable shower arm extension. Unscrew the existing arm, attach the extension, then reattach the shower head. This method is simple and effective for lowering height without major plumbing changes.
What Tools Do I Need To Lower A Shower Head?
You need an adjustable wrench, plumber’s tape, and possibly a shower arm extension. The wrench helps unscrew the existing shower head, and plumber’s tape ensures a leak-free connection when reattaching parts.
Can I Lower A Shower Head Without Replacing It?
Yes, you can lower a shower head without replacement by using an adjustable shower arm or a shower head extender. These accessories allow you to change the height easily and are budget-friendly solutions.
Will Lowering A Shower Head Affect Water Pressure?
Lowering the shower head generally does not affect water pressure. Water pressure depends on your plumbing system, not the height of the shower head. However, make sure connections are tight to avoid leaks that reduce pressure.
Conclusion
Lowering a shower head can make your shower more comfortable. It takes just a few simple steps. You don’t need special tools or skills. Measure carefully to avoid mistakes. Adjusting the height helps people of all sizes. It saves money by avoiding expensive replacements.
Try it yourself and enjoy a better shower experience. Small changes can make a big difference. Give it a go today!