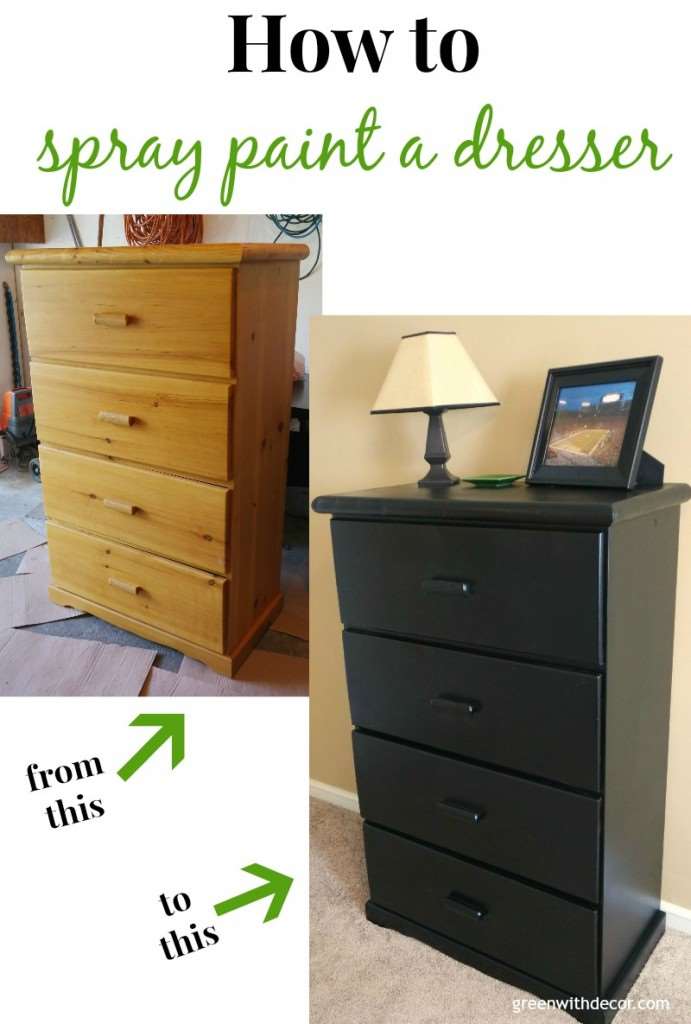
Spray paint a chest of drawers by prepping, priming, and applying thin, even coats.
I’ve refinished dozens of dressers and chests of drawers over the years, so I know what works and what doesn’t. This guide on how to spray paint a chest of drawers walks you through every step, from choosing paint to sealing the finish. Read on for clear, tested tips, tool lists, and common fixes so your project looks pro-level without a pro price.
Why spray paint a chest of drawers?
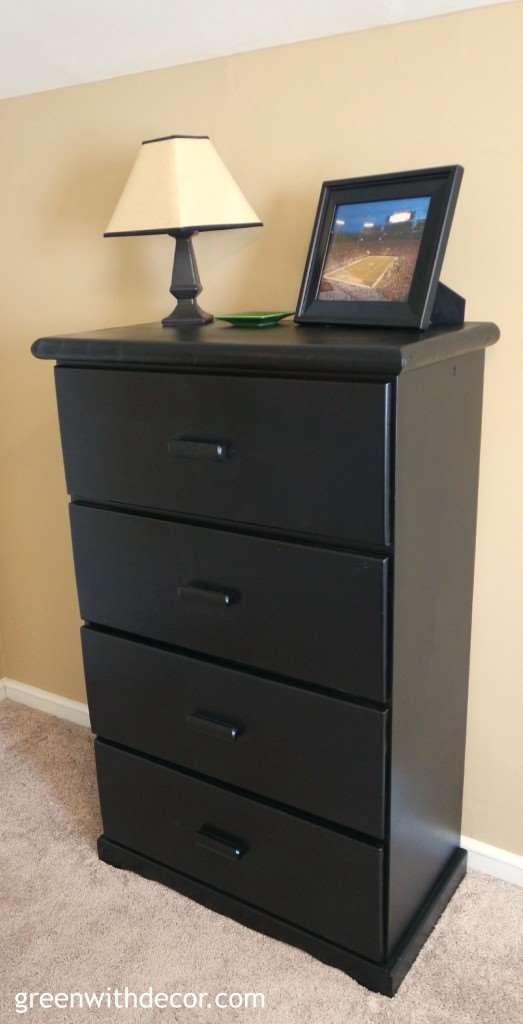
Spray painting a chest of drawers is fast and gives a smooth, factory-like finish. It works well on curved shapes, carved details, and drawer fronts that are hard to reach with a brush. Spray painting also lets you change styles quickly — from vintage to modern — while saving time.
Many DIYers choose spray paint because it is easier to cover large areas and avoid visible brush strokes. It’s ideal when you want a uniform color or a thin coat that dries fast. If you want the best result, follow the right prep and technique for how to spray paint a chest of drawers.

Tools and materials you’ll need
Gathering the right items makes the job easier and safer. Below is a simple list to prepare before you begin.
- Chest of drawers, cleaned and emptied
- Spray paint made for furniture or wood in your chosen color
- Primer spray compatible with your paint type
- Sandpaper: 80-grit for repairs, 120–150 for rough, 220 for finish
- Tack cloth or lint-free rag
- Painter’s tape and plastic sheeting or drop cloths
- Screwdriver and small container for hardware
- Respirator mask rated for paint fumes
- Safety goggles and gloves
- Small foam brush or putty knife for wood filler
- Clear topcoat spray (polyurethane or polycrylic) for protection
Having these tools on hand will set you up to spray paint a chest of drawers with confidence and good results.

Step-by-step guide: how to spray paint a chest of drawers
Follow these steps in order. Take your time during prep. Good prep is the heart of a good finish.
-
Remove hardware and label drawers
- Take off knobs, pulls, and any trim. Put them in a small container. Label each drawer so it goes back in the same place.
-
Clean thoroughly
- Wipe the chest with a mild degreaser or dish soap and water. Rinse and dry. Remove wax buildup or stickers with a solvent if needed.
-
Repair and fill
- Fill dents or gouges with wood filler. Let dry, then sand smooth. This step helps when you spray paint a chest of drawers that has surface flaws.
-
Sand the surface
- Sand glossy finishes to a dull sheen using 120–150 grit. Finish sand with 220 grit for smoothness. Wipe with a tack cloth to remove dust.
-
Mask and protect
- Tape off areas like inside drawers, glides, or sections you don’t want painted. Lay down drop cloths and set the chest on a raised platform for even access.
-
Prime the piece
- Apply a thin coat of primer made for wood or the surface type. Let it dry fully. Sand lightly with 220 grit and remove dust. Primer improves adhesion and hides stains.
-
Shake and test the spray paint
- Shake the can well for a few minutes. Test spray on cardboard to check spray pattern and color.
-
Spray paint in thin coats
- Hold the can 8–12 inches from the surface. Move your arm steadily and keep the can moving. Apply several thin coats instead of one heavy coat. Let each coat tack up before applying the next.
-
Sand between coats if needed
- For a super-smooth finish, sand lightly with 320–400 grit between coats. Wipe clean before painting again.
-
Let paint cure
- Allow the final coat to dry according to the paint label. Full cure may take days. Avoid heavy use until the paint fully hardens.
-
Apply a clear topcoat
- Spray a clear protective coat for durability, especially on drawer fronts and tops. Use satin or matte for a modern look, or gloss for shine.
-
Reattach hardware and reassemble
- When fully cured, reattach knobs and slides. Put drawers back in their original order.
Following these steps ensures you learn how to spray paint a chest of drawers that lasts and looks great.

Prep details: sanding, cleaning, and setup
Good prep takes time, but it’s the biggest factor in the final look.
-
Clean first, then sand
- Dirt and grease block paint adhesion. Clean well, then sand to remove shine. This helps primer and spray paint bond.
-
Create a safe workspace
- Work outdoors or in a well-vented area. Use a respirator and wear goggles. Avoid windy days to reduce dust and overspray.
-
Use a spray booth setup if possible
- A simple booth is two sawhorses and plastic sheeting. It keeps dust down and makes cleanup easier.
From my experience, skipping thorough cleaning is the most common mistake. Even a small spot of oil can cause paint to peel later.

Tips, tricks, and mistakes to avoid
These tips come from real projects I’ve done. They save time and reduce waste.
-
Keep the can moving
- Stopping in one place creates drips. Move your arm in a steady sweep for an even coat.
-
Thin coats dry faster
- Thin layers reduce runs. Apply multiple layers for depth.
-
Watch temperature and humidity
- Paint in 50–85°F and low humidity for best drying. High humidity causes a cloudy or bumpy finish.
-
Use a gray primer for bold colors
- Gray primer improves coverage for dark or bright paints.
-
Protect the piece during cure
- Dust will stick to tacky paint. Keep pets and kids away while paint cures.
Common mistakes I’ve seen:
- Painting over greasy areas
- Applying heavy coats that run
- Not labeling drawers, which causes fit issues later
Avoid these and the task of how to spray paint a chest of drawers becomes simple and fun.

Finishing and maintenance after painting
A good finish lasts longer with simple care.
-
Choose the right topcoat
- Use polyurethane for heavy wear. Use polycrylic for water-based paints. Test on a scrap if unsure.
-
Cure time matters
- Full hardness can take weeks. Handle drawers gently during this time.
-
Clean with care
- Wipe with a soft, damp cloth. Avoid abrasive pads or harsh solvents.
-
Touch-ups
- Keep a small amount of your paint for touch-ups. Store it labeled with the item and color code.
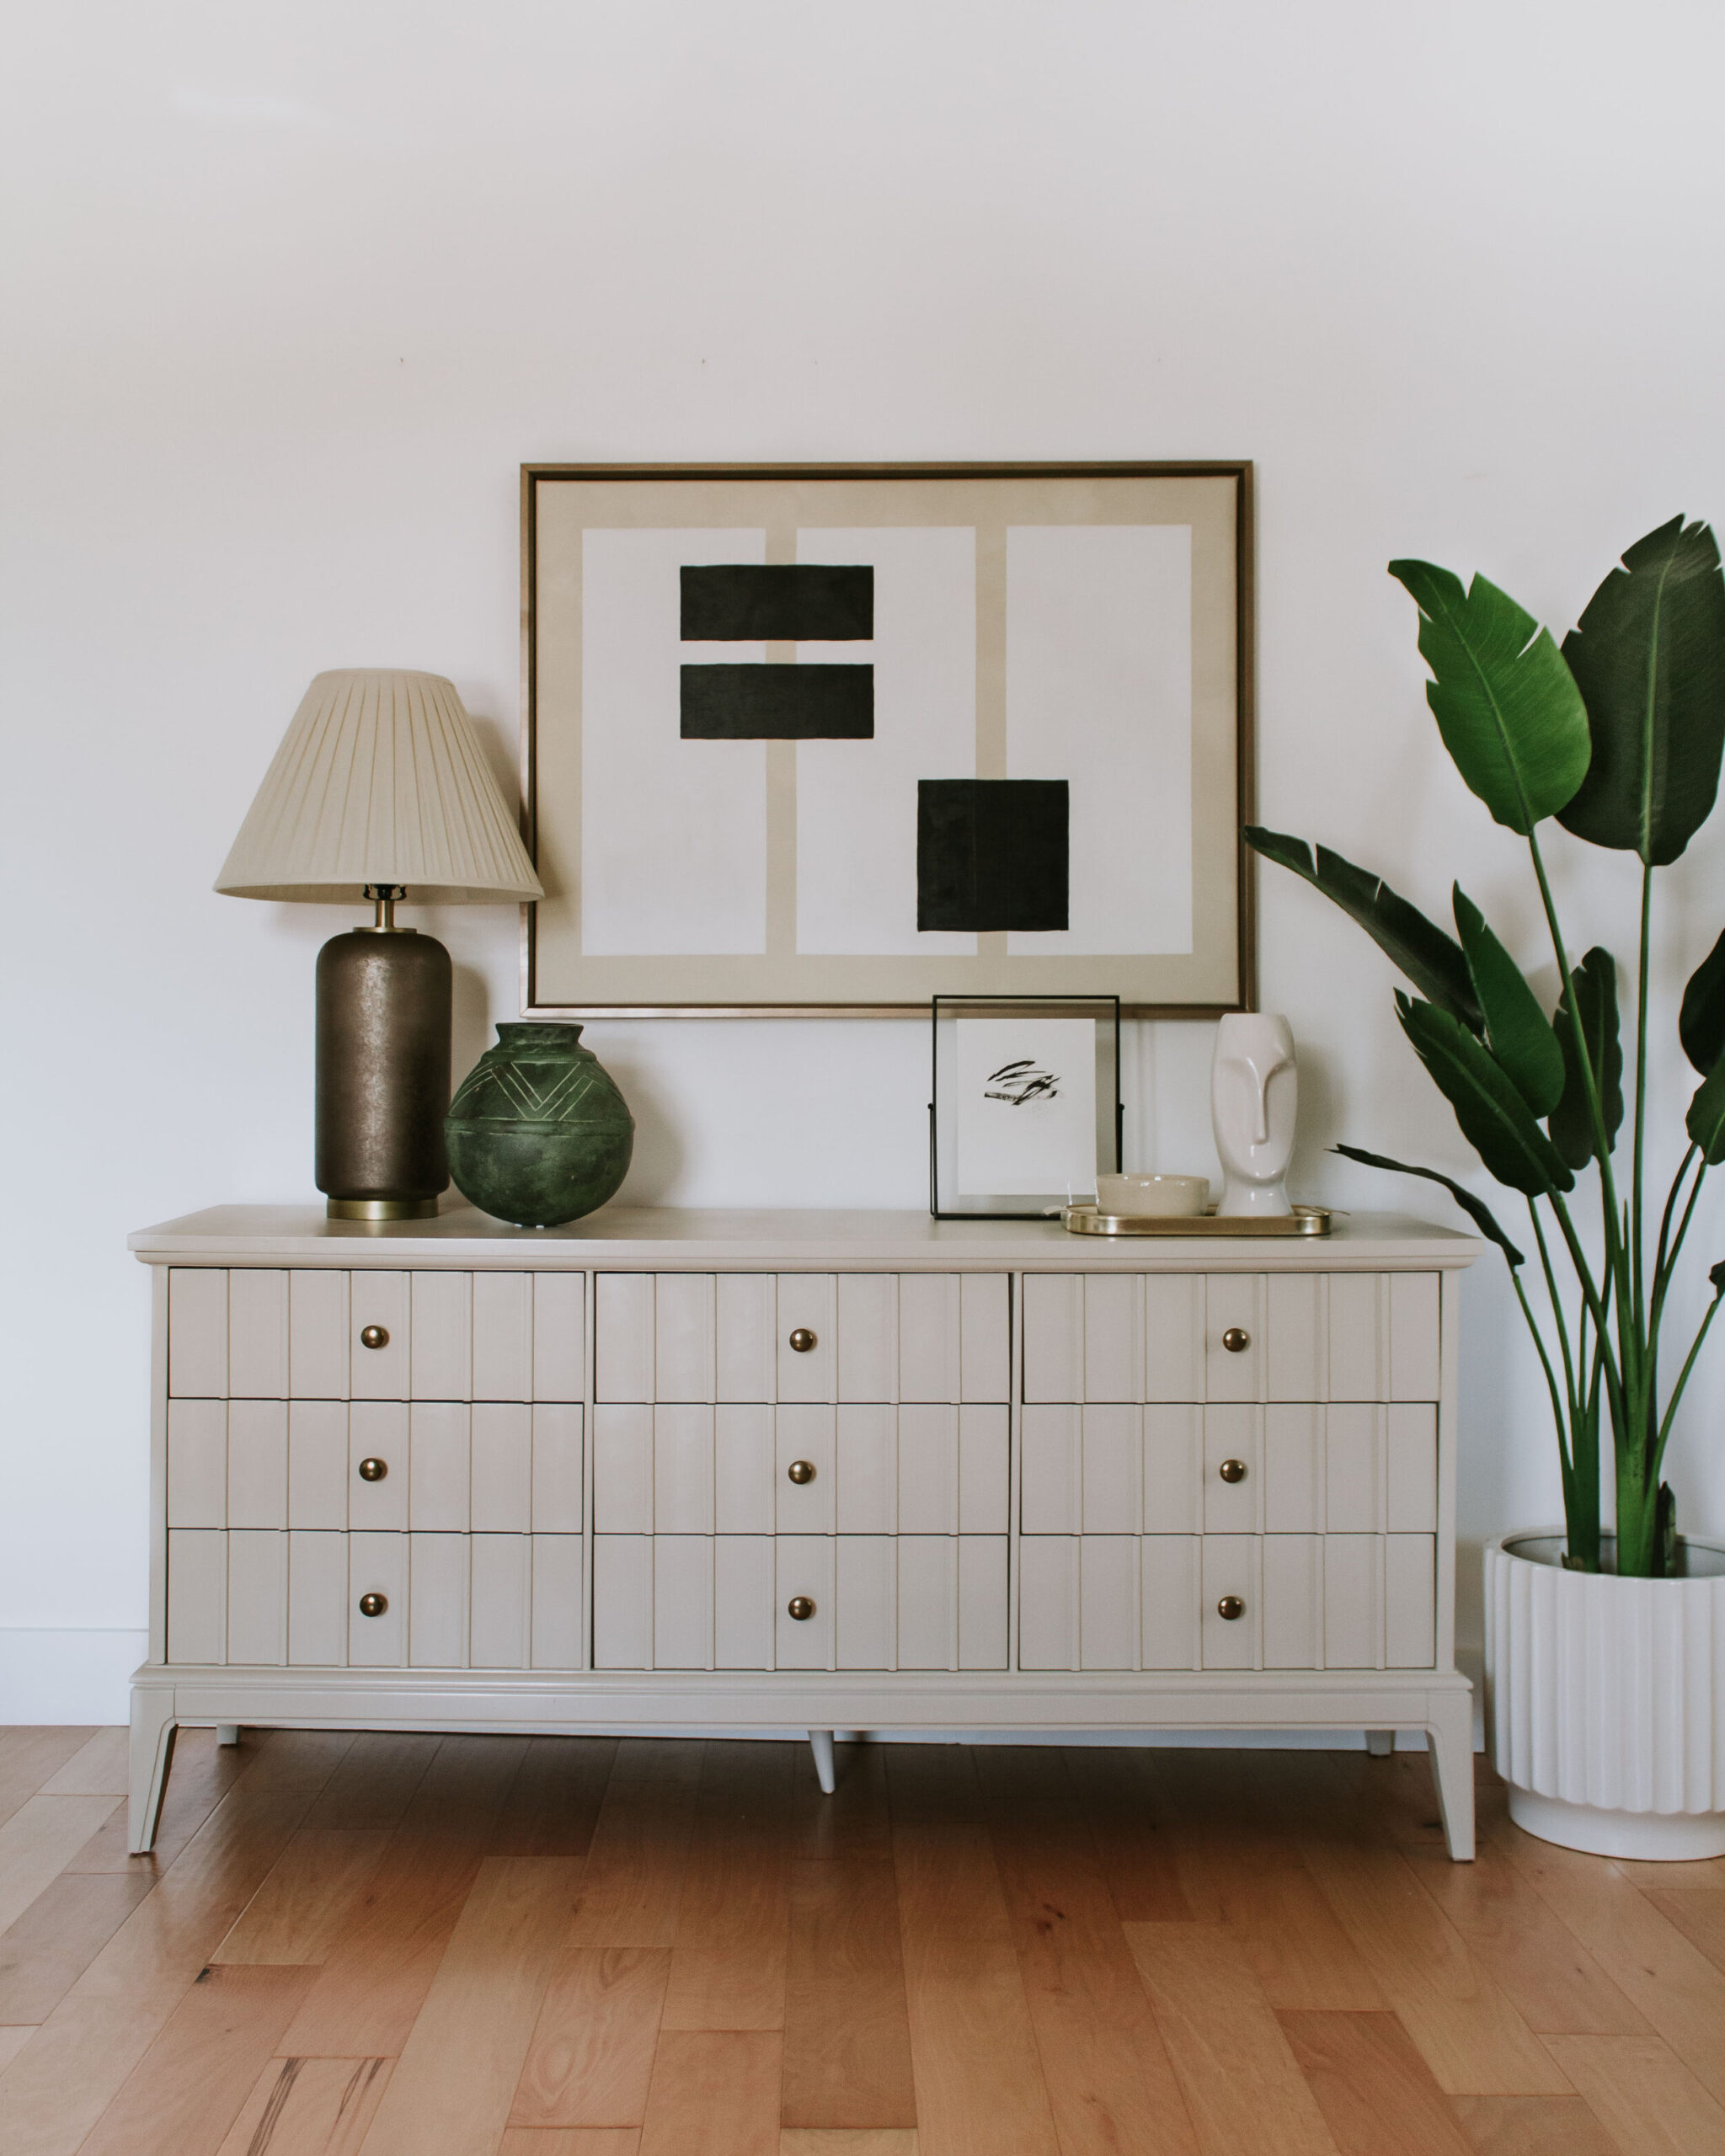
When I painted a bedside chest, I used satin topcoat. It hid fingerprints and gave a soft sheen that held up to daily use.
Troubleshooting: common issues and fixes
Here are quick fixes for issues you may meet while you spray paint a chest of drawers.
-
Runs or drips
- Sand smooth once dry and recoat with thin layers.
-
Orange peel texture
- Smooth with fine sandpaper and apply a light wet-sanding, then polish or coat again.
-
Paint not adhering
- Remove loose paint, sand to fresh surface, prime, then repaint.
-
Cloudy finish
- Caused by high humidity. Let the piece dry longer in controlled conditions.
-
Dust in finish
- Let cure, sand smooth, and spray a fresh topcoat in a cleaner area.
These fixes saved me many redo jobs. Patience is the key.
Frequently Asked Questions of how to spray paint a chest of drawers
How long should I wait between spray paint coats?
Wait 10–15 minutes for tack time between thin coats, but follow the paint can for exact recoat times. Full cure takes longer, often days.
Can I spray paint over laminate drawers?
Yes, if you sand or use a primer made for slick surfaces. Use an adhesion primer to help the paint stick.
Do I need to remove drawer slides before painting?
You can leave metal slides if they are masked well, but removing them ensures a cleaner finish and easier painting.
What type of spray paint is best for furniture?
Use a spray paint formulated for furniture or wood. For durability, choose paints labeled for cabinets or high-traffic surfaces.
How do I prevent paint from getting inside drawer tracks?
Cover tracks with painter’s tape and remove tape before paint fully cures to prevent tearing or stickiness.
Is it better to use oil-based or water-based spray paint?
Water-based spray paints dry faster and have fewer fumes. Oil-based paints can be tougher but need stronger ventilation. Match primer and topcoat type for best adhesion.
Conclusion
Spray painting a chest of drawers is a rewarding project that can transform a room on a budget. Prep well, use thin coats, and protect the finish to get durable, smooth results. Start small, practice on scrap wood, and try color samples if you’re unsure. Ready to refresh your furniture? Gather your tools, pick your paint, and give it a try — then share your before and after photos or questions below.