

Use wet mode to loosen grime, then switch to dry mode to polish for streak-free screens.
I have used and tested wet and dry window screen cleaner tools for years in homes and rental properties. This guide explains exactly how to use wet and dry window screen cleaner tool safely and efficiently, with step-by-step instructions, troubleshooting tips, and real-life lessons to help you get clean, clear screens every time. Read on to learn the simple workflow, which mode to use when, and how to maintain the tool for long life.
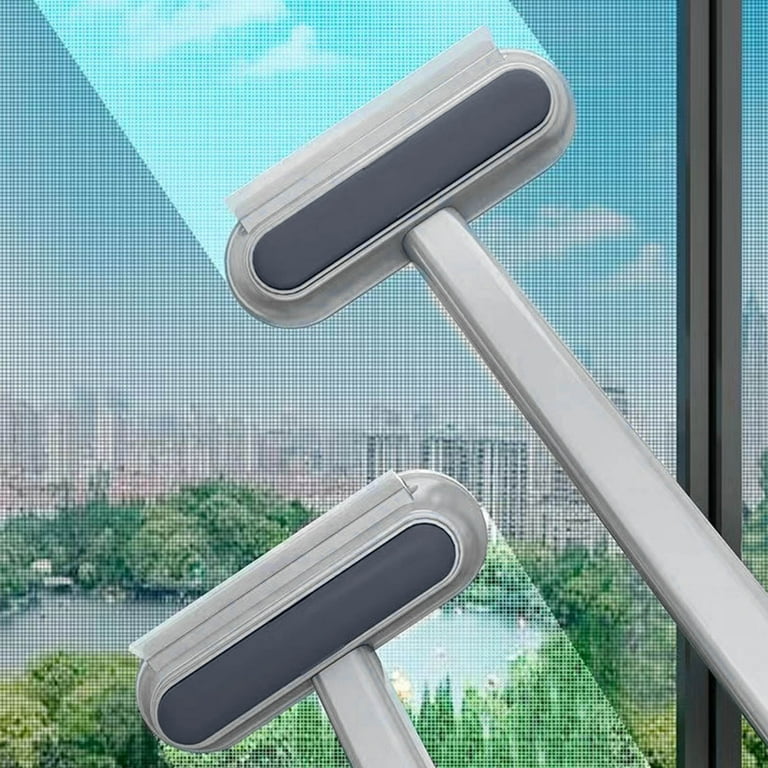
Why choose a wet and dry window screen cleaner tool
A wet and dry window screen cleaner tool combines a liquid cleaning action with a dry polish. It saves time and avoids removing screens for many jobs. Choosing this tool means fewer streaks, less bending, and faster results than hand-scrubbing or separate cleaners.
Using a combined tool also reduces water mess. It lets you clean vertical screens without dripping water all over window sills or floors. The tool works on framed screens, slider screens, and many insect mesh types when used correctly.
Parts and prep: what you need and safety steps
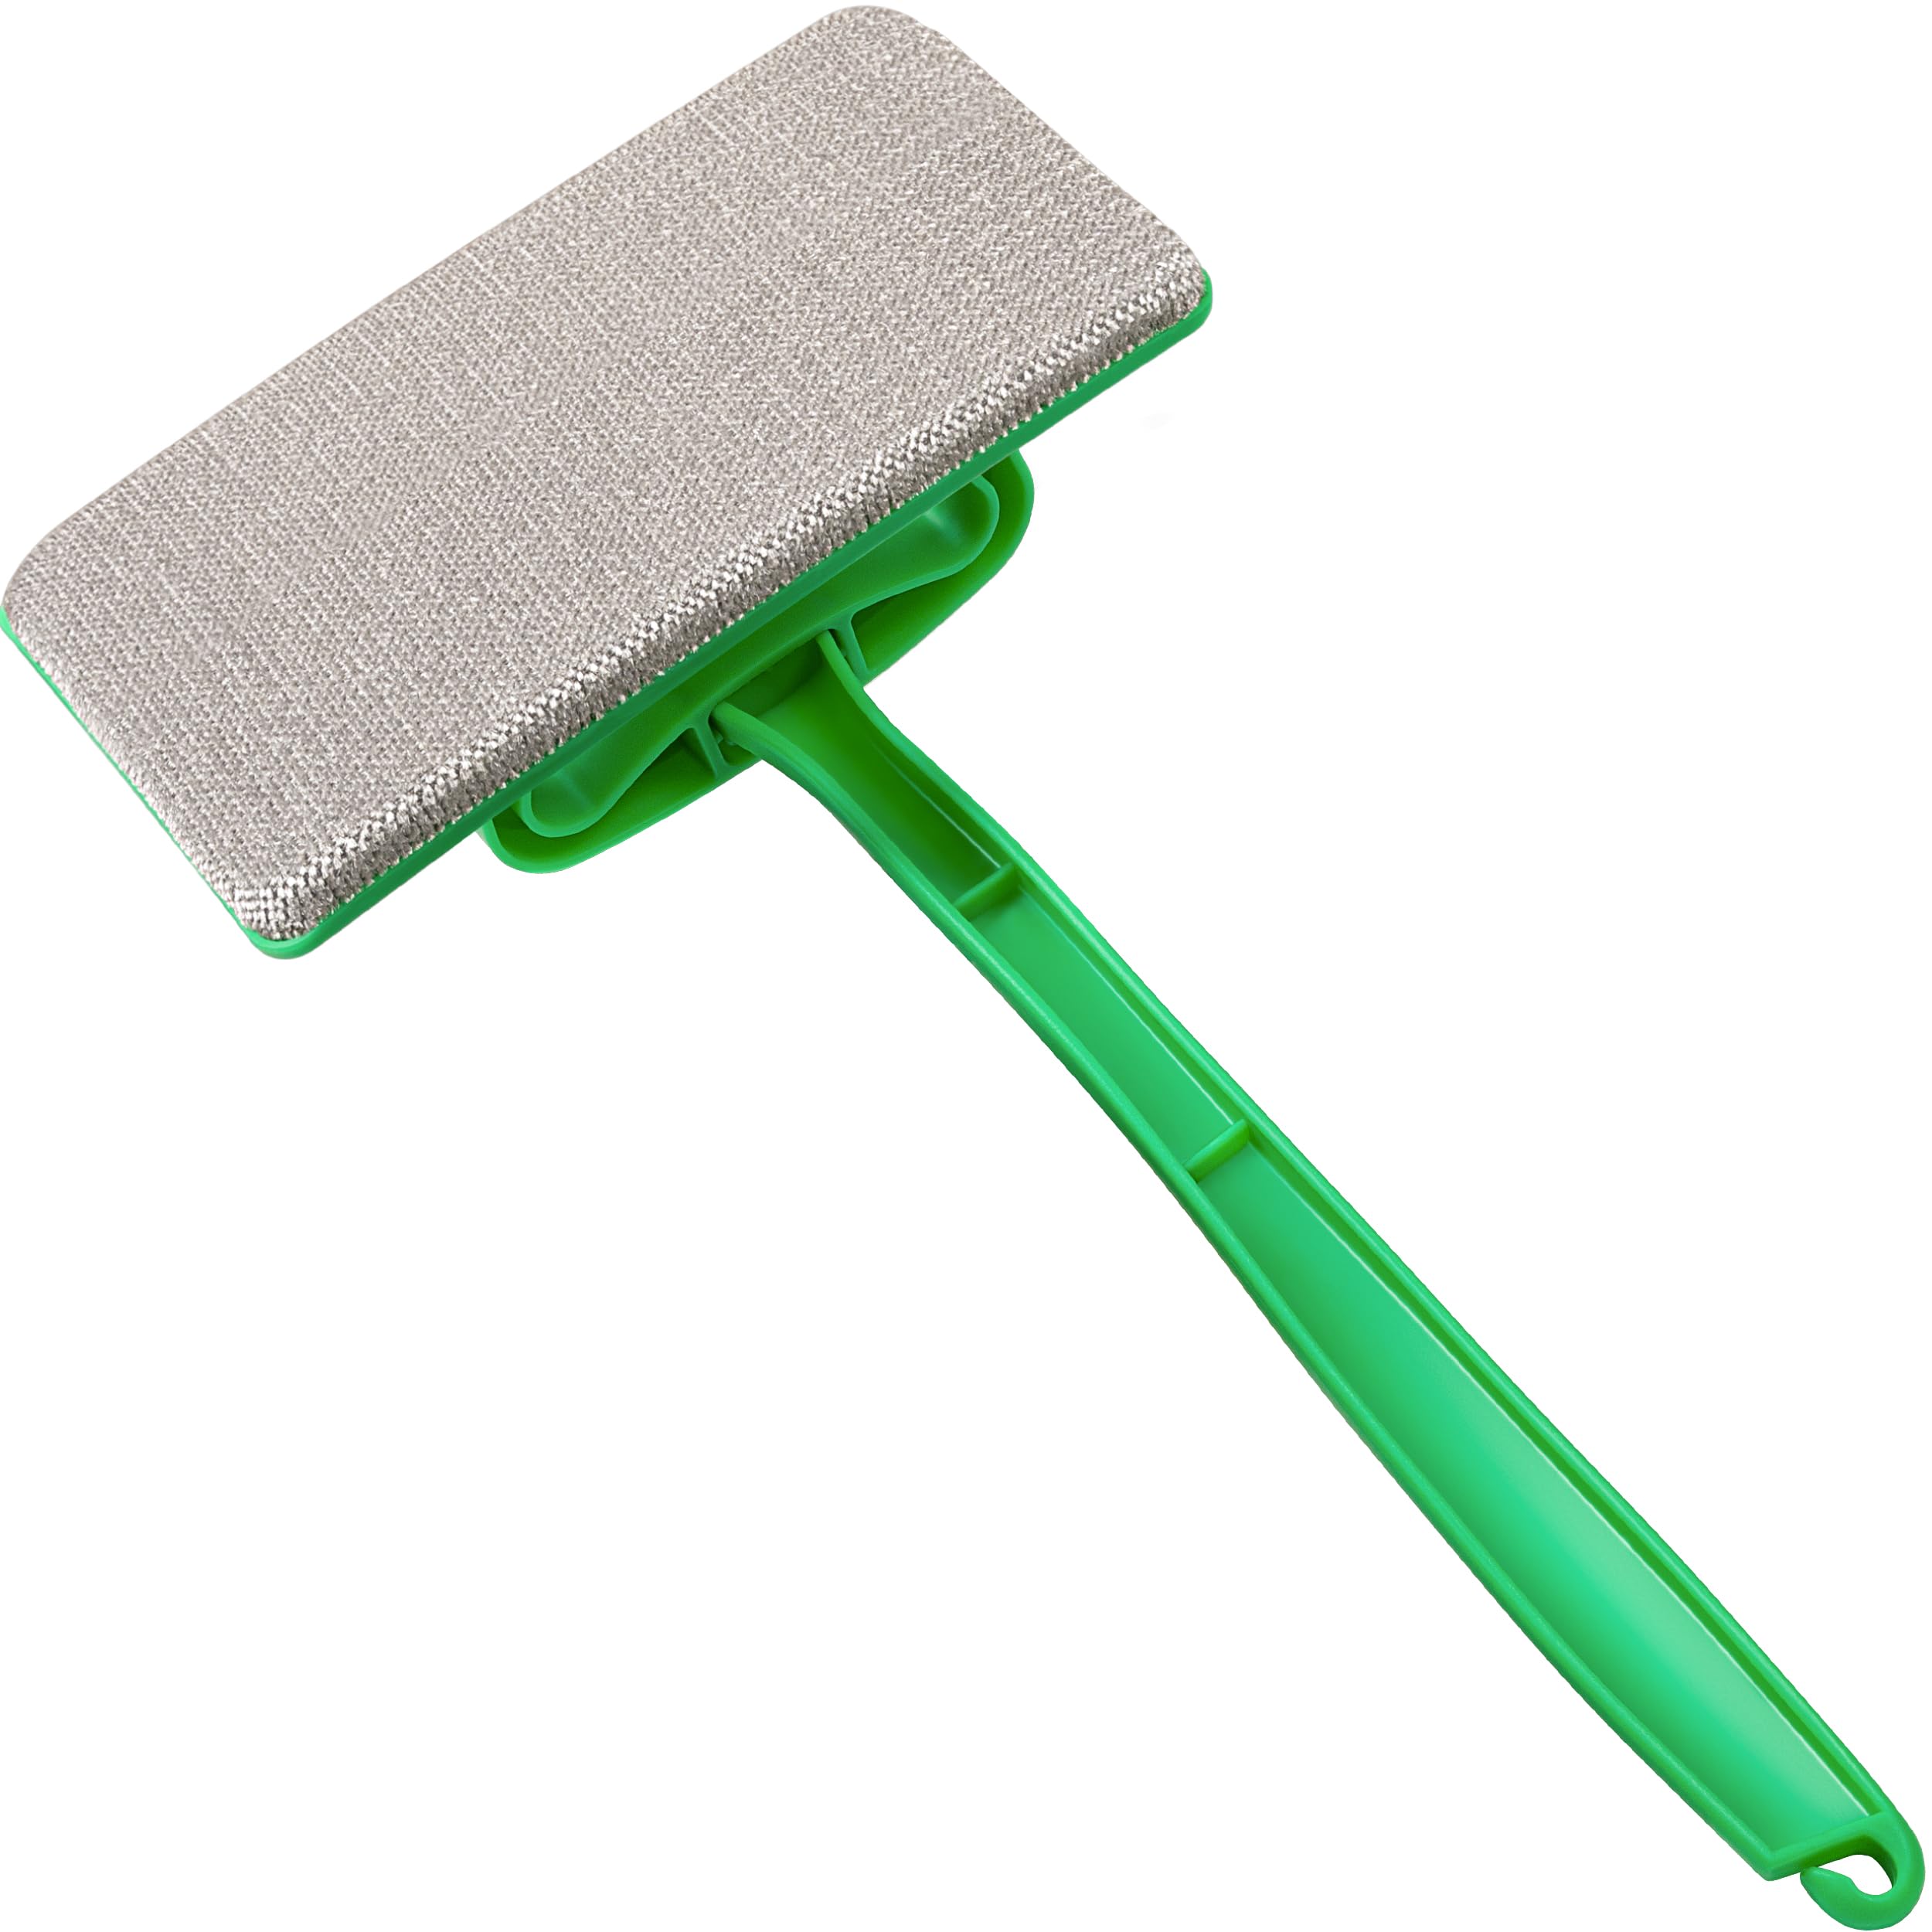
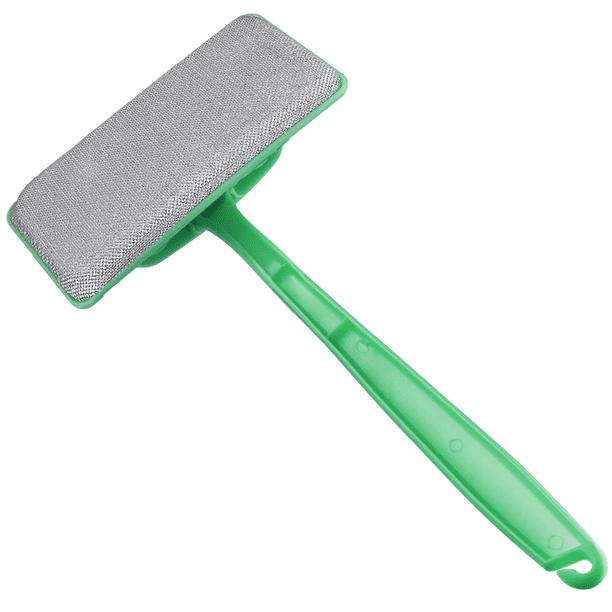
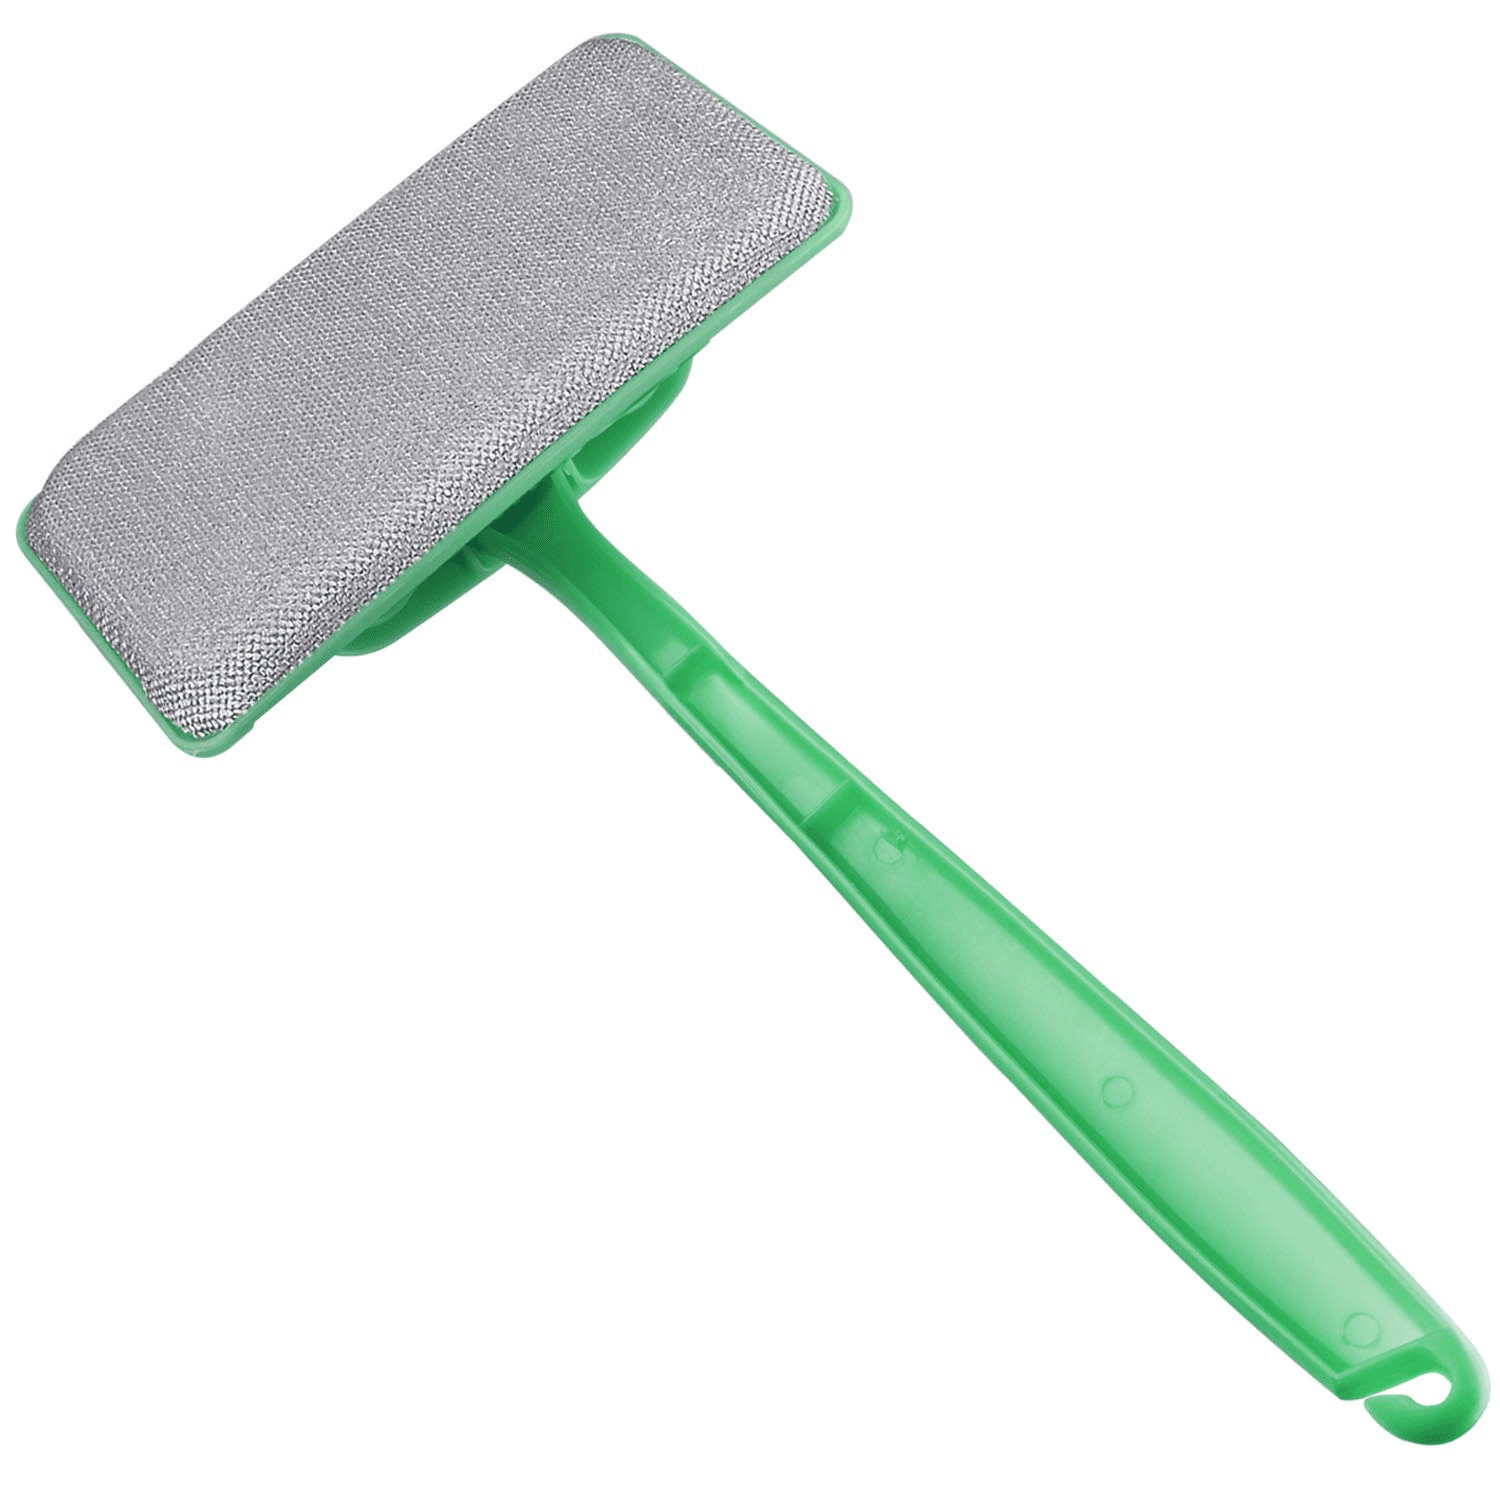
Before you start, know the tool and gather supplies. Typical parts include a liquid reservoir or sprayer, a scrub pad or brush for wet cleaning, and a microfiber or squeegee head for dry finishing.
- Items to have ready: clean water, mild detergent, soft brush pads, microfiber cloths, ladder if needed, gloves for sensitive skin.
- Safety steps: test the cleaner on a small corner, secure ladders, protect floors and furniture, and avoid harsh chemicals that can weaken mesh.
Preparing well lets you use the wet and dry window screen cleaner tool with confidence and fewer surprises.
Source: walmart.com
Step-by-step: wet cleaning with the tool
Wet mode removes stuck-on dust, pollen, and grime without removing the screen.
- Rinse loose dirt with a light spray of water or a gentle vacuum on low.
- Fill the reservoir or wet the scrub pad with warm water and a few drops of mild detergent.
- Start at the top of the screen and work downward in short strokes to loosen grime.
- Rinse the screen with clean water or wipe with a damp microfiber to remove soap.
- Blot excess moisture from the frame and sill before switching to dry mode.
Use slow, steady pressure when scrubbing. Too much force can stretch or tear delicate mesh. Practicing on a less visible screen first helps you learn the right pressure and detergent mix.

Step-by-step: dry cleaning and finishing
Dry mode polishes the mesh, removes streaks, and leaves the screen ready for viewing.
- Attach the dry microfiber or squeegee head on the tool.
- Wipe the screen in a horizontal or vertical sweep, overlapping each pass slightly.
- Flip or replace the microfiber when it collects dirt to avoid smearing.
- Dry the frame and edges with a towel to prevent water spots and mold.
- Inspect the screen from inside and outside to catch missed spots.
Finish with light, even strokes. The dry stage is where the screen gains its clear look, so take your time. This is how to use wet and dry window screen cleaner tool to get streak-free results every time.
Maintenance, storage, and care for long life
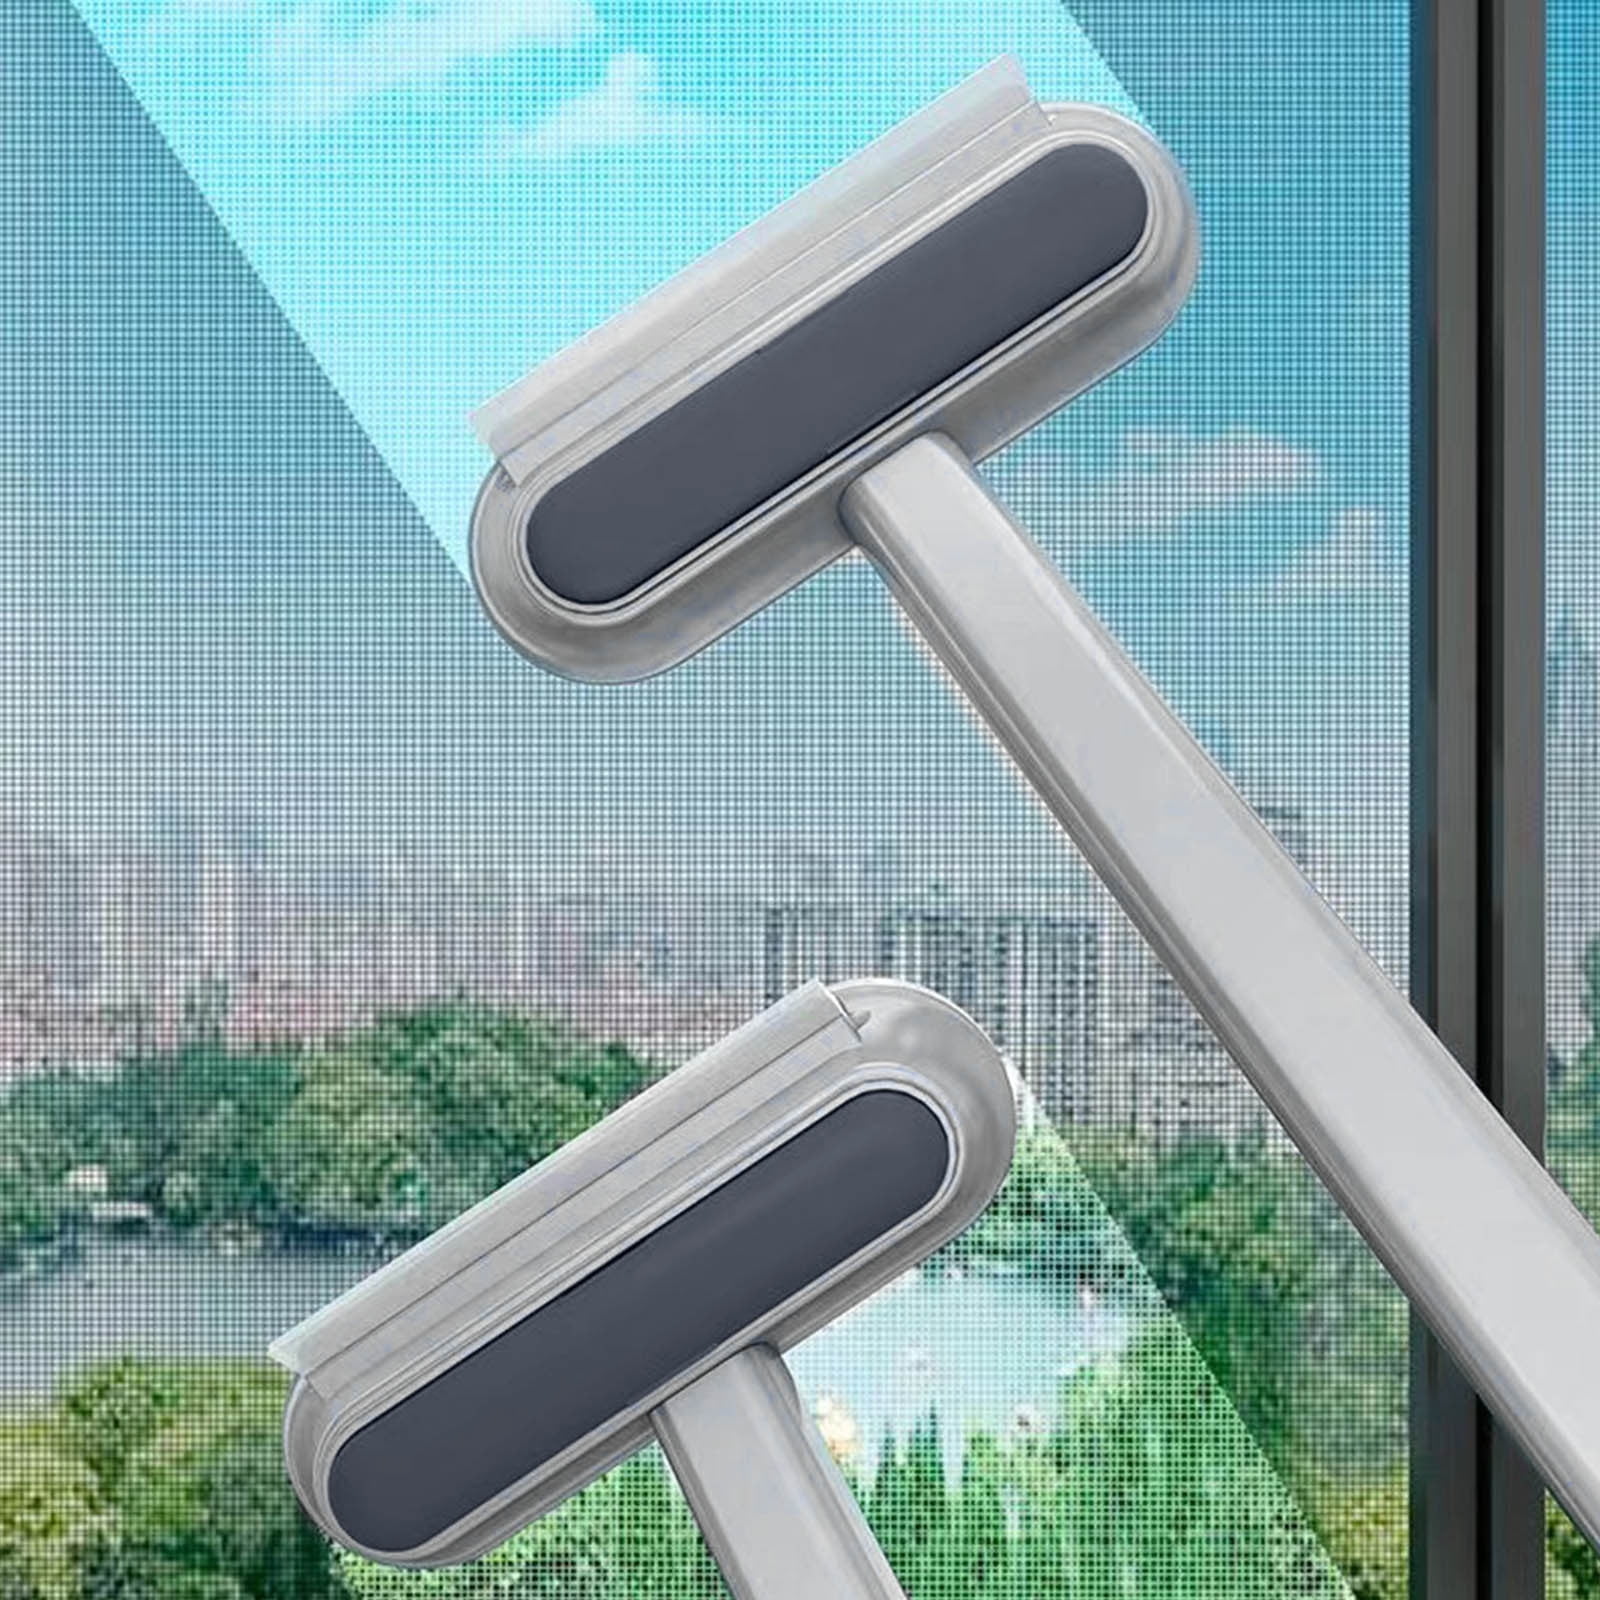
Good maintenance keeps the tool working well and prevents damage to screens.
- Rinse or wash pads and microfiber heads after each use to remove trapped grit.
- Empty and rinse the reservoir to prevent bacterial growth.
- Inspect seals and connections to avoid leaks during use.
- Store in a dry place away from direct sun and freezing temperatures.
Replace worn pads and microfiber heads as needed. Regular care is one of the best ways to make the wet and dry window screen cleaner tool last for years.

Common problems and quick fixes
Even with care, problems can happen. Here are fast fixes.
- Streaks after drying: Use a fresh microfiber and ensure the wet stage was fully rinsed.
- Noise or poor suction (if motorized): Check for clogs and clean filters.
- Scratches on mesh: Stop using abrasive pads and switch to a soft brush.
- Leaks from reservoir: Check seals and tighten caps or replace faulty O-rings.
If a screen is very fragile or torn, remove and clean it by hand or consult a pro. Knowing common issues helps you use the wet and dry window screen cleaner tool without surprises.
Personal experience and pro tips from real use
I’ve cleaned dozens of homes and learned practical rules that save time and prevent damage.
- Tip 1: Start with a dry vacuum pass to remove loose particles. It reduces grit that can grind into the mesh during wet cleaning.
- Tip 2: Use a few drops of dish soap in water. It cleans well and rinses easily.
- Tip 3: Change microfibers often in dusty jobs. A dirty cloth spreads dirt fast.
- Lesson learned: I once used too-strong cleaner on vintage screens and caused fading. Mild solutions work best.
These short lessons come from hands-on work. When you follow them, you’ll know how to use wet and dry window screen cleaner tool like a pro.

Frequently Asked Questions of how to use wet and dry window screen cleaner tool
How often should I clean screens with a wet and dry window screen cleaner tool?
Clean screens every 3 to 6 months in most climates, more often if you live near pollen or dust sources. High-traffic or coastal areas may need monthly cleaning.
Can I use the tool on all screen materials?
Most standard fiberglass and aluminum screens are safe, but delicate vintage or specialty screens may need a gentler approach or hand cleaning. Test a small area first.
Will the wet and dry window screen cleaner tool damage window frames?
No, not when you use mild cleaners and avoid excessive water on wooden frames. Dry the frame thoroughly after cleaning.
Can I clean screens while they are still in the window?
Yes. The tool is designed for in-place cleaning, which avoids cagey removal and reinstall. Remove screens only when they are heavily damaged or need deep off-site cleaning.
What cleaning solution works best with the tool?
A mix of warm water and a few drops of mild dish soap is effective and safe for most screens. Avoid bleach or strong solvents that can harm mesh and frames.
Quick PAA-style questions
What is the best order: wet then dry or dry then wet? Wet first, then dry for polish and streak-free results. This sequence loosens dirt and finishes cleanly.
Can I use hot water? Use warm water; very hot water can deform some frames or weaken glue. Warm water balances cleaning power with safety.
Does the tool work on patio screens? Yes, the wet and dry window screen cleaner tool works on patio and door screens when used gently. Adjust pressure for larger or rougher meshes.
Conclusion
You can get clear, streak-free screens fast by following the wet-then-dry routine, using mild cleaners, and caring for the tool properly. Start with the wet stage to remove grime, finish with the dry stage to polish, and keep spare microfibers on hand. Try these steps on one screen first, then scale up, and leave a comment about your results or questions. Explore more cleaning tips, subscribe for updates, or share this guide with someone who wants easier window care.