Use an electric spin scrubber with the right brush, cleaner, and a steady, gentle motion.
I’ve used many cleaners and tools over a decade of home care work, and I can show you how to use electric spin scrubber for bathroom cleaning in a clear, safe, and fast way. This guide breaks the process down into simple steps, picks the best attachments, and gives real tips from my experience so you get better results with less effort. Read on to learn setup, technique, surface-specific steps, maintenance, and common mistakes to avoid.

Why choose an electric spin scrubber for bathroom cleaning
An electric spin scrubber saves time and reduces elbow strain. It spins or oscillates to cut through soap scum and mildew faster than hand scrubbing.
Benefits
- Faster cleaning for tubs, tiles, and grout.
- Less physical effort and lower wrist strain.
- Consistent pressure and motion for even results.
Limitations
- Not all brushes suit every surface.
- Battery life can limit long sessions.
- Strong cleaners and rough brushes can damage delicate finishes.
From my experience, using an electric spin scrubber for bathroom cleaning cut a 45-minute deep clean to about 20 minutes, with far less soreness. I learned to pick soft brushes for glass and harder wire-style pads only for grout. Small tests on hidden areas prevent damage.

Choosing the right electric spin scrubber and attachments
Pick a scrubber that fits the tasks you do most. Look at battery life, cleaning modes, and brush variety.
What to look for
- Battery runtime of at least 30–60 minutes for full bathrooms.
- Multiple speed settings for delicate and tough jobs.
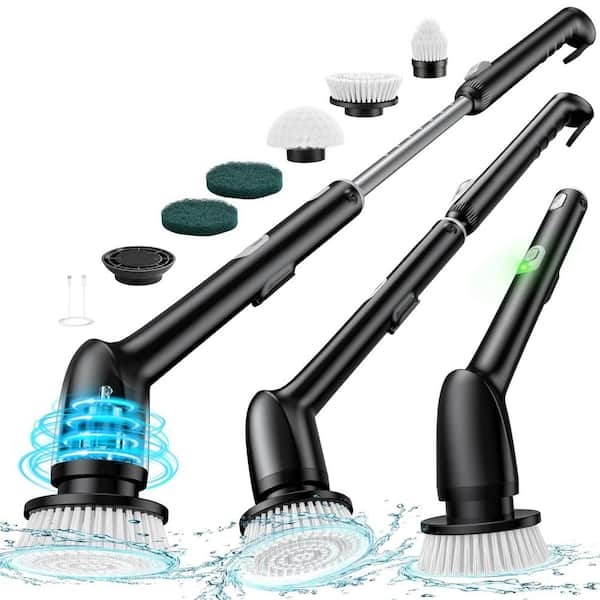
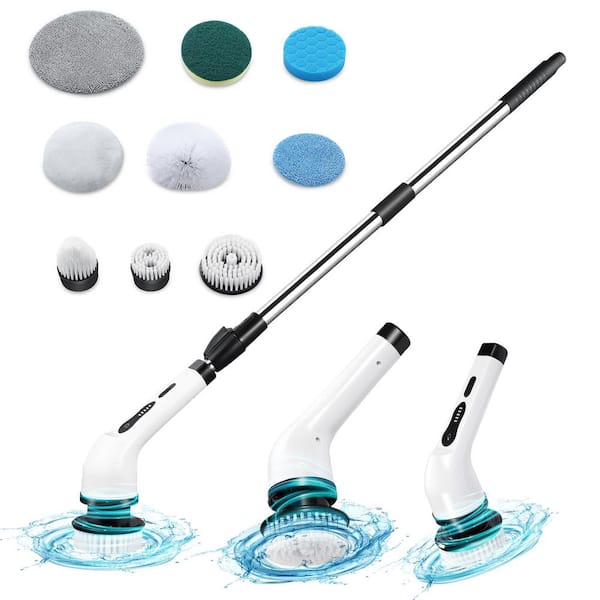
- Interchangeable heads: soft pads, nylon brushes, grout brushes, and angle tools.
- Waterproof rating around the handle and motor seam.
Attachment guide
- Soft foam or microfiber for glass and chrome.
- Medium nylon for tile and general scum.
- Small stiff brush for grout lines and corners.
- Long handle or extension for high tiles and deep tubs.
I once bought a compact model with weak torque. It looked handy, but it stalled on grout lines. Choose torque and brush options over the smallest size to avoid that frustration.
Prep work: safety, cleaners, and setup before you start
Good prep makes the job quicker and safer. Gather tools and protect surfaces.
Steps to prepare
- Clear the bathroom of bottles and mats.
- Ventilate the room and open windows.
- Put on gloves and eye protection if using strong cleaners.
- Choose a cleaner that matches the surface: mild soap, vinegar mix, or a bathroom cleaner rated for mold and soap scum.
- Test the cleaner and brush on a small, hidden spot.
Mix cleaners only when safe. Never mix bleach with ammonia or acidic cleaners. This avoids toxic fumes. I always keep a spray bottle of diluted cleaner for quick spot work and use stronger products only where needed.

Step-by-step: how to use electric spin scrubber for bathroom cleaning
Follow a simple flow: apply cleaner, let it sit, scrub gently, rinse, and dry.
-
Apply cleaner
- Spray or apply cleaner evenly on the target area.
- Let it dwell for 2–5 minutes to loosen grime.
-
Start with low speed
- Attach a suitable brush head.
- Turn the scrubber on at low speed to avoid splatter.
-
Scrub using steady passes
- Move the brush in slow, controlled strokes.
- Let the scrubber do the work; do not press hard.
-
Rinse as you go
- Rinse with warm water to remove loosened grime.
- Wipe with a microfiber cloth for a streak-free finish.
-
Tackle stubborn spots
- Switch to a stiffer brush or higher speed if needed.
- Reapply cleaner and repeat short cycles.
-
Final rinse and dry
- Rinse all cleaner residues.
- Dry fixtures and tiles to prevent water spots.
Using an electric spin scrubber for bathroom cleaning means you can clean longer tile runs without tiring. My tip: work from top to bottom so rinse water flows down over areas you will clean later.
Targeted cleaning: tiles, grout, tub, shower doors, fixtures, and toilet
Tiles and grout
- Use a medium brush for tile faces and a narrow stiff brush for grout.
- Apply cleaner, let sit, scrub across grout lines, then rinse.
- For deep stains, use a paste of baking soda and water before scrubbing.
Tub and shower floors
- Use a larger foam or nylon pad.
- Focus on soap scum with circular passes.
- Rinse and wipe to remove slippery residue.
Shower doors and glass
- Use a soft foam or microfiber pad on low speed.
- Use a mild cleaner or vinegar mix to avoid streaks.
- Squeegee after rinsing for a clear finish.
Chrome and fixtures
- Use a soft pad and mild cleaner.
- Avoid abrasive brushes that scratch finishes.
- Dry with a soft cloth to remove water marks.
Toilets
- Use a dedicated brush head for the bowl and a separate one for external surfaces.
- Apply cleaner, scrub inside the bowl, then flush and wipe the outside.
When using an electric spin scrubber for bathroom cleaning, match brush hardness to the surface. I learned to label brush heads to avoid cross-contamination, especially between bowls and sinks.

Maintenance, charging, brush care, and storage
Keep the tool ready and hygienic. Routine care extends life and performance.
Daily and weekly care
- Rinse brush heads after use and shake off excess water.
- Let heads air dry fully before storage.
- Wipe the scrubber body with a damp cloth. Avoid soaking the motor area.
Charging tips
- Follow manufacturer charging cycles.
- Store partly charged if not used for long stretches to protect battery health.
- Avoid overnight charging if the manual warns against it.
Replace and inspect
- Replace worn or frayed brushes for best results.
- Check seals and the battery compartment for moisture.
- Tighten loose attachments before each use.
I once left a wet brush attached and found a mild mildew smell later. Dry brushes fully and store them in a ventilated area to avoid that issue.

Troubleshooting and common mistakes to avoid
Simple fixes avoid big headaches. Watch for these issues.
Common mistakes
- Pressing too hard and damaging surfaces.
- Using the wrong brush on delicate finishes.
- Mixing cleaners with bleach or ammonia.
- Using a nearly-dead battery mid-clean.
Quick fixes
- If the scrubber stalls, reduce speed or change to a softer brush.
- For streaks on glass, use distilled water for the final rinse.
- If grout is very stained, repeat short scrubs and use a specialized grout cleaner.
A tip from my tests: use short scrubbing bursts and frequent rinses to prevent cleaner buildup. That prevents residue and saves time on re-cleaning.

Frequently Asked Questions of how to use electric spin scrubber for bathroom cleaning
How long does a typical battery last when using an electric spin scrubber for bathroom cleaning?
Most batteries last 30–60 minutes on a single charge, depending on speed and torque. Heavy scrubbing at high speed drains the battery faster.
Can I use bleach with an electric spin scrubber for bathroom cleaning?
You can use bleach cleaners, but not mixed with acids or ammonia. Rinse the scrubber and brush heads well after contact with bleach.
Which brush head is best for grout when using an electric spin scrubber for bathroom cleaning?
A small, stiff nylon brush is best for grout lines. Use short, focused passes to lift grime without wearing the grout.
Is an electric spin scrubber safe on natural stone like marble?
Avoid acidic cleaners and stiff brushes on natural stone. Use a soft brush and a pH-neutral cleaner to protect the surface.
How often should I replace brush heads when using an electric spin scrubber for bathroom cleaning?
Replace heads every 6–12 months with regular use, or sooner if they fray or lose stiffness. Worn brushes reduce cleaning power and can scratch surfaces.
Can I use an electric spin scrubber on painted bathroom cabinets and trim?
Yes, but use the softest pad and low speed to avoid removing paint. Test a hidden area first to be safe.
Conclusion
Using an electric spin scrubber for bathroom cleaning makes the job faster, easier, and gentler on your body when you pick the right tools and techniques. Start with proper prep, match brushes to surfaces, use safe cleaners, and follow the step-by-step routine for best results. Try one focused clean with low speed, test results, then scale up to deeper scrubs as needed. Ready to make cleaning less of a chore? Pick a scrubber with the right attachments, follow these tips, and share your results or questions in the comments — I’d love to hear what worked for you.