Want to give your wall-mounted mirror a fresh, stylish look without spending a fortune? Framing a mirror can instantly transform your space, adding personality and charm.
But you might be wondering—how exactly do you frame a wall-mounted mirror so it looks professional and fits your decor perfectly? You’re in the right place. This guide will walk you through simple, step-by-step instructions that anyone can follow, even if you’re new to DIY projects.
By the end, your mirror won’t just reflect your room—it will become a stunning focal point you’ll love showing off. Ready to get started? Let’s dive in!
Choosing The Right Mirror
Choosing the right mirror is the first step in framing a wall-mounted mirror. The mirror should fit your space and style. Size, material, and weight all affect your choice. This section helps you find the perfect mirror for your wall.
Size And Style Selection
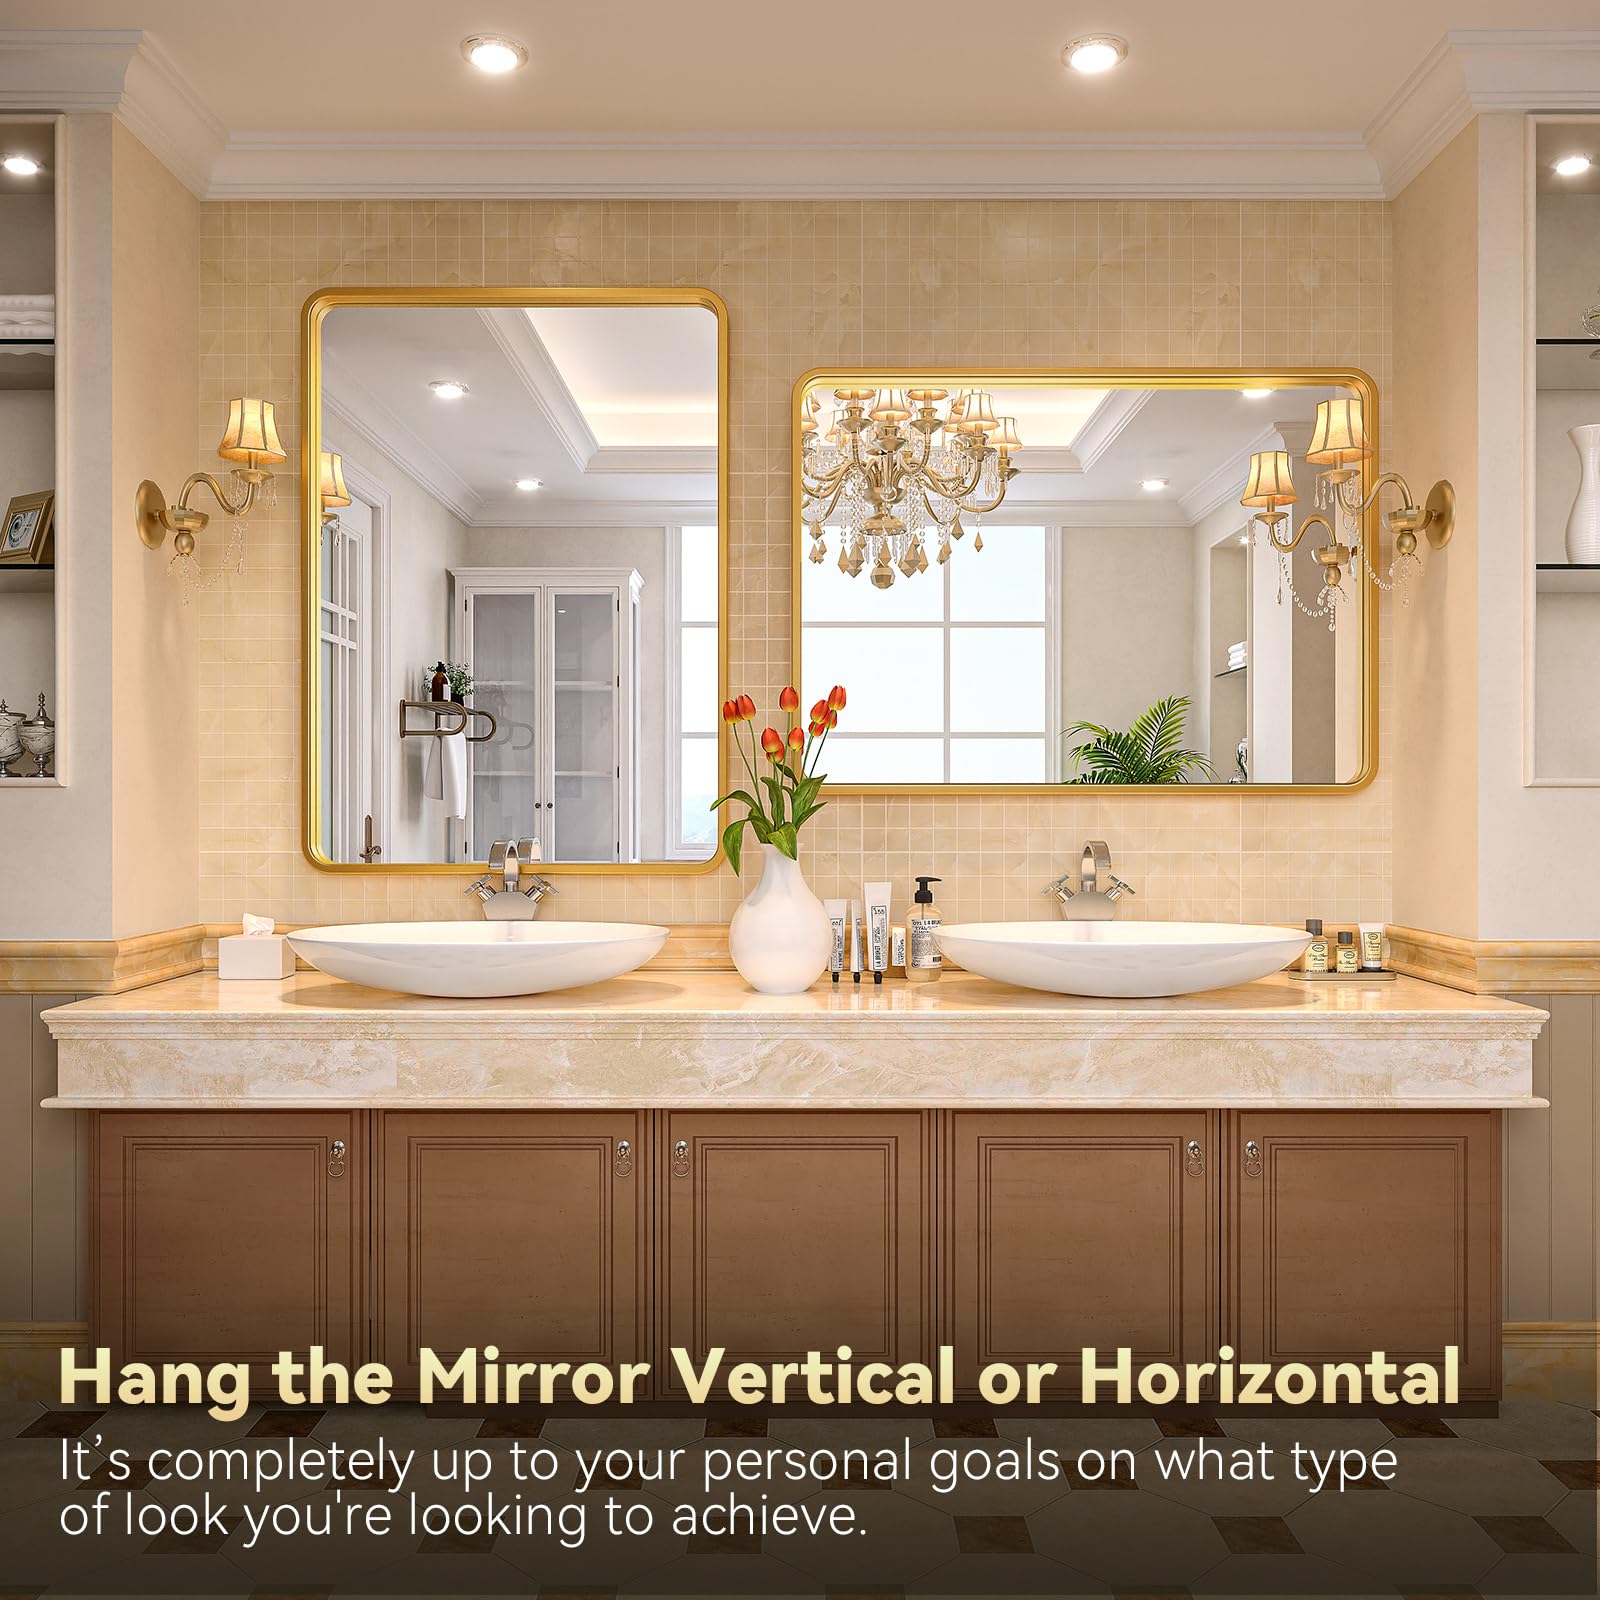
Pick a mirror size that matches your wall space. Small mirrors suit narrow walls or bathrooms. Large mirrors fit living rooms or hallways. Match the mirror style to your room’s look. Simple frames work well in modern rooms. Ornate frames fit classic or vintage spaces.
Frame Materials
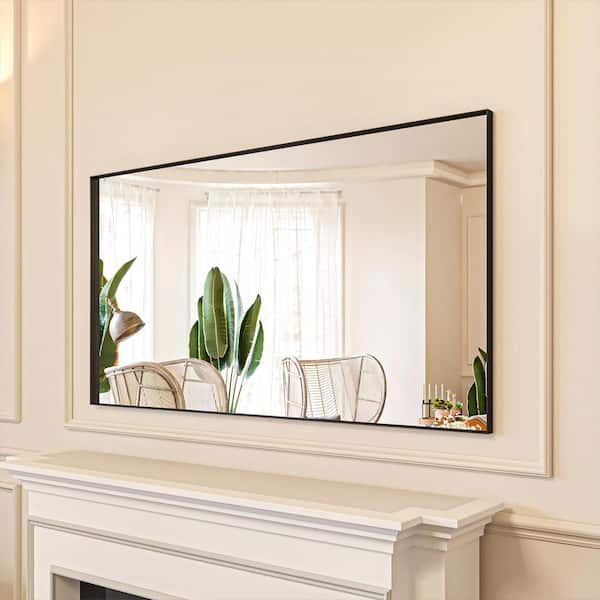
Choose frame materials based on room use and style. Wood frames bring warmth and a natural feel. Metal frames offer a sleek, modern look. Plastic frames are light and budget-friendly. Glass or mirrored frames add shine and depth. Think about easy cleaning and durability.
Weight Considerations
Check the mirror’s weight before framing. Heavy mirrors need strong, sturdy frames. Choose a frame that supports the mirror safely. Make sure your wall can hold the combined weight. Use the right hanging hardware for security and safety.
Gathering Essential Tools
Framing a wall-mounted mirror starts with gathering the right tools. Having these tools ready makes the job easier and safer. It saves time and helps you get better results.
Measuring Tools
Accurate measurements are key for a perfect frame. Use a tape measure to check the mirror size. A level helps keep the frame straight. Marking tools like pencils guide your cuts and placements.
Mounting Hardware
Choose strong mounting hardware for safety and stability. Wall anchors suit drywall installation. Screws hold the frame and mirror firmly. Hooks or brackets depend on your mirror’s weight and style.
Safety Equipment
Protect yourself during the project. Wear safety glasses to shield your eyes. Gloves prevent cuts from glass or sharp edges. Use a dust mask if you cut wood or sand surfaces indoors.
Preparing The Wall
Preparing the wall is the first step to frame a wall-mounted mirror. A smooth and secure wall ensures the frame stays strong and looks great. This preparation helps avoid damage and makes installation easier.
Locating Studs
Find the studs behind the wall using a stud finder. Studs hold the mirror’s weight better than drywall. Mark the stud locations lightly with a pencil. This step prevents the mirror from falling or causing wall damage.
Wall Surface Cleaning
Clean the wall surface before framing. Use a damp cloth to remove dust and dirt. A clean wall helps the frame stick well and look neat. Avoid using harsh cleaners that can damage paint or drywall.
Marking Placement
Decide where the mirror will hang on the wall. Use a pencil to mark the top and sides of the frame. Double-check the marks for level and spacing. Proper marking makes sure the mirror hangs straight and centered.

Credit: www.flippingtheflip.com
Framing The Mirror
Framing a wall-mounted mirror gives it a polished, finished look. The frame adds style and protects the edges. Follow clear steps to create a perfect frame that fits well and looks great.
Cutting Frame Pieces
Start by measuring the mirror’s dimensions carefully. Cut four pieces of wood to match the mirror’s sides. Use a miter saw to cut 45-degree angles on each end. These angles help the pieces fit snugly at the corners. Sand the edges to make them smooth and safe.
Assembling The Frame
Arrange the cut pieces on a flat surface. Join the corners using wood glue for a strong bond. Clamp the pieces together to hold them tight. Let the glue dry completely before moving forward. For extra strength, add small nails or corner brackets inside the frame.
Attaching The Frame To The Mirror
Place the mirror face down on a soft cloth to avoid scratches. Position the frame around the mirror edges carefully. Use strong adhesive or mirror clips to attach the frame securely. Press firmly and allow the glue to cure as directed. Check that the frame is even and stable before hanging.
Mounting The Mirror
Mounting the mirror is a key step in framing a wall-mounted mirror. It ensures the mirror stays secure and looks great on your wall. Proper mounting protects the mirror from falling and damaging the wall or itself. This part explains how to choose the right mounting method, install anchors and hooks, and hang the mirror evenly.
Choosing Mounting Methods
Select a mounting method based on your wall type and mirror weight. For drywall, use wall anchors or toggle bolts for strong support. For wooden walls, screws can hold the mirror firmly. Heavy mirrors may need multiple hooks or a French cleat system. Match the mounting hardware to the mirror’s size and weight for safety.
Installing Anchors And Hooks
Mark the spots on the wall where hooks or anchors will go. Use a level to keep marks even. Drill holes for anchors if the wall is drywall or plaster. Insert anchors fully to hold screws tightly. Screw in the hooks or screws, leaving enough space to hang the mirror securely. Double-check that anchors feel stable before hanging the mirror.
Hanging And Leveling
Lift the mirror carefully and place it on the hooks or screws. Ask for help if the mirror is heavy. Step back and check if the mirror is straight. Use a small level on the mirror frame to adjust its position. Shift the mirror slightly until it is perfectly level. Secure the mirror by pressing gently against the wall to ensure it stays fixed.
Credit: www.ebay.com
Finishing Touches
Finishing touches make your framed mirror look complete and polished. They protect the frame, keep the mirror clean, and ensure safety. These final steps help your mirror last longer and look great.
Sealing And Painting Frame
Apply a sealant to protect the frame from moisture and dust. Use a clear sealant for natural wood or a paint sealer if you painted the frame. Let it dry completely before hanging the mirror. This step keeps your frame looking fresh and strong.
Cleaning The Mirror Surface
Wipe the mirror with a soft cloth and glass cleaner. Avoid using harsh chemicals that could damage the surface. Clean both sides if possible to remove dust and fingerprints. A spotless mirror brightens any room instantly.
Safety Checks
Check the mounting hardware to ensure it is secure. Test the mirror’s stability by gently shaking it. Make sure no sharp edges or loose parts are exposed. Safety prevents accidents and protects your walls and family.
Credit: www.homedepot.com
Frequently Asked Questions
How Do I Choose The Right Frame For A Wall Mirror?
Select a frame that complements your room’s style and mirror size. Consider materials like wood or metal for durability and aesthetics. Match the frame color with existing decor for a cohesive look.
What Tools Are Needed To Frame A Wall Mounted Mirror?
You’ll need a measuring tape, level, drill, screws, anchors, and the frame itself. Additionally, use a pencil for marking and a screwdriver for securing the frame.
Can I Frame A Mirror Without Professional Help?
Yes, framing a mirror is a manageable DIY project with basic tools. Follow instructions carefully, measure precisely, and use proper mounting hardware for safety and stability.
How Do I Securely Mount A Framed Mirror On Drywall?
Use wall anchors or toggle bolts to support the mirror’s weight. Mark the wall accurately, drill pilot holes, and use a level to ensure straight placement.
Conclusion
Framing a wall mounted mirror can change any room’s look. You only need a few tools and some patience. Choose a frame that fits your style and mirror size. Measure carefully, cut precisely, and secure the frame firmly. Take your time to get clean edges and smooth finishes.
A well-framed mirror adds charm and value to your space. Try this simple project to refresh your home easily. Enjoy the new look and the pride of doing it yourself.