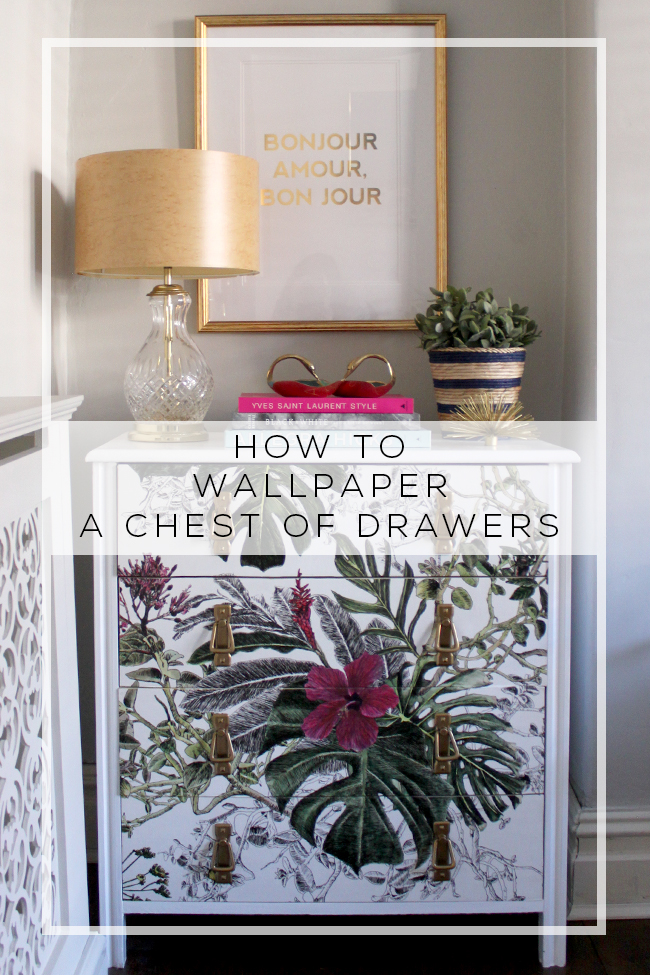
Measure chest of drawers panels, cut wallpaper to fit, apply adhesive, smooth, and trim.
I have wallpapered many pieces of furniture and taught friends to refresh old drawers. This guide on how to wallpaper a chest of drawers walks you through tools, measuring, cutting, and neat application. You will learn pro tips, common mistakes, and simple finishing steps so your chest of drawers looks custom and lasts for years.

Materials and tools you’ll need
Gathering the right materials makes how to wallpaper a chest of drawers easy and fast. Choose a durable wallpaper or removable vinyl if you want a temporary look. For tools, get a sharp utility knife, metal ruler, measuring tape, foam roller or smoothing tool, spray adhesive or wallpaper paste, pencil, sandpaper, and a small paintbrush for edges.
Useful extras:
- Painter’s tape for holding paper in place
- Drop cloth to protect your work surface
- Replacement knobs or pulls if you plan to change hardware
I always keep scrap pieces of wallpaper for test cuts and patching later. This saves time and reduces anxiety when you make the first cut.
Prep the chest of drawers for wallpapering
Preparing the surface is the most important part of how to wallpaper a chest of drawers. Start by emptying drawers and removing hardware like knobs and pulls. Clean all surfaces with a mild detergent to remove dust and oils. Lightly sand glossy finishes so the adhesive grabs well, then wipe away dust with a damp cloth.
If the drawer faces are weak or warped, glue and clamp them first or add a thin hardboard backing for a flat surface. Prime raw wood or stained surfaces with a shellac-based primer for the best adhesion.
Accurate measuring and cutting tips
Good measuring makes how to wallpaper a chest of drawers look professional. Measure height and width of each drawer face separately. Add 1/4 inch extra on each side for trimming and slight misalignment. For wrap-around edges measure the depth plus the front face to cut one continuous piece.
When you have patterned wallpaper, calculate pattern repeat and mark matching points before cutting. Always cut on a flat surface and use a metal ruler for straight edges. Label each cut panel with where it goes to avoid confusion during layout.
Step-by-step application for drawer fronts and sides
Follow these steps when learning how to wallpaper a chest of drawers to avoid bubbles and misfits.
- Dry-fit panels first.
- Place each cut piece on its drawer to check fit and pattern alignment.
- Apply adhesive.
- Use spray adhesive or a thin layer of wallpaper paste on the drawer face or on the paper, depending on the product instructions.
- Position the paper.
- Starting from one edge, set the paper and slowly press toward the opposite edge.
- Smooth out bubbles.
- Use a foam roller or smoothing tool to push air outward. Work from center to edges.
- Trim excess.
- Use a sharp utility knife along a metal ruler. Make light passes rather than one deep cut for accuracy.
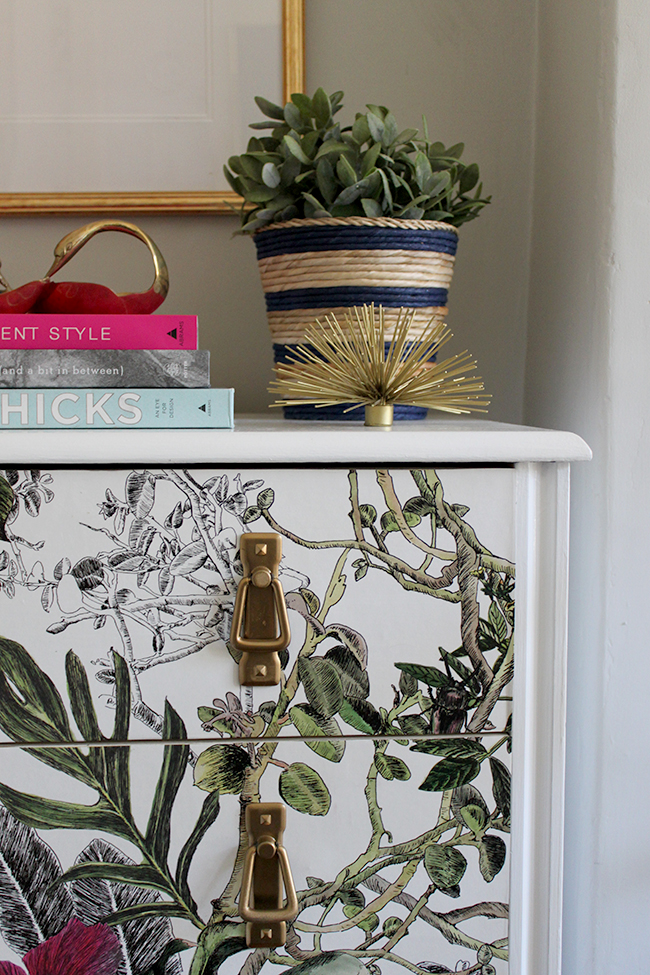
- Reattach hardware.
- Drill or punch small pilot holes if needed before screwing knobs back in.
I once rushed the smoothing step and ended up with trapped air under a patterned panel. Rehearse smoothing on a scrap to build confidence.

Dealing with patterns, seams, and tricky edges
Pattern matching is key when you want a professional result for how to wallpaper a chest of drawers. For patterned wallpaper, align repeats across drawer fronts before applying adhesive. Use extra overlap at seams and trim with a straight edge for an invisible joint.
For corners and rounded edges, make small relief cuts or score the paper lightly so it wraps without creasing. On thin veneer or painted surfaces, use removable wallpaper if you think you’ll change the look later.
Finishing touches and sealing
Finishing steps protect the paper and make how to wallpaper a chest of drawers last longer. Seal the cut edges with a small bead of clear craft glue or wallpaper seam adhesive to prevent lifting. For high-use furniture, apply a clear, water-based polyurethane spray or brush-on sealer over the paper for extra durability.
Replace or swap hardware for a fresh look. Consider felt drawer liners inside to protect the wallpapered faces from knocks and spills. Let sealers dry fully between coats and before heavy use.
Maintenance and care
Caring for your wallpapered chest of drawers keeps it looking fresh. Dust often with a soft cloth and clean spills immediately with a damp cloth and mild soap. Avoid harsh chemicals and abrasive pads that can damage printed patterns.
If a small corner peels, reapply adhesive and press back down. Keep the piece out of direct sunlight to reduce fading over time. These small habits extend how to wallpaper a chest of drawers into a lasting makeover.

Frequently Asked Questions of how to wallpaper a chest of drawers
What type of wallpaper is best for a chest of drawers?
Use vinyl or peel-and-stick wallpaper for durability and easy cleaning. Removable options work well if you plan to update the piece later.
Can I wallpaper over paint or varnish?
You can if you scuff-sand glossy paint and clean thoroughly. For oil-based varnish, a shellac-based primer helps adhesion before you apply wallpaper.
How do I measure for wallpaper on curved drawer fronts?
Measure the widest point and the height, and add a bit extra for wrap and trimming. Make relief cuts on the paper to allow it to curve without creasing.
Will wallpaper damage the wood finish when removed?
High-quality removable wallpaper usually comes off cleanly if removed slowly and heated with a hairdryer. Older finishes may lift, so test on an inside drawer first.
How long does wallpaper on furniture last?
With proper prep and sealing, wallpaper on a chest of drawers can last many years. High-traffic pieces may show wear sooner, so choose durable materials and seal edges well.
What if the pattern doesn’t line up between drawers?
Try to match key points of the pattern across drawer faces before final adhesion. If a perfect match isn’t possible, stagger patterns deliberately for a modern look.
Conclusion
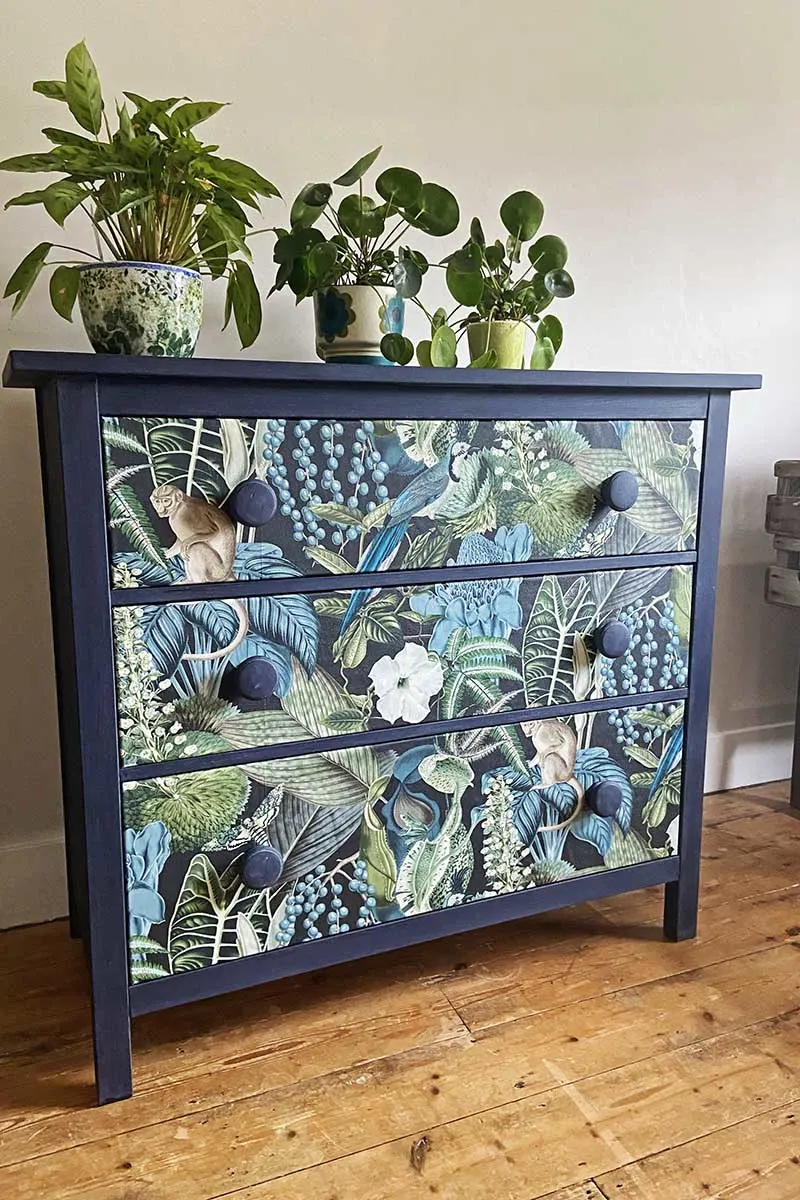
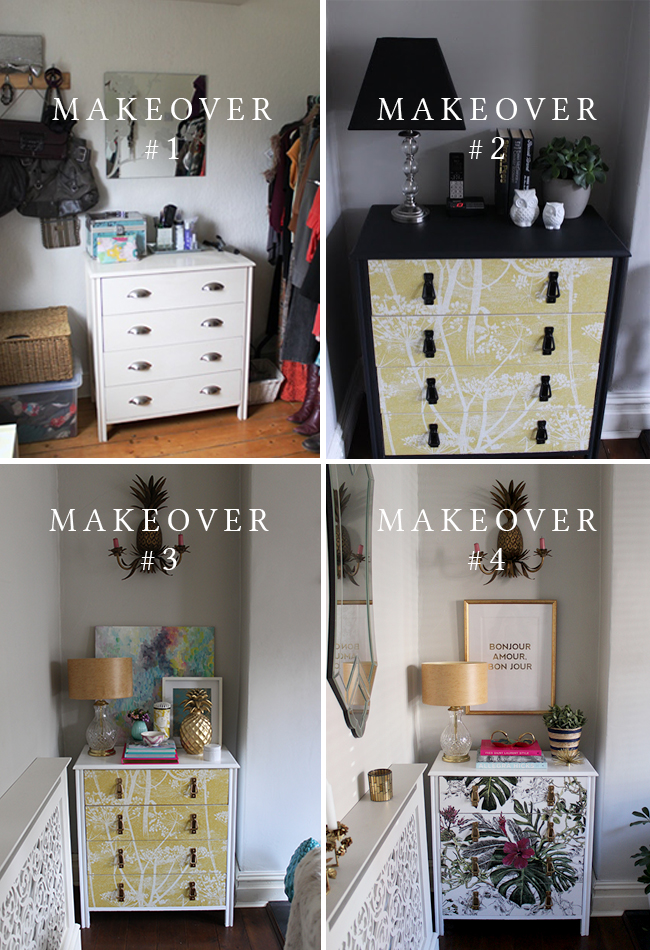
Wallpapering a chest of drawers is a budget-friendly way to transform furniture into a standout piece. With careful prep, accurate measuring, and steady application you can achieve a custom look that feels professional. Try one drawer first to build confidence, then move through the piece methodically. Ready to refresh an old chest of drawers? Gather your materials, pick a pattern you love, and make something you’ll enjoy every day.